
WetLink Penetrator JPT Assembly and Installation
WetLink Penetrator JPT (WLP JPT) is a compression gland cable penetrator designed to seal cables as they pass into a device or enclosure. Unlike the original WetLink Penetrator, WLP JPT doesn’t require any cable prep or jacket stripping.
This guide will show you how to assemble and install a WetLink Penetrator JPT. If you have a regular WetLink Penetrator use this assembly guide instead.
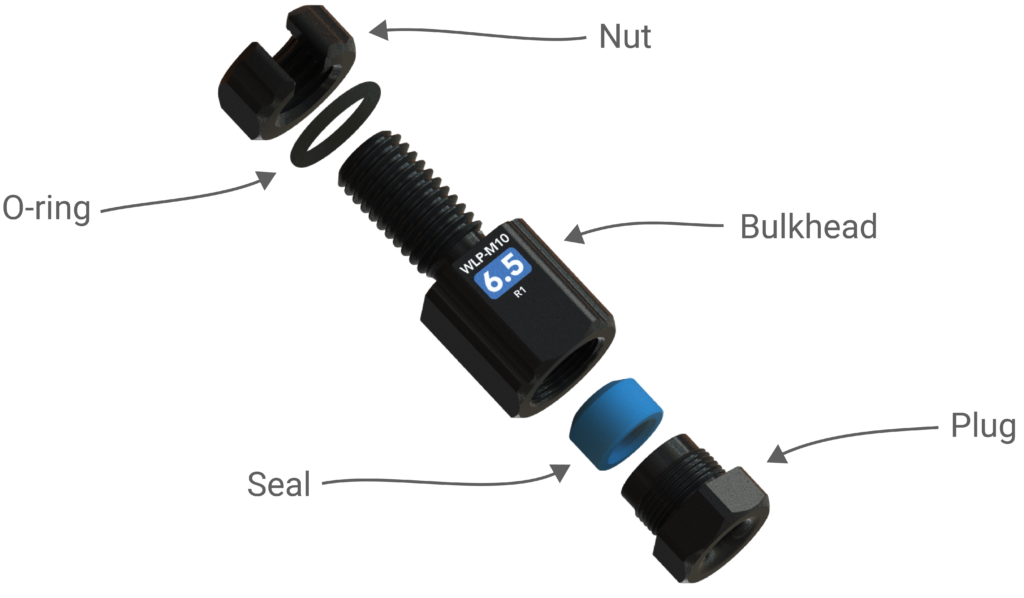
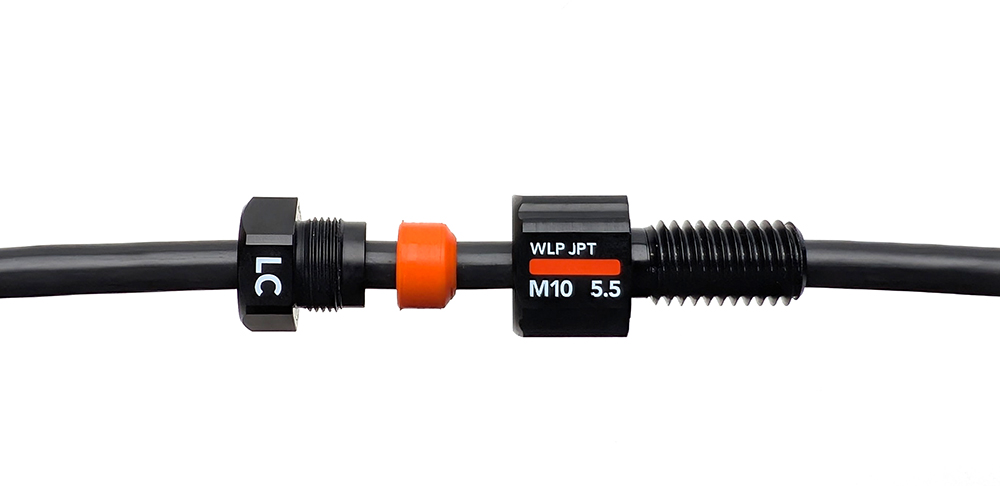
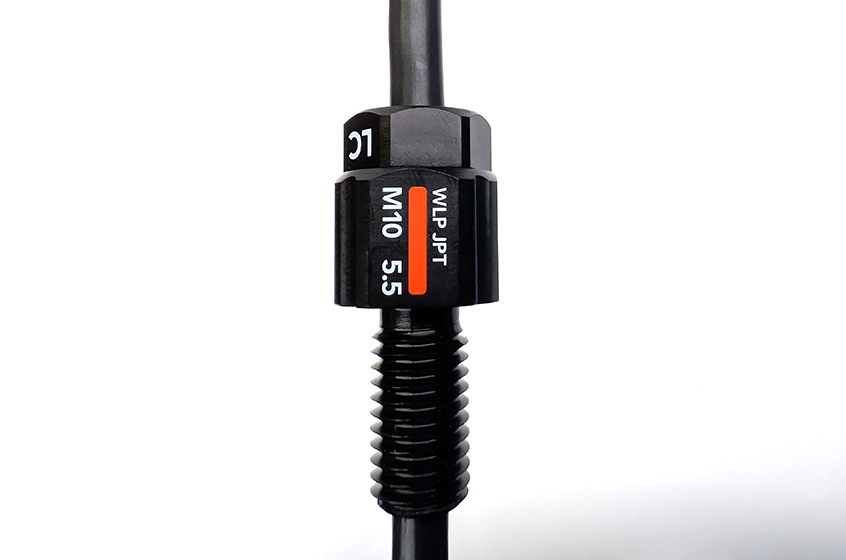
Parts of a WetLink Penetrator
The image below shows the names of all the parts of a WLP JPT. (It pictures a regular WLP to be exact but the parts are still the same!)
Assembly Tools
We’ve designed WetLink assembly tools to make assembly super easy. If you’ll be assembling WetLink Penetrators frequently, we highly recommend getting the WetLink Assembly Block and Plug Wrench:
If you’re just starting out or only assembling a few, you can also use common hand tools like adjustable wrenches or appropriately sized open-end wrenches.
Use the information below to find the correct tool sizes for the penetrator you are assembling:
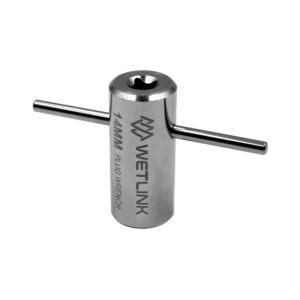
- Plug Wrench – used to tighten the plug into the bulkhead. The compatible size is linked in the Plug Wrench column in the table below. Alternatively, use a regular wrench that matches the Plug Wrench size.
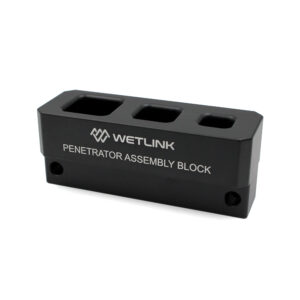
- WetLink Penetrator Assembly Block – used to hold the bulkhead while tightening. Alternatively, use a vise or a wrench matching the Bulkhead Flat Size in the table.
Tool Compatibility Table
| WLP JPT | Bulkhead Flat Size | Bulkhead Installation Torque | Plug Wrench | Plug Installation Torque ² |
|---|---|---|---|---|
| 4.5 | 16 mm | 3.5 N⋅m | 11 mm (BR-100369-011) | ~14 N⋅m |
| 5.5, 6.5 | 16 mm | 3.5 N⋅m | 14 mm (BR-100369-014) | ~14 N⋅m |
| ¹ The WetLink Penetrator Assembly Block is compatible with all WetLink Penetrator sizes. ² Installation torque is approximate. Actual torque to fully seat the plug varies by cable. |
||||
The next sections provide more information about using the WetLink Plug Wrench and Assembly Block. If you’re not using these tools you can skip to the assembly instructions.
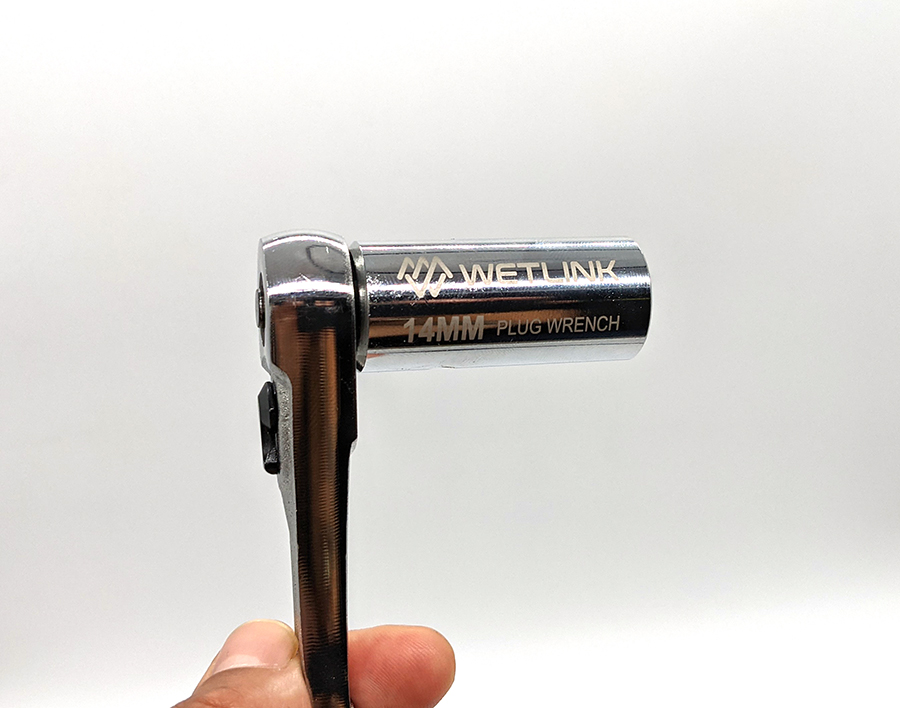
Using the WetLink Penetrator Plug Wrench
The WetLink Penetrator Plug Wrench is used to tighten the plug into the bulkhead. Select the correct Plug Wrench size for your penetrator using the tool compatibility table above. The Plug Wrench can be used two ways:
- By hand – Insert the included lever bar through the Plug Wrench and turn it manually.
- With a ratchet or torque wrench – Attach the Plug Wrench to a compatible square drive.
- The 11 mm and 14 mm Plug Wrenches accept a ¼ inch (6.3 mm) square drive
- The 18 mm Plug Wrench accepts a ⅜ inch (9.5 mm) square drive
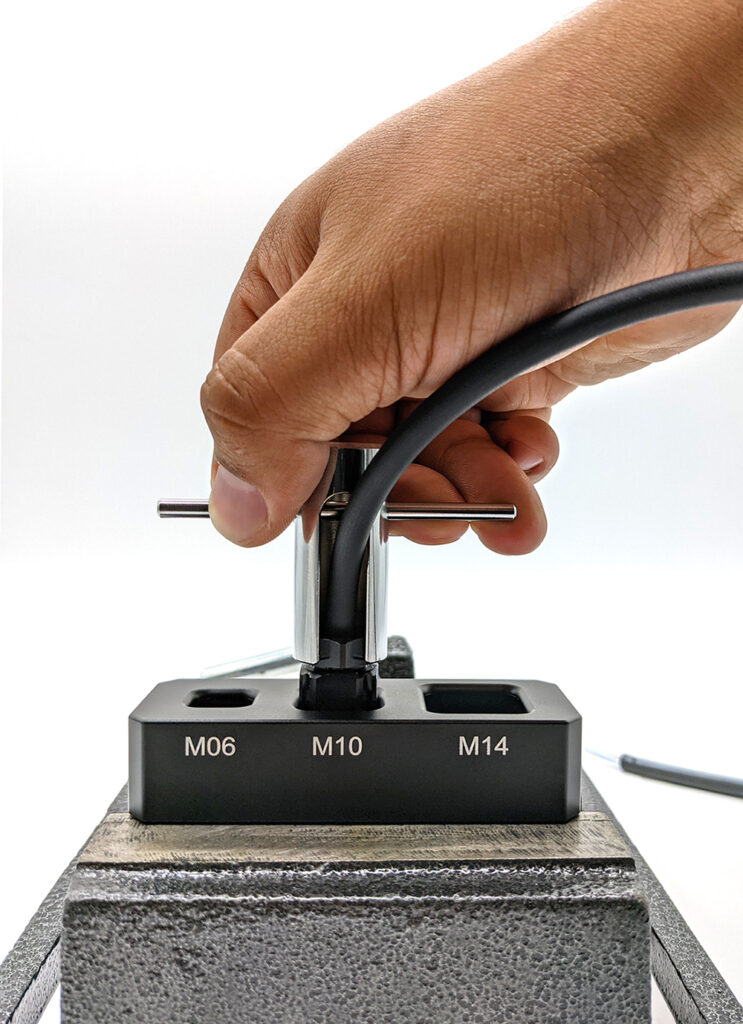
Tightening the plug with Plug Wrench and lever bar.
Plug wrench on ratchet.
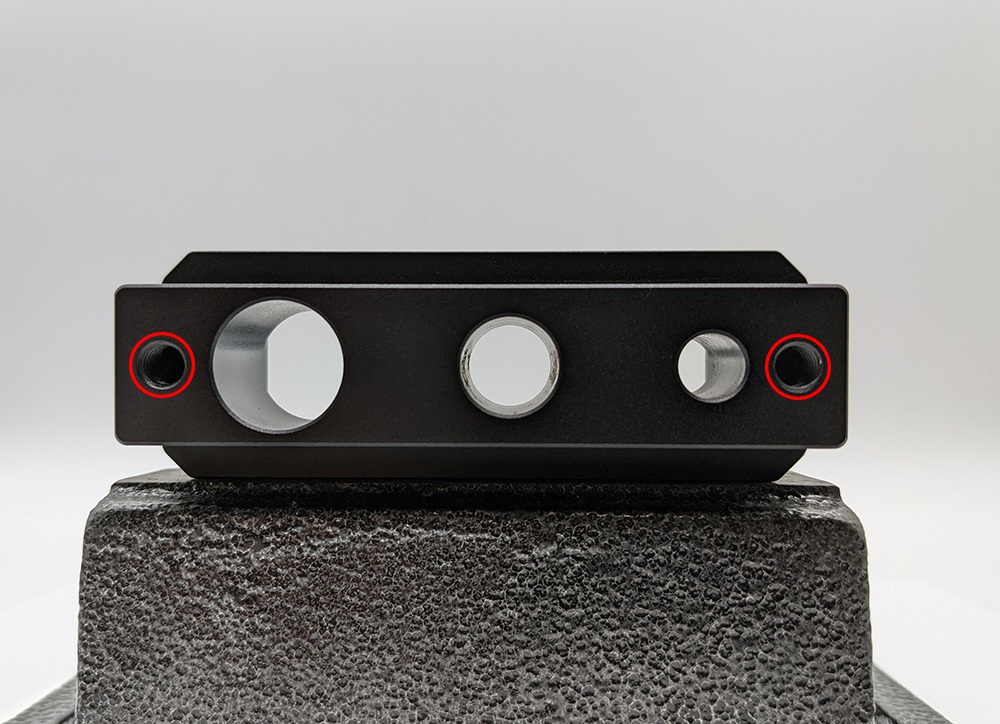
Using the WetLink Penetrator Assembly Block
The WetLink Penetrator Assembly Block holds the bulkhead securely while you assemble it. It has three spaces labeled according to the bulkhead size with holes to allow cable and wires to pass through.
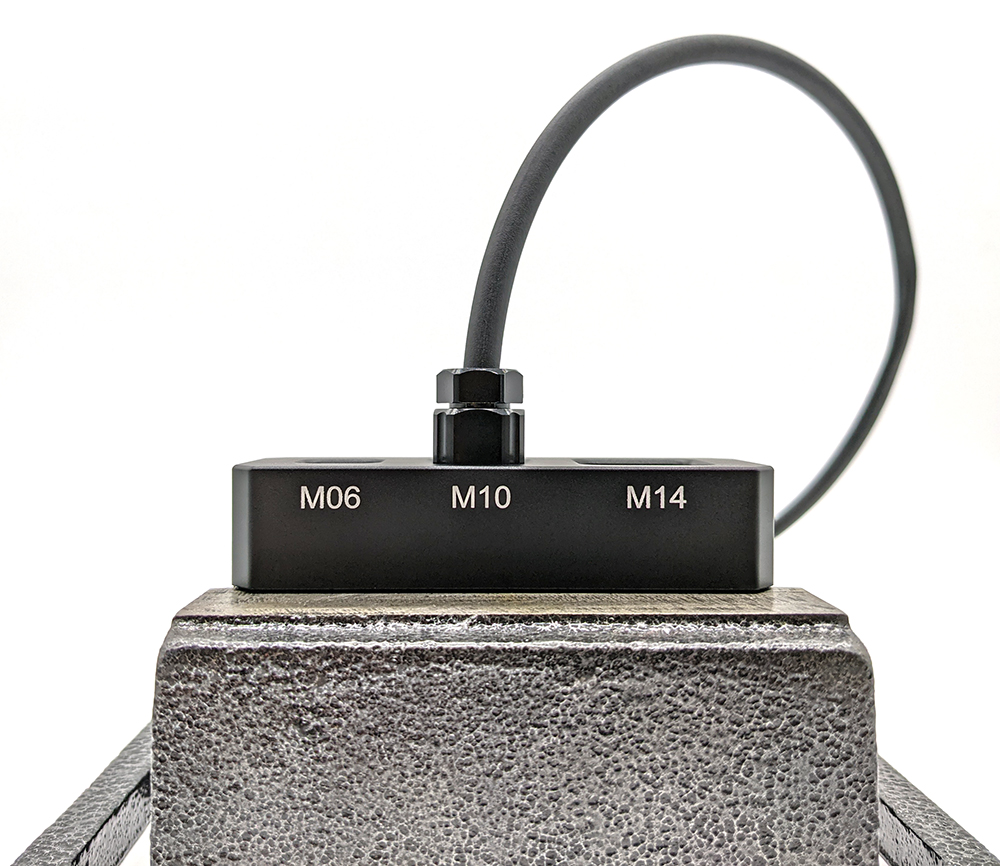
Bulkhead in Assembly Block.
It has a few different mounting features to secure it to your work surface (or you can always just grip it in your hand):
- Using a vice
- Using bolts through the 6.2 mm side-mounting holes
- Using M6X1.0 thread bolts into the underside threaded mounting holes
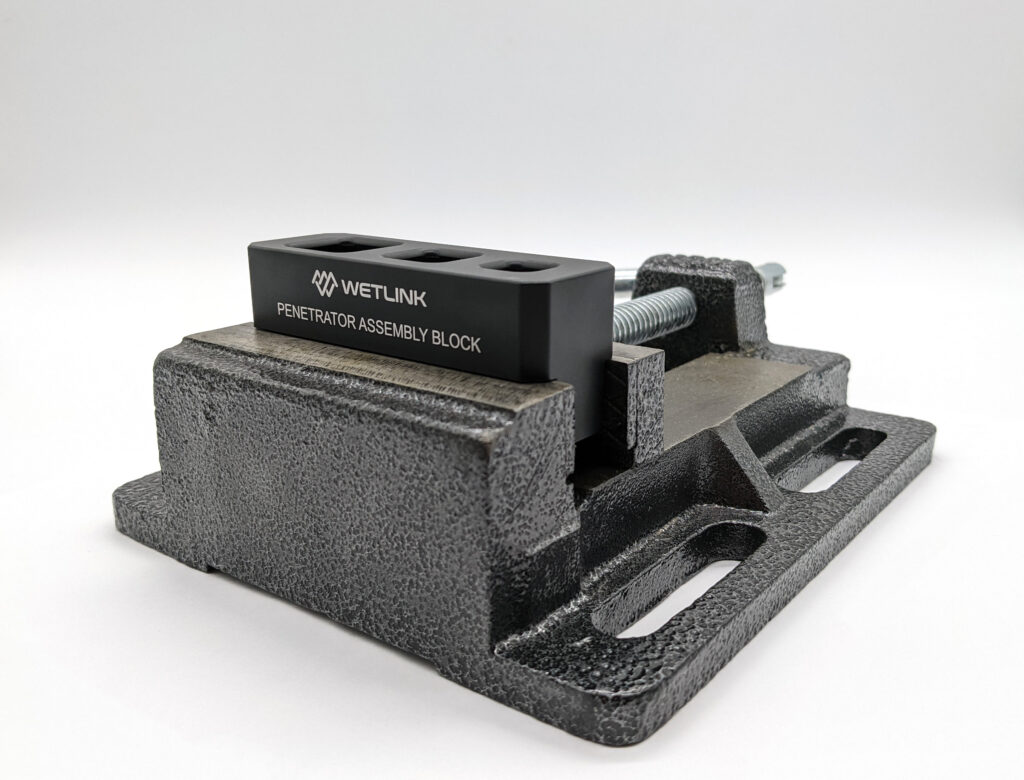
WLP Assembly Block secured with a vice.
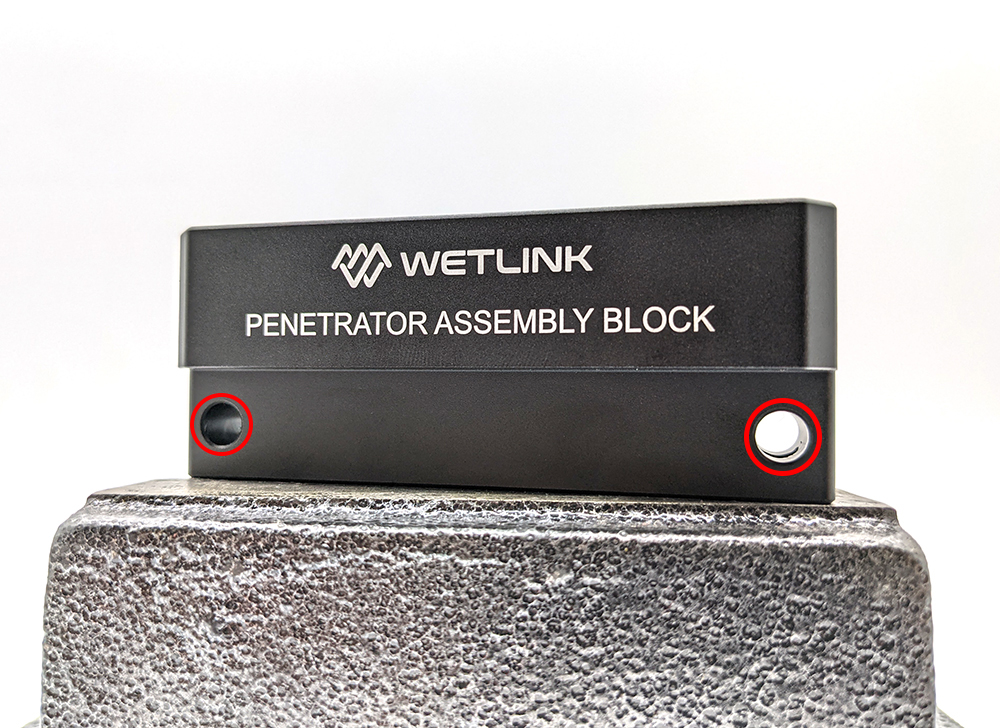
WLP Assembly Block side mounting holes.
WLP Assembly Block underside mounting holes.
Assemble the WLP JPT
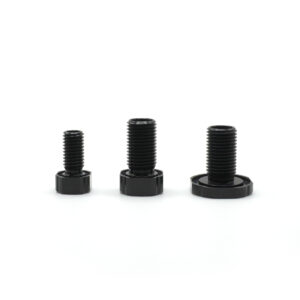
1. Slide the plug, rubber seal, and the bulkhead onto the cable. Position the bulkhead at the desired location on the cable. Make sure all the components are oriented correctly (on the cable, relative to your device) for your final installation:
- The seal has a flat side and a tapered side, make sure the tapered side faces into the bulkhead.
- Do not use grease or lubricant. If the cable doesn’t fit through the bulkhead you may need to move up to the high compression of the next WLP JPT seal size.
2. Insert the seal and plug into the bulkhead and thread the plug by hand.
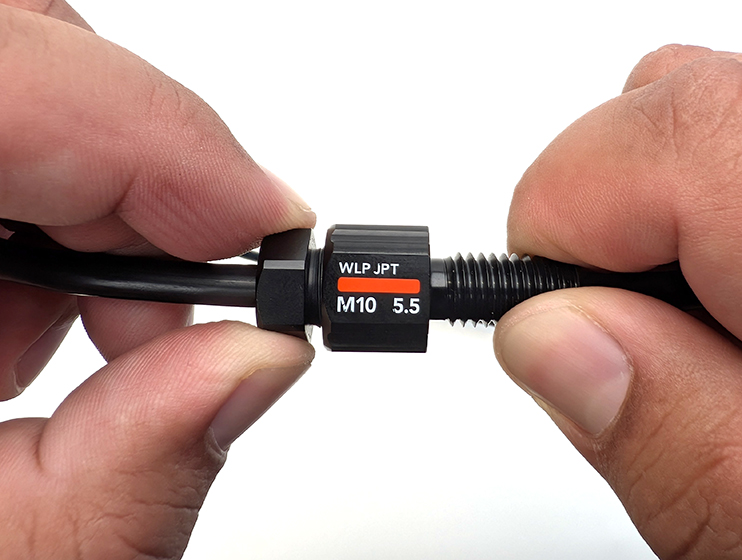
3. Use your tools to tighten the plug until it fully bottoms out in the bulkhead. There should be no gap between the plug and the bulkhead when correctly assembled.
Finished WLP JPT
That’s it!
Check You Work!
After assembly, pull on the cable with around 5 to 10 pounds (2 to 4 kg) of force. The cable should stay firmly installed in the penetrator. If the cable comes out, you may need a WLP JPT with higher compression or smaller seal size.
It’s also a good idea to vacuum test newly assembled penetrators and enclosures before first use. Visit our vacuum testing guide for more information.
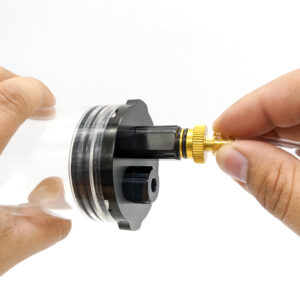
Using the Vacuum Plug and Hand Pump
Installing an Assembled WLP JPT
This section will go over how to install a WLP JPT once its assembled on a cable.
Drilling Your Own Mounting Holes
Blue Robotics Watertight Enclosures and Boxes come with pre-drilled M10 and M14 holes for installing WetLink Penetrators. For custom installations, you can drill your own hole in any flat, smooth surface.
WetLink Penetrators can be installed in either an unthreaded clearance hole (secured with the included nut) or a tapped hole (threaded directly into the material).
Use the table below to determine the correct drill and tap sizes for each option:
| WLP Bulkhead Size | Clearance Hole Diameter | Bit Size for Tapped Hole | Tap Thread |
|---|---|---|---|
| M6 | 6.0–6.2 mm | 5 mm | M6x1.0 |
| M10 | 10.0–10.2 mm | 8.5 mm | M10x1.5 |
| M14 | 14.0–14.2 mm | 12.5 mm | M14x1.5 |
Instructions:
- Clearance hole: drill a hole using the size under Clearance Hole Diameter.
- Tapped hole: drill a hole using the Bit Size for Tapped Hole, then tap the hole using the Tap Thread size.
Installation
1. Apply a thin layer of silicone grease to the O-ring included with the WLP. Seat it in the groove on the underside of the bulkhead.
2. Insert the penetrator into the hole:
- For clearance holes: Insert the bulkhead through the hole and thread the included nut onto the other side. Hand-tighten to hold in place.
- For tapped holes: Thread the bulkhead directly into the hole until finger-tight. No nut is needed.
3. Use a Bulkhead Wrench (or appropriate sized wrench) to fully tighten the bulkhead (or nut). When properly tightened, the bulkhead should not rotate in the hole and should not be removable by hand.
Bulkhead Adapters
WetLink Bulkhead Adapters can be used to install a WLP into a hole that is a size too large. Available for M06 and M10 bulkheads.
Reusing a WetLink Penetrator
Reinstalling in a hole: WetLink Penetrators can be removed and reinstalled in enclosure holes indefinitely. Each time, inspect the bulkhead O-ring for damage, wear, or contamination and replace it if necessary. Spare bulkhead O-rings available here.
Reinstalling on a cable: We reinstalling a WLP on a cable no more than three times to maintain sealing performance. Each time you do:
- Replace the rubber seal (available here)
- Use an uncompressed section of cable jacket
Feedback
We’re always working to make our guides better. Let us know how we can improve this one here.