Tether Repair Guide
Introduction
The Fathom tether has a rugged design, but we know accidents happen! This guide will demonstrate ways to repair it, including replacing a penetrator, splicing the tether, or replacing the Binder 770 connector.
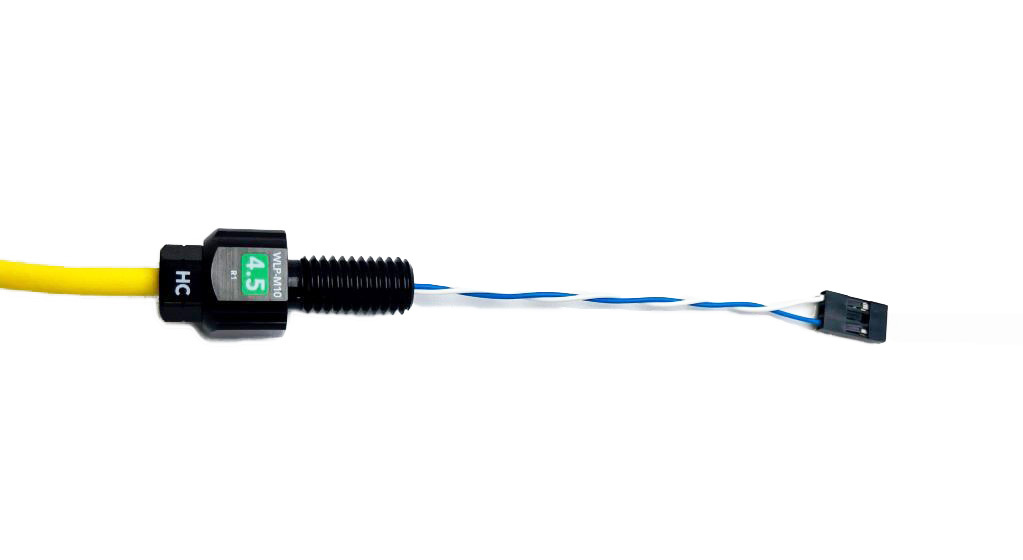
Terminating the Tether With a WetLink Penetrator
If you want to replace a potted penetrator or the jacket is damaged near the penetrator, you’re in luck! Re-terminating the tether should be straightforward!
Parts and Tools You Will Need
- WetLink Penetrator Plug Wrench
- WetLink penetrators
- M10-7.5MM-HC for Fathom tether
- M10-4.5MM-HC for Slim tether
- WetLink Penetrator Assembly Block
- Cable Jacket Stripper
- AWG 18 to 28 crimp tool
- 10-22AWG wire strippers
- Female crimp pins
- 8x for the Fathom tether
- 2x for Slim tether
- 1x Crimp connector housing if yours is damaged; otherwise, the same one can be used.
Installation Procedure
1. Cut off the potted penetrator or damaged section of tether.
2. Strip ~18 cm off the tether jacket and cut the fillers off.
3. Install the appropriate WetLink penetrator size for your tether.
4. Strip ~4.5mm off the wire insulation with 10-22AWG wire strippers.
5. Crimp the cable wires with female crimp pins.
6. Reinstall the crimp pin housing.

Repair the Tether With a WetLink Cable Splice Kit
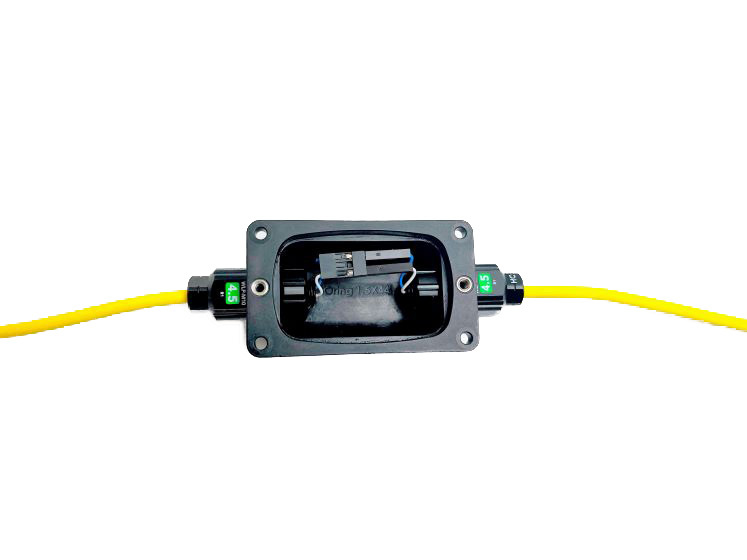
If the tether is damaged too far along its length and cutting isn’t practical, a WetLink Cable Splice Kit can be used to remove the damaged section and connect both ends.
Parts and Tools You Will Need
- WetLink Cable Splice Kit
- WetLink penetrators
- 2x M10-7.5MM-HC for Fathom tether
- 2x M10-4.5MM-HC for Slim tether
- Cable Jacket Stripper
- M10 Bulkhead Wrench
- Wire cutters
- Cable Jacket Stripper
- 2 mm hex driver
Repair Procedure
1. Cut the damaged area.
2. Strip ~4 cm off both ends of the tether and cut the fillers off.
3. Install the appropriate WetLink penetrator size for your tether.
4. Assemble the penetrators and splice kit according to the WetLink Cable Splice Kit User Guide. We utilized a combination of female/male crimp pins and housings, which are not included in the kit. However, you are not limited to making connections in this manner; you can also use solder splices and heat shrink, or another type of connection.

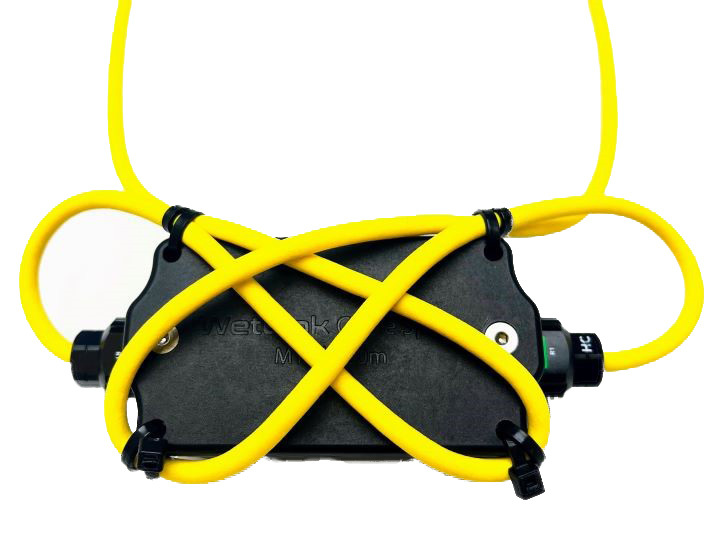
5. Zip tie the tether ends for strain relief purposes.

Replace the Binder 770
Parts and Tools You Will Need
Please follow the the Soldering to the Binder 770 Connector guide.
What did you think of this guide? Can we improve it? Let us know here!
