
Soldering to the Binder 770 Connector
Introduction
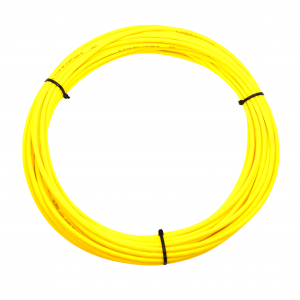
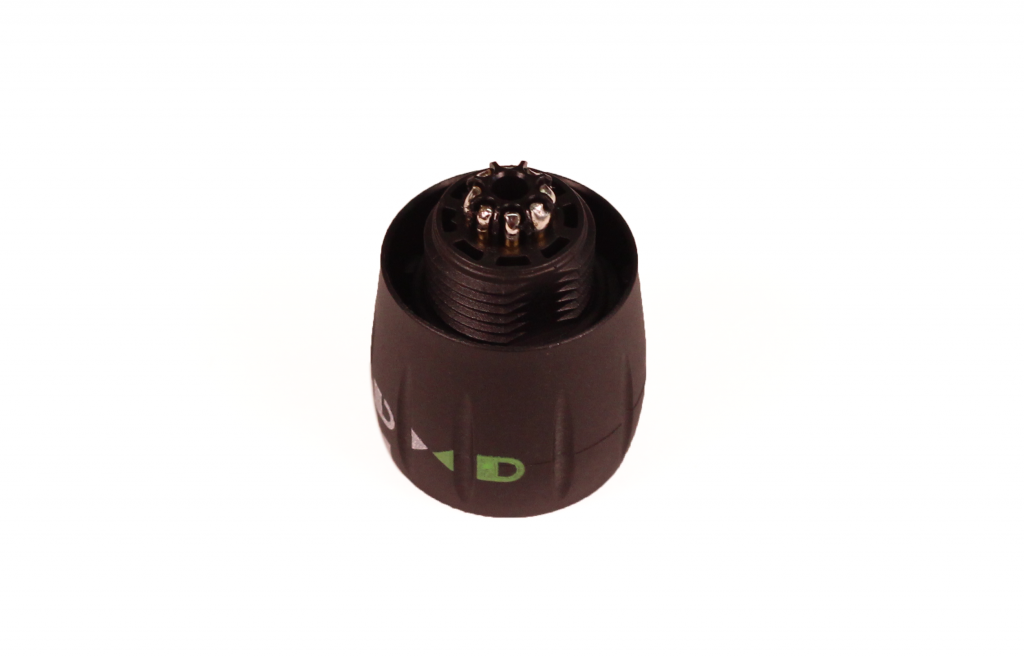
This guide will show you how to solder the Fathom Tether cable and other wires to the Binder 770 Series plug. The Binder 770 connector comes with all the parts necessary to solder and secure it to the end of a section of Fathom or Fathom Slim tether. Soldering is of moderate difficulty with small closely spaced contacts.
Safety
Parts and Tools
You Will Need
You will also need:
- Soldering iron with a small tip
- Solder
- Small vise or clamp
- Flux (optional)
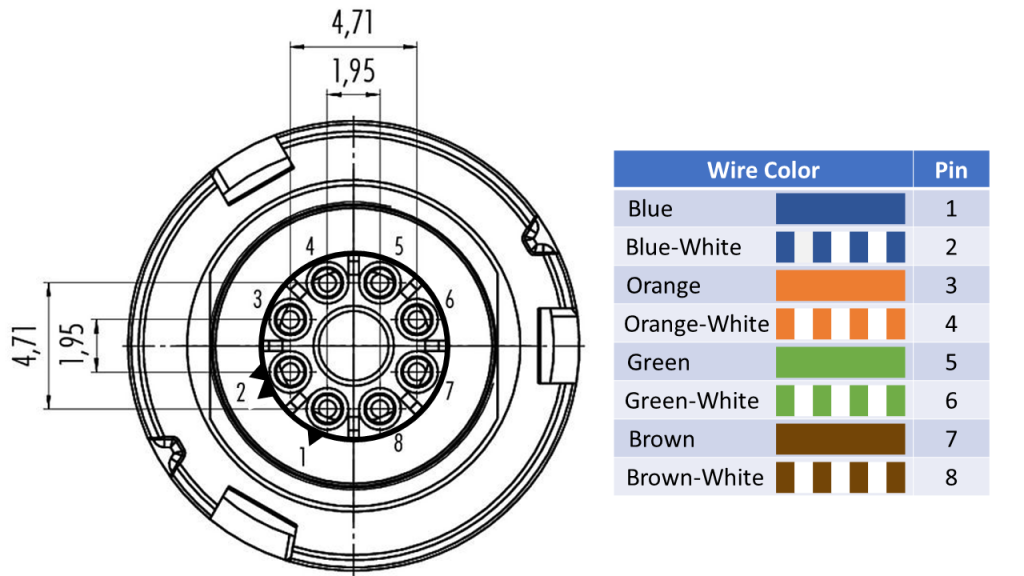
Wiring Diagram
Step 1: Preparing the Tether
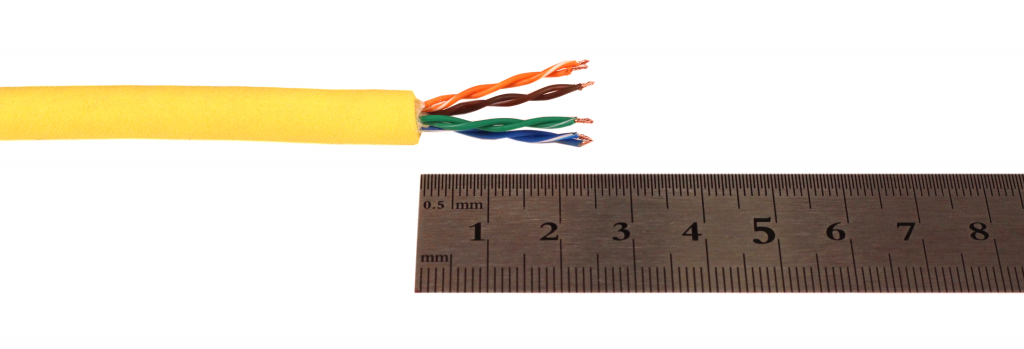
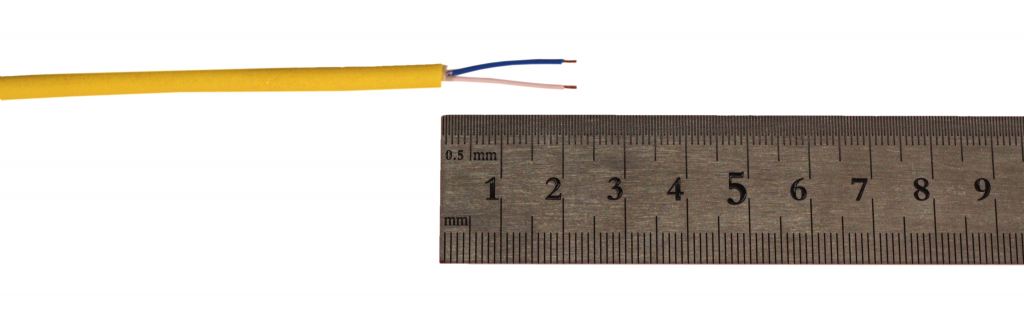
For both the Fathom and Fathom Slim tethers, strip off 14-20 mm (0.55-0.79 in) of cable jacket, and strip all individual conductions about 2 mm (0.08 in). You can refer to the Tether Stripping Instructions for more details.
Step 2: Tinning the Wire
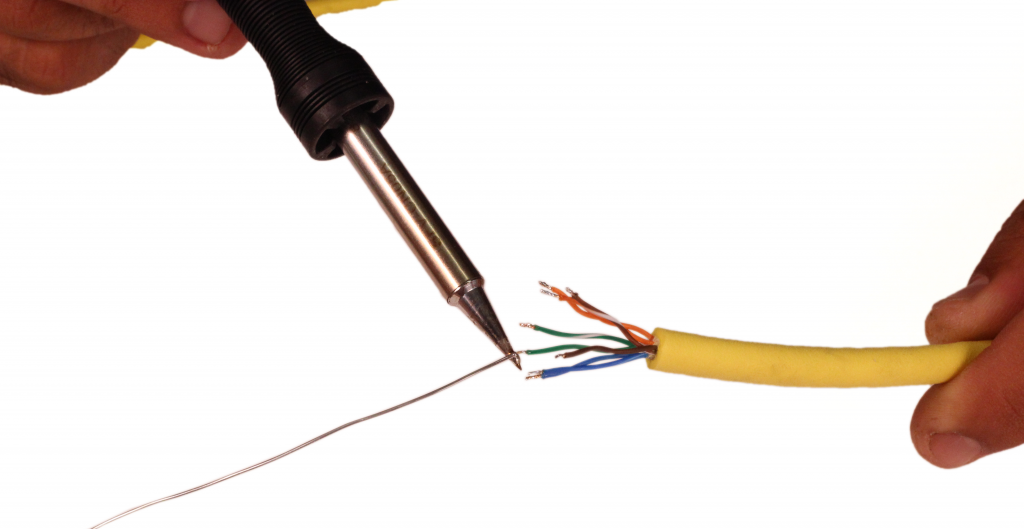
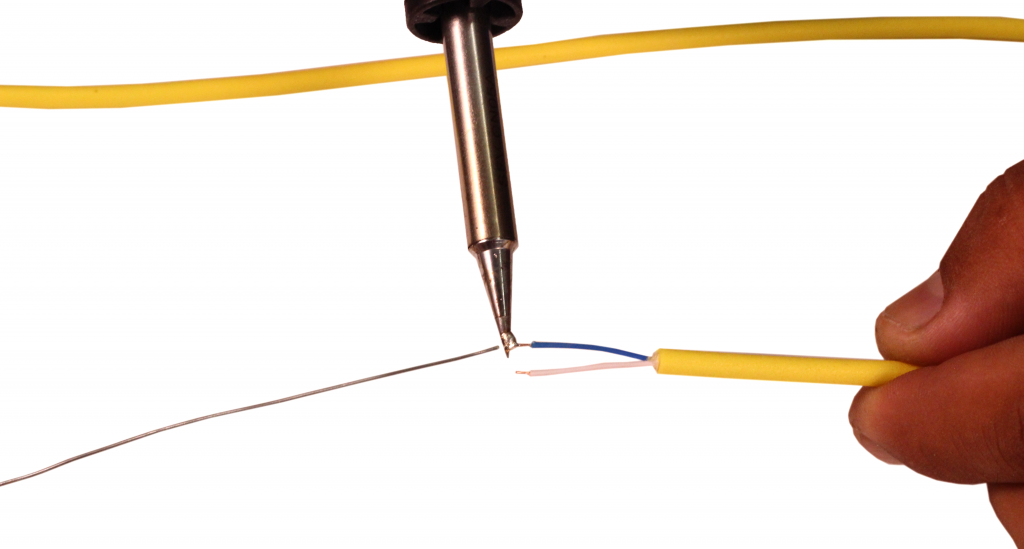
Using a small amount of solder, tin each tether wire.
Step 3: Tinning the Connector Contacts
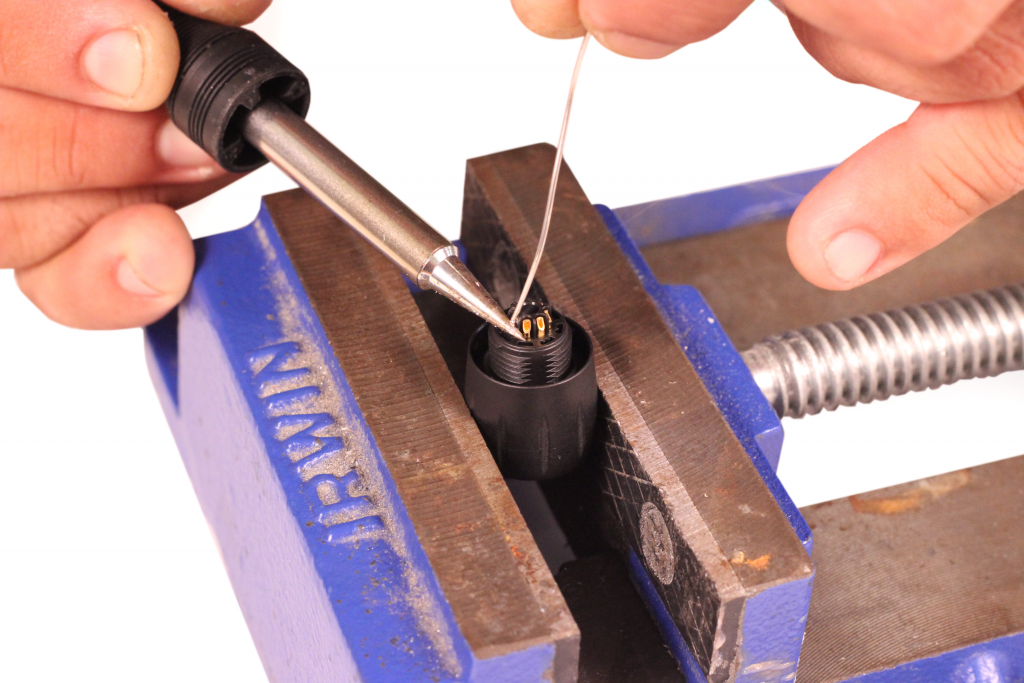
Using a small amount of solder, tin each Binder connector contact. Only pins one and two need to be tinned if using two wire Fathom Slim tether.
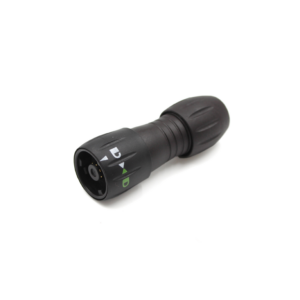
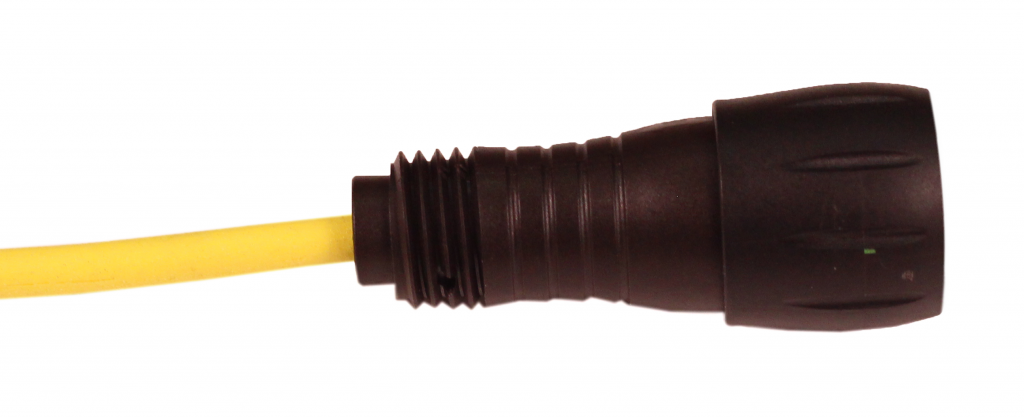
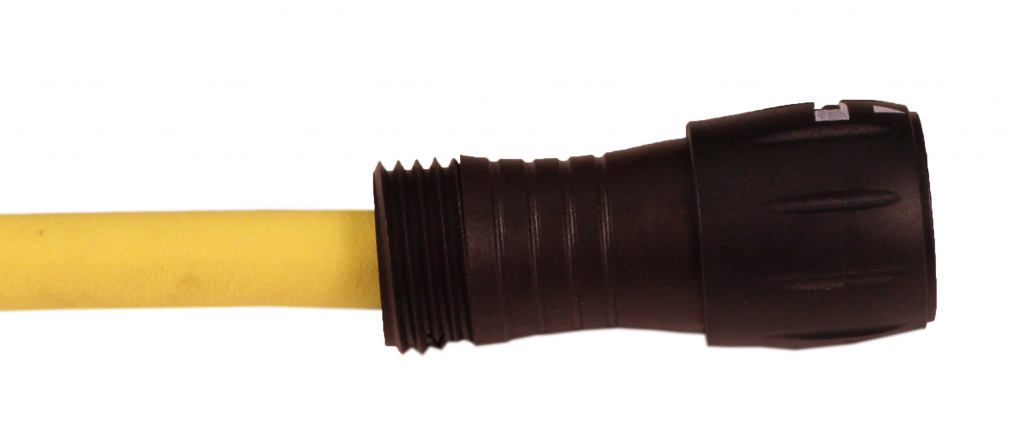
Step 4: Sliding on the Connector Parts

Slide the end piece, white plastic ring, rubber grip, and connector body over onto the tether as shown. Note orientation of the body, the external thread should face away from the bare wire end of the tether.

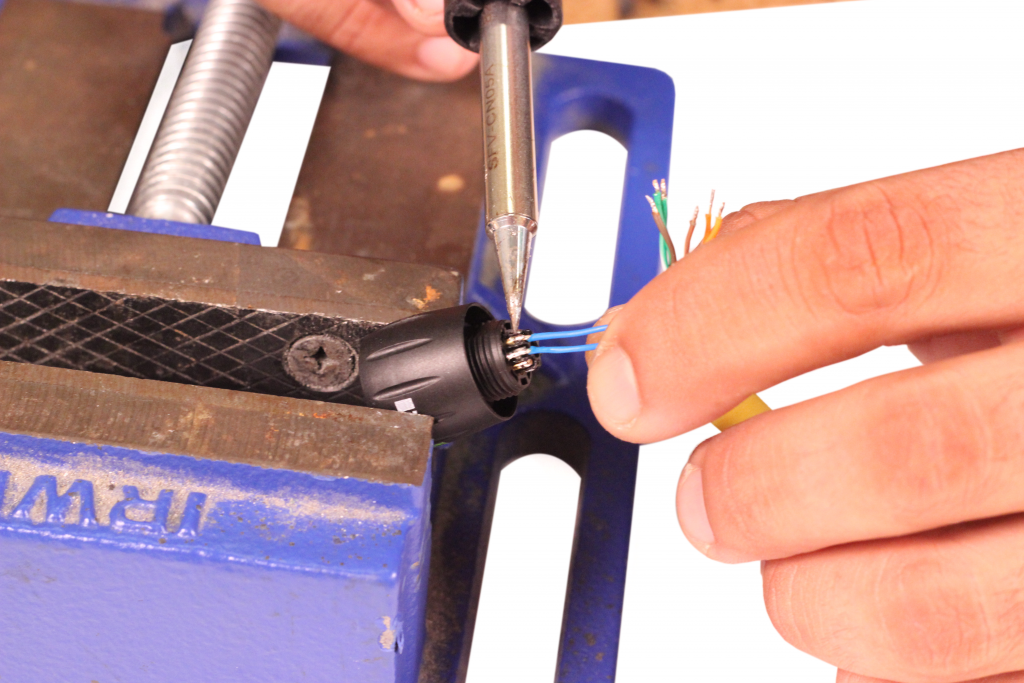
Step 5: Soldering the Wire to the Contacts
Solder the tether wires to each contact of the Binder connector in the order indicated in the above diagram. With everything tinned, it should only take a light touch and maybe a drop of additional solder to establish a secure connector. Avoid heat for more than a few seconds per wire to avoid melting the plastic around each contact.
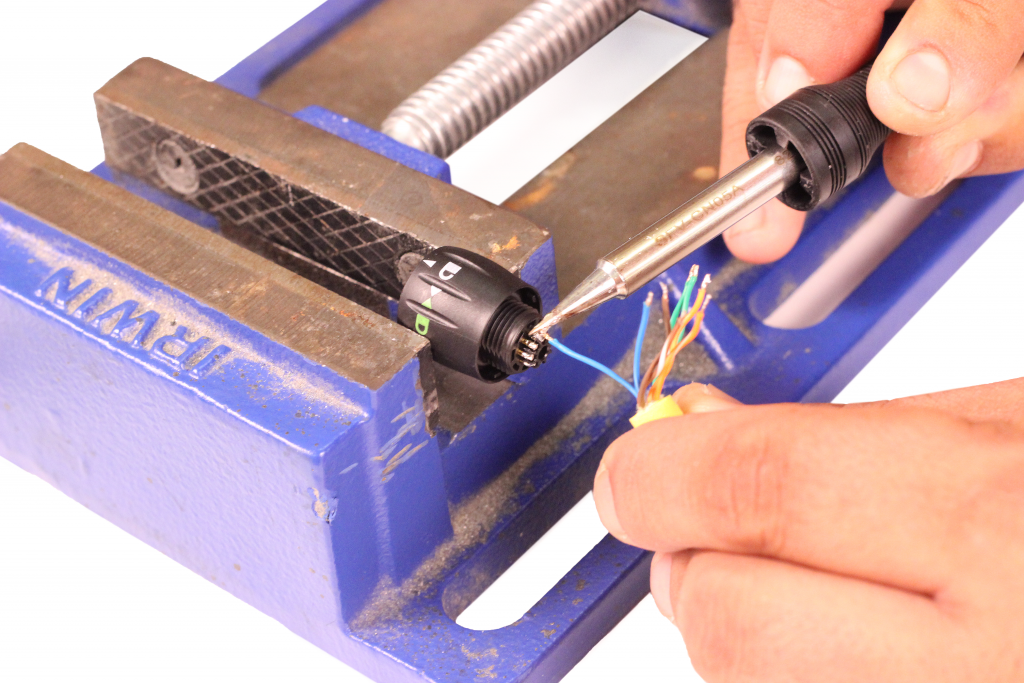
Take care not to create a solder bridge between the wires, and test the integrity of each connection by gently pulling on the wire.

Only two wires need to be soldered for Fathom Slim tether.

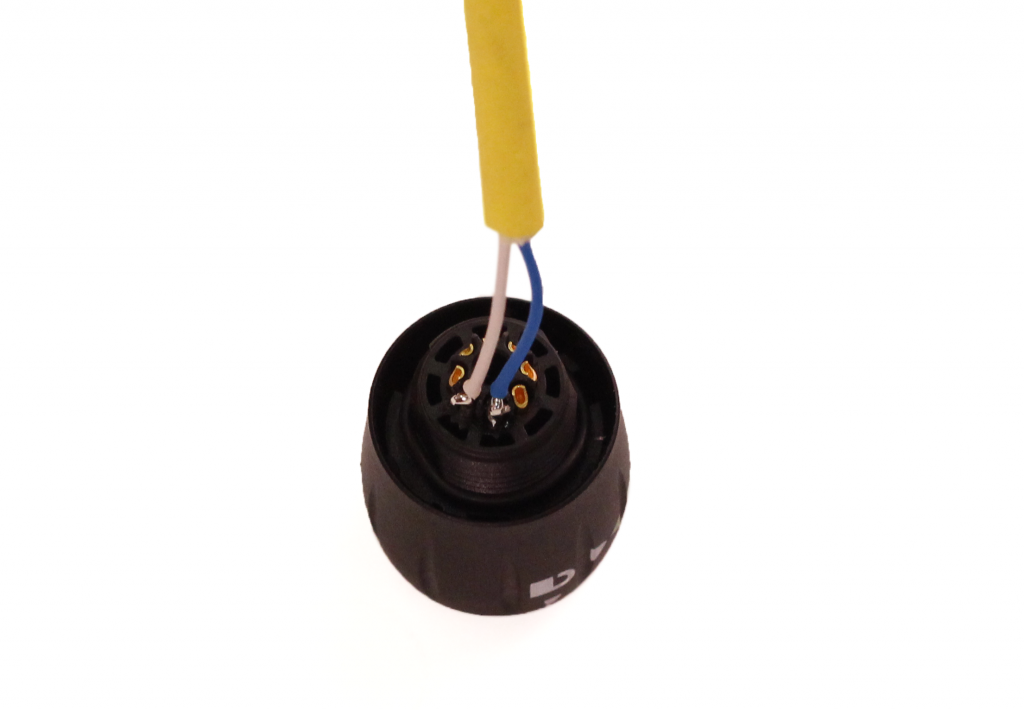
Step 6: Attaching the Connector Body
Slide the connector body up to the contacts, and screw together tightly, taking care not to twist the wires.
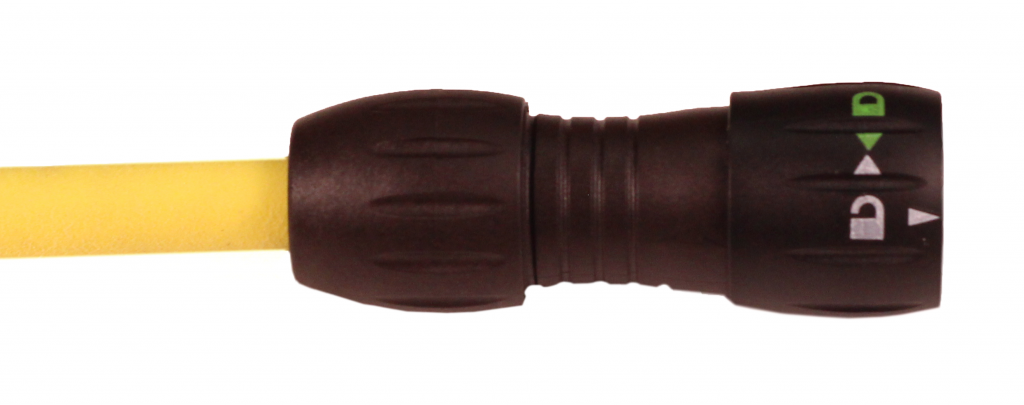
Step 7: Completing the Connector
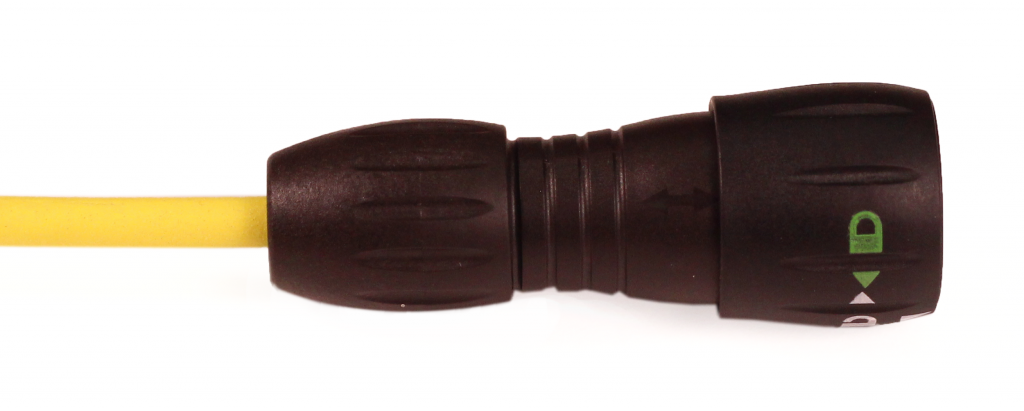
Slide the remaining grip and end pieces up to the connector body, and screw together tightly, taking care not to twist the wires.
Once complete, it is recommended to use a multimeter to test the continuity of each connection to confirm all solder joints are intact, in the correct order, and with no bridging.