Control the Basic ESC with an RC Transmitter
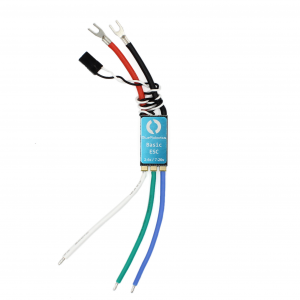
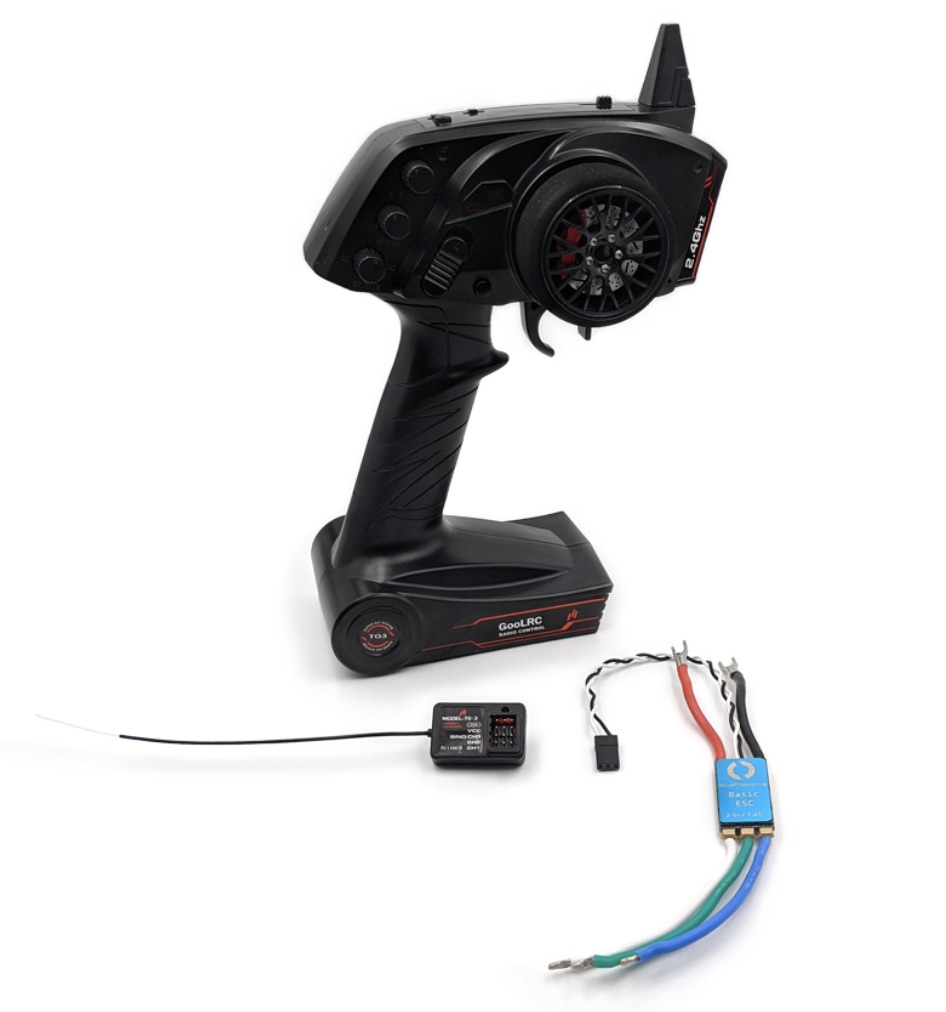
The Basic ESC uses standard RC style PWM signals so almost any off the shelf radio control transmitter and receiver can be used as a simple control system. This guide will provide some general information on how to use an RC transmitter with the Basic ESC.
Resources
For more detailed information on RC systems take a look at the following resources:
Parts and Components
The following are brief descriptions of some of the components referred to in this guide.
- ESC (Electronic Speed Controller) – Controls and regulates the speed of an electric motor/thruster. One ESC is required for every thruster.
- Transmitter – This is the controller that is held in the hands. It emits the radio signals that are picked up by the receiver and control the vehicle.
- Receiver – This is the device that is installed in the vehicle and receives the radio signals from the transmitter. This is also what the ESCs will plug into.
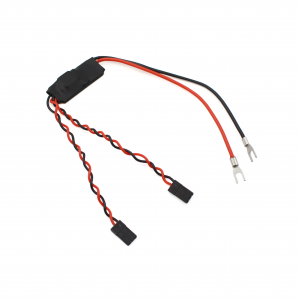
- Channel Mixer – Used to mix the signals from 2 separate channels, like throttle and steering. Also referred to as V-Tail mixers or Tank mixers.
- BEC (Battery Eliminator Circuit) – Many ESCs have a built-in BEC that supplies power to the receiver. Blue Robotics Basic ESCs do not have a built-in BEC so it’s necessary to use a separate 5V power source when used with an RC receiver. The Blue Robotics 5V 6A Power Supply can be used to power the receiver.
Types of Transmitters
There are two main types of RC transmitters: pistol grip and stick transmitters. Both can be used with the Basic ESC. Deciding which type to use depends on the desired control method and features.
Pistol Grip
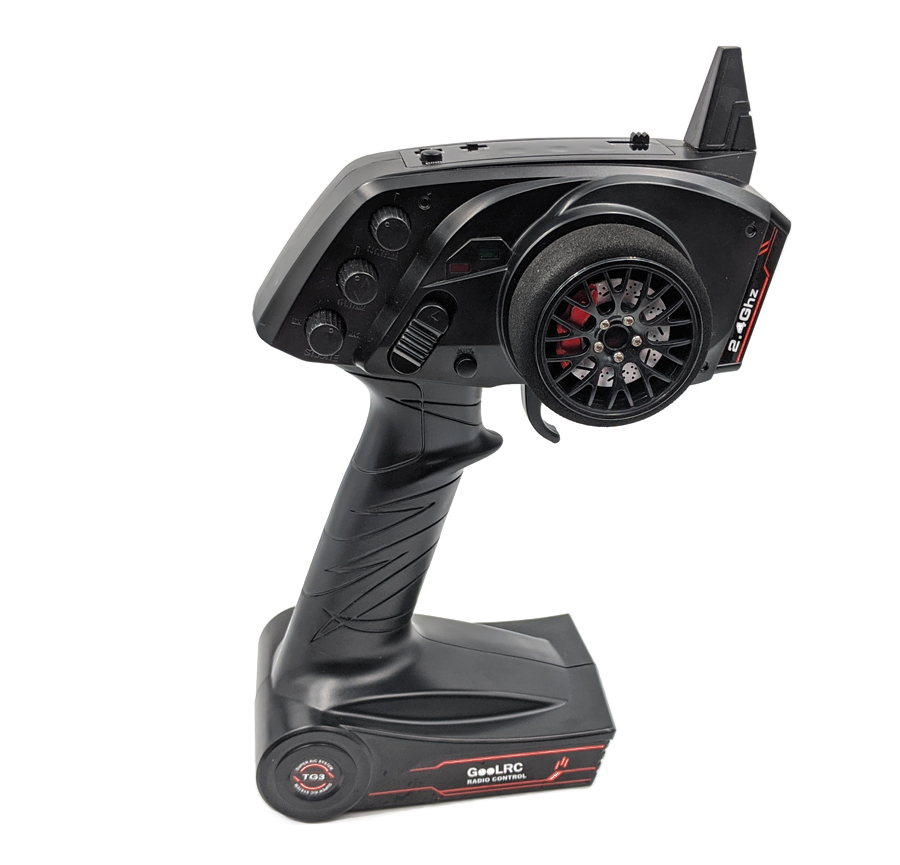
These types of RC transmitters are also categorized under “surface” RC systems because they are used mainly for controlling RC cars but they work perfectly well for controlling an RC boat, kayak, or other vehicle. The trigger in the front controls the throttle while the wheel on the side controls the steering. The receiver for these types of transmitters will have two main channels, one for speed and one for steering, and usually one additional auxiliary channel.
Controlling each thruster channel directly for differential thrust steering doesn’t work very well with this type of transmitter so it’s necessary to use channel mixing. Some higher end transmitters of this type will have programmable channel mixing features built in, many basic ones will not. If the transmitter does not have channel mixing then a separate channel mixer is needed.
Stick Transmitter
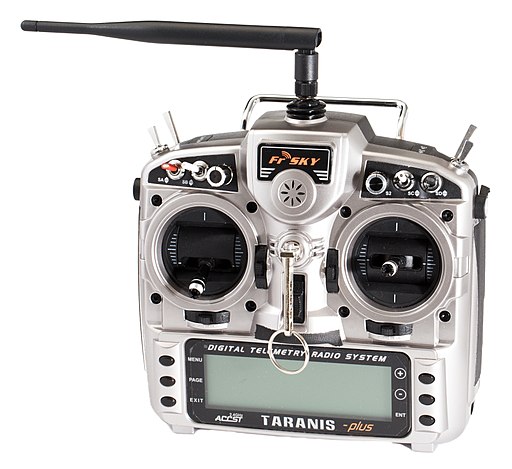
Credit: Wikimedia Commons Lucasbosch.
This type of transmitter has two joysticks for pilot input and usually offers a greater number of channels and features. These are categorized under “air” RC systems and are used mostly for RC planes and helicopters.
The two separate joysticks and on-board programmable channel mixing features provide more options for controlling the vehicle. Some examples of possible control methods include:
- Each stick controls the throttle of a left and right thruster directly for differential thrust steering.
- One stick controls throttle while the other stick controls the steering.
- Both throttle and steering on one stick.
Just like the previous type of transmitter, some of the very basic models do not have programmable channel mixing. If this is the case, depending on the desired control method, a channel mixer is required.
Connections
The following are some guidelines on how the different components should be connected. The exact instructions will depend on the vehicle design and the components being used but the information here should be general enough to give a basic idea.
ESCs and Receiver
The Basic ESC uses a 3-pin servo connector that will fit the 3-pin output channels on a receiver. If the transmitter has built-in channel mixing or no channel mixing is needed, the 3-pin servo connector on the Basic ESC can plug directly into the output channels on the receiver. There will usually be a label indicating the correct orientation on the receiver.
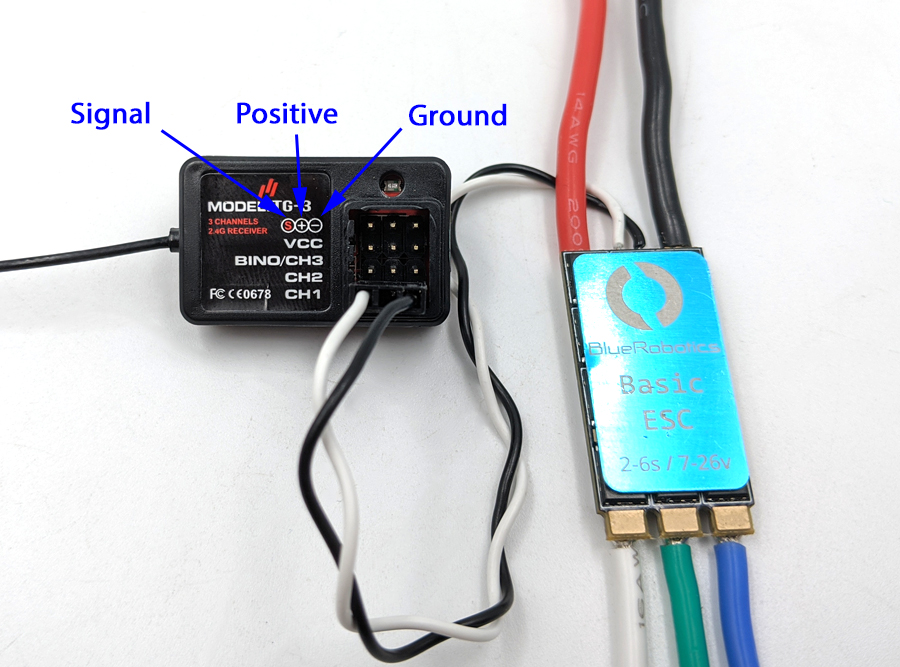
ESC servo connector connected to RC receiver.
If a separate channel mixer is required then the 3-pin servo connector on the ESCs will first plug into the output of the channel mixer and the inputs from the mixer will plug into the output channels on the receiver.
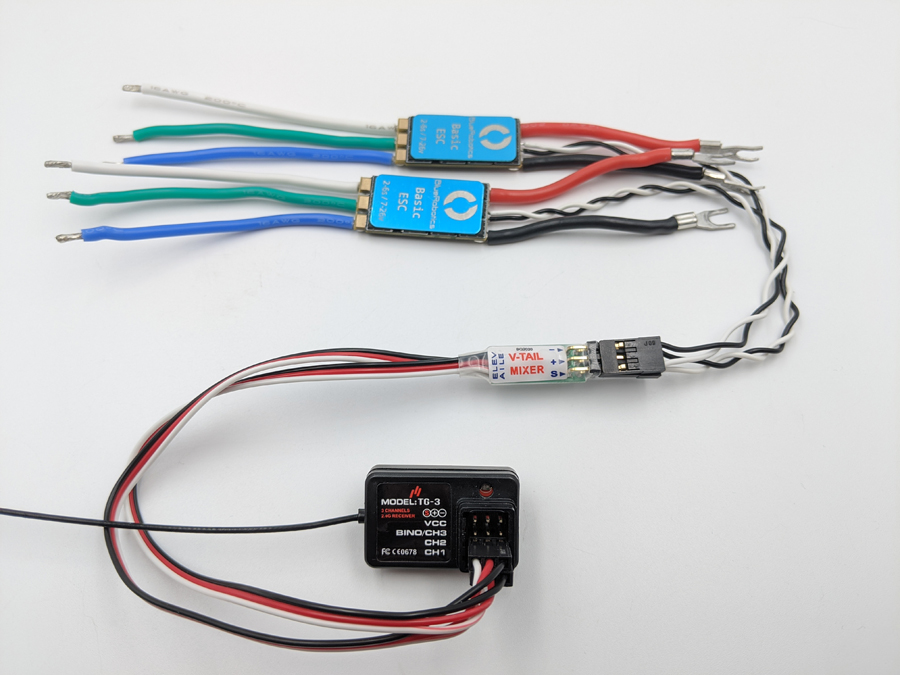
ESC connections using a channel mixer.
Power
Since the Basic ESC does not have a built in BEC, the receiver has to be powered with a separate power supply. The 5V 6A power supply has a 3-pin servo header that can plug directly into the receiver. The receiver in this example has one of the channels labeled “VCC”, this is where the power supply is connected.
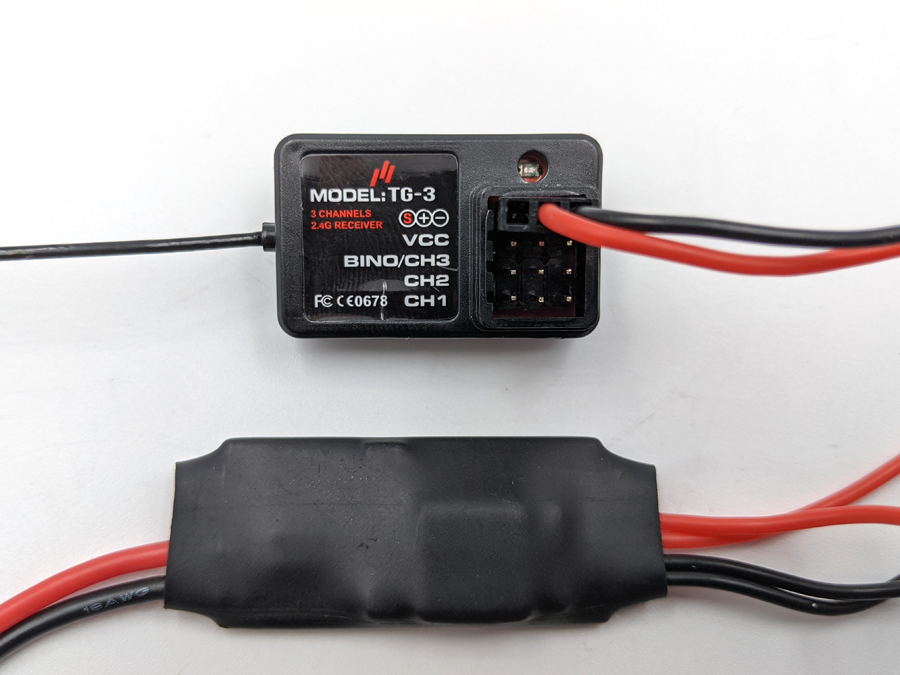
Supplying power to the receiver.
The ESCs and 5V 6A power supply should then be connected to a power distribution block. In this example I’m using an 8-Circuit Barrier Block and jumpers to make one side positive and the other side ground.
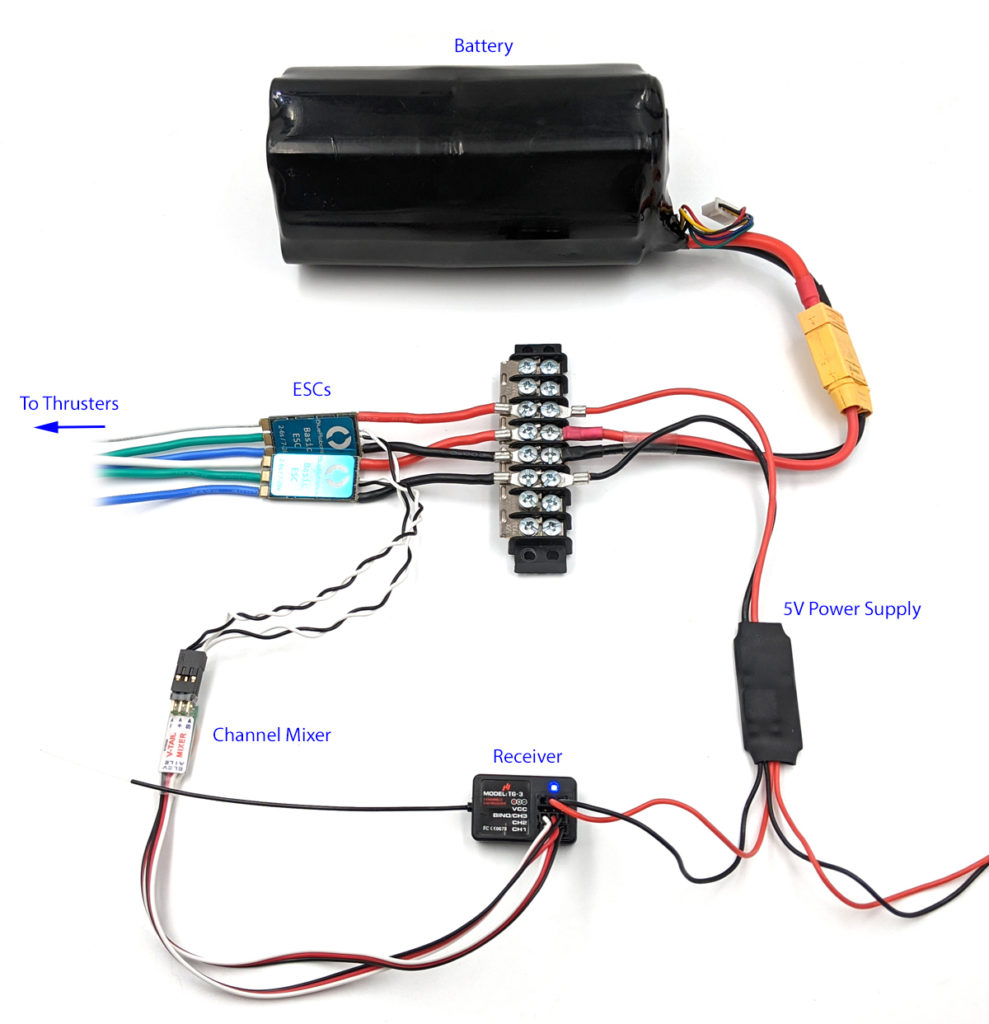
Everything connected.
Notes on Operation
Arming the ESCs
The transmitter should send the correct signal arming signal to the ESCs when it is powered on and the control sticks/wheel/trigger are in the center, neutral position (no input). If the ESCs do not arm then try adjusting the “trim” for each input on the transmitter until the ESCs arm. On many transmitters the trim is adjusted using a knob or a slider.
Powering On and Off
When turning everything on, the transmitter should be powered on before the receiver. When turning everything off, the transmitter should be turned off last, after removing power from the receiver. This prevents the receiver from picking up random noise and activating the thrusters accidentally. Some RC systems have a feature to prevent this but it’s a good practice to follow just in case!
Next Steps
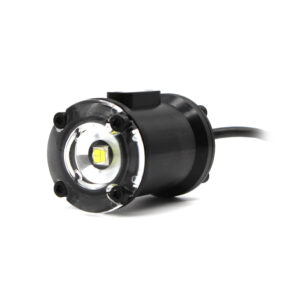
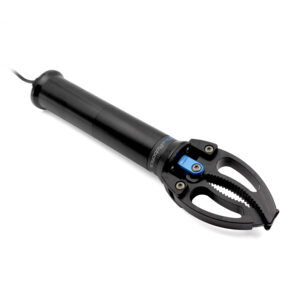
An RC transmitter and receiver can be used to control the Lumen Subsea Lights and Newton Subsea Gripper as well! The Lumen and Gripper use a PWM signal for control so the information in this guide will apply to both.
When you’re done with your project, why not show it off on the community forums!
What did you think of this guide? Do you have any suggestions to make it better? Let us know here!

