Safety
When working with electricity, especially in water, always practice caution. Always ensure that connections are secure and watertight. Keep your body away from spinning motors and propellers.
Quick Start
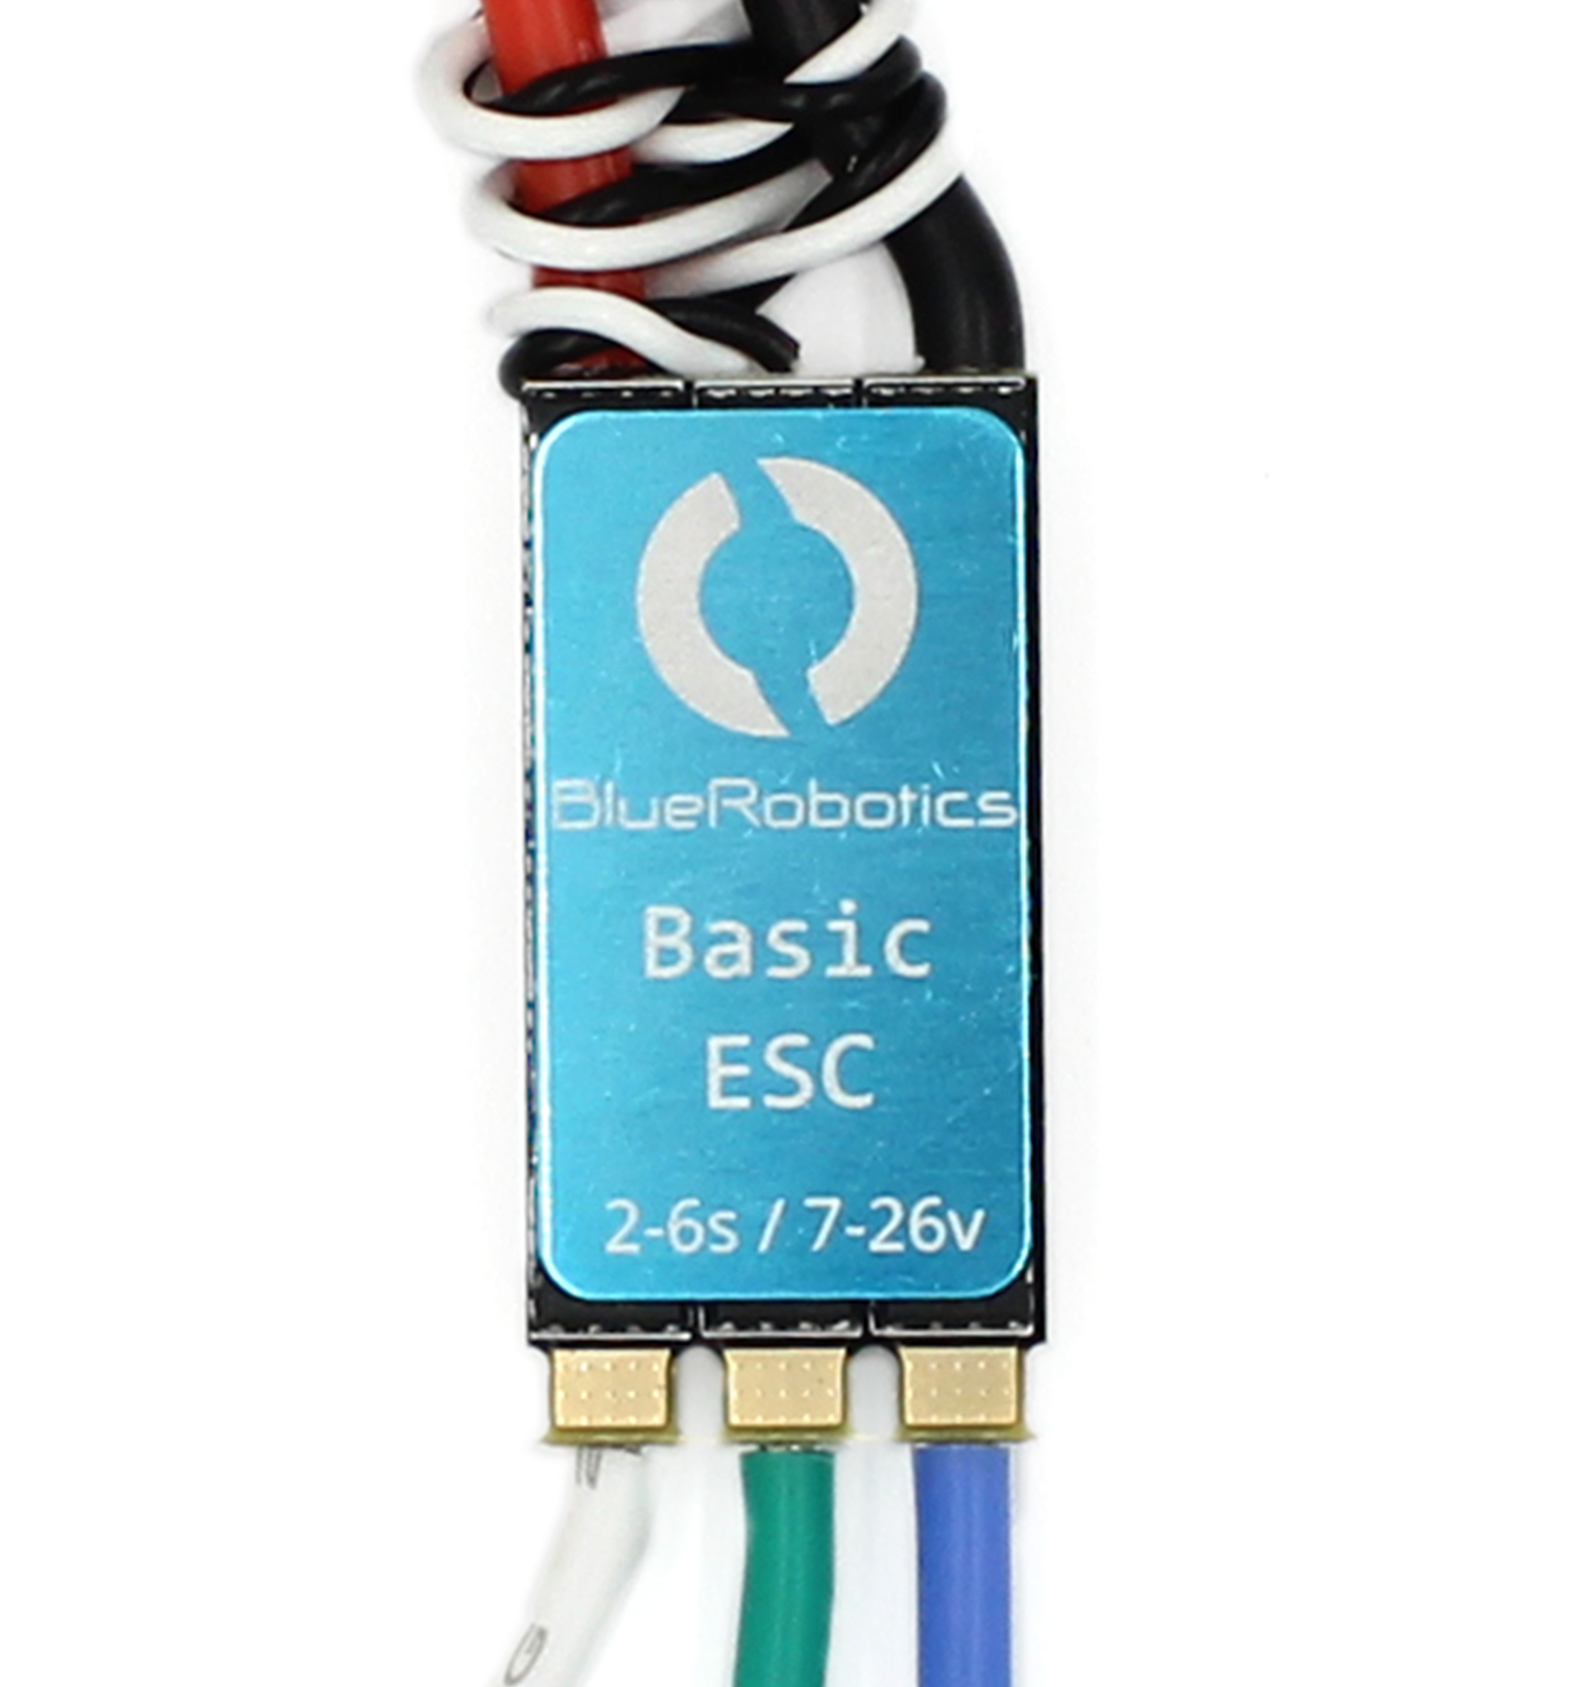
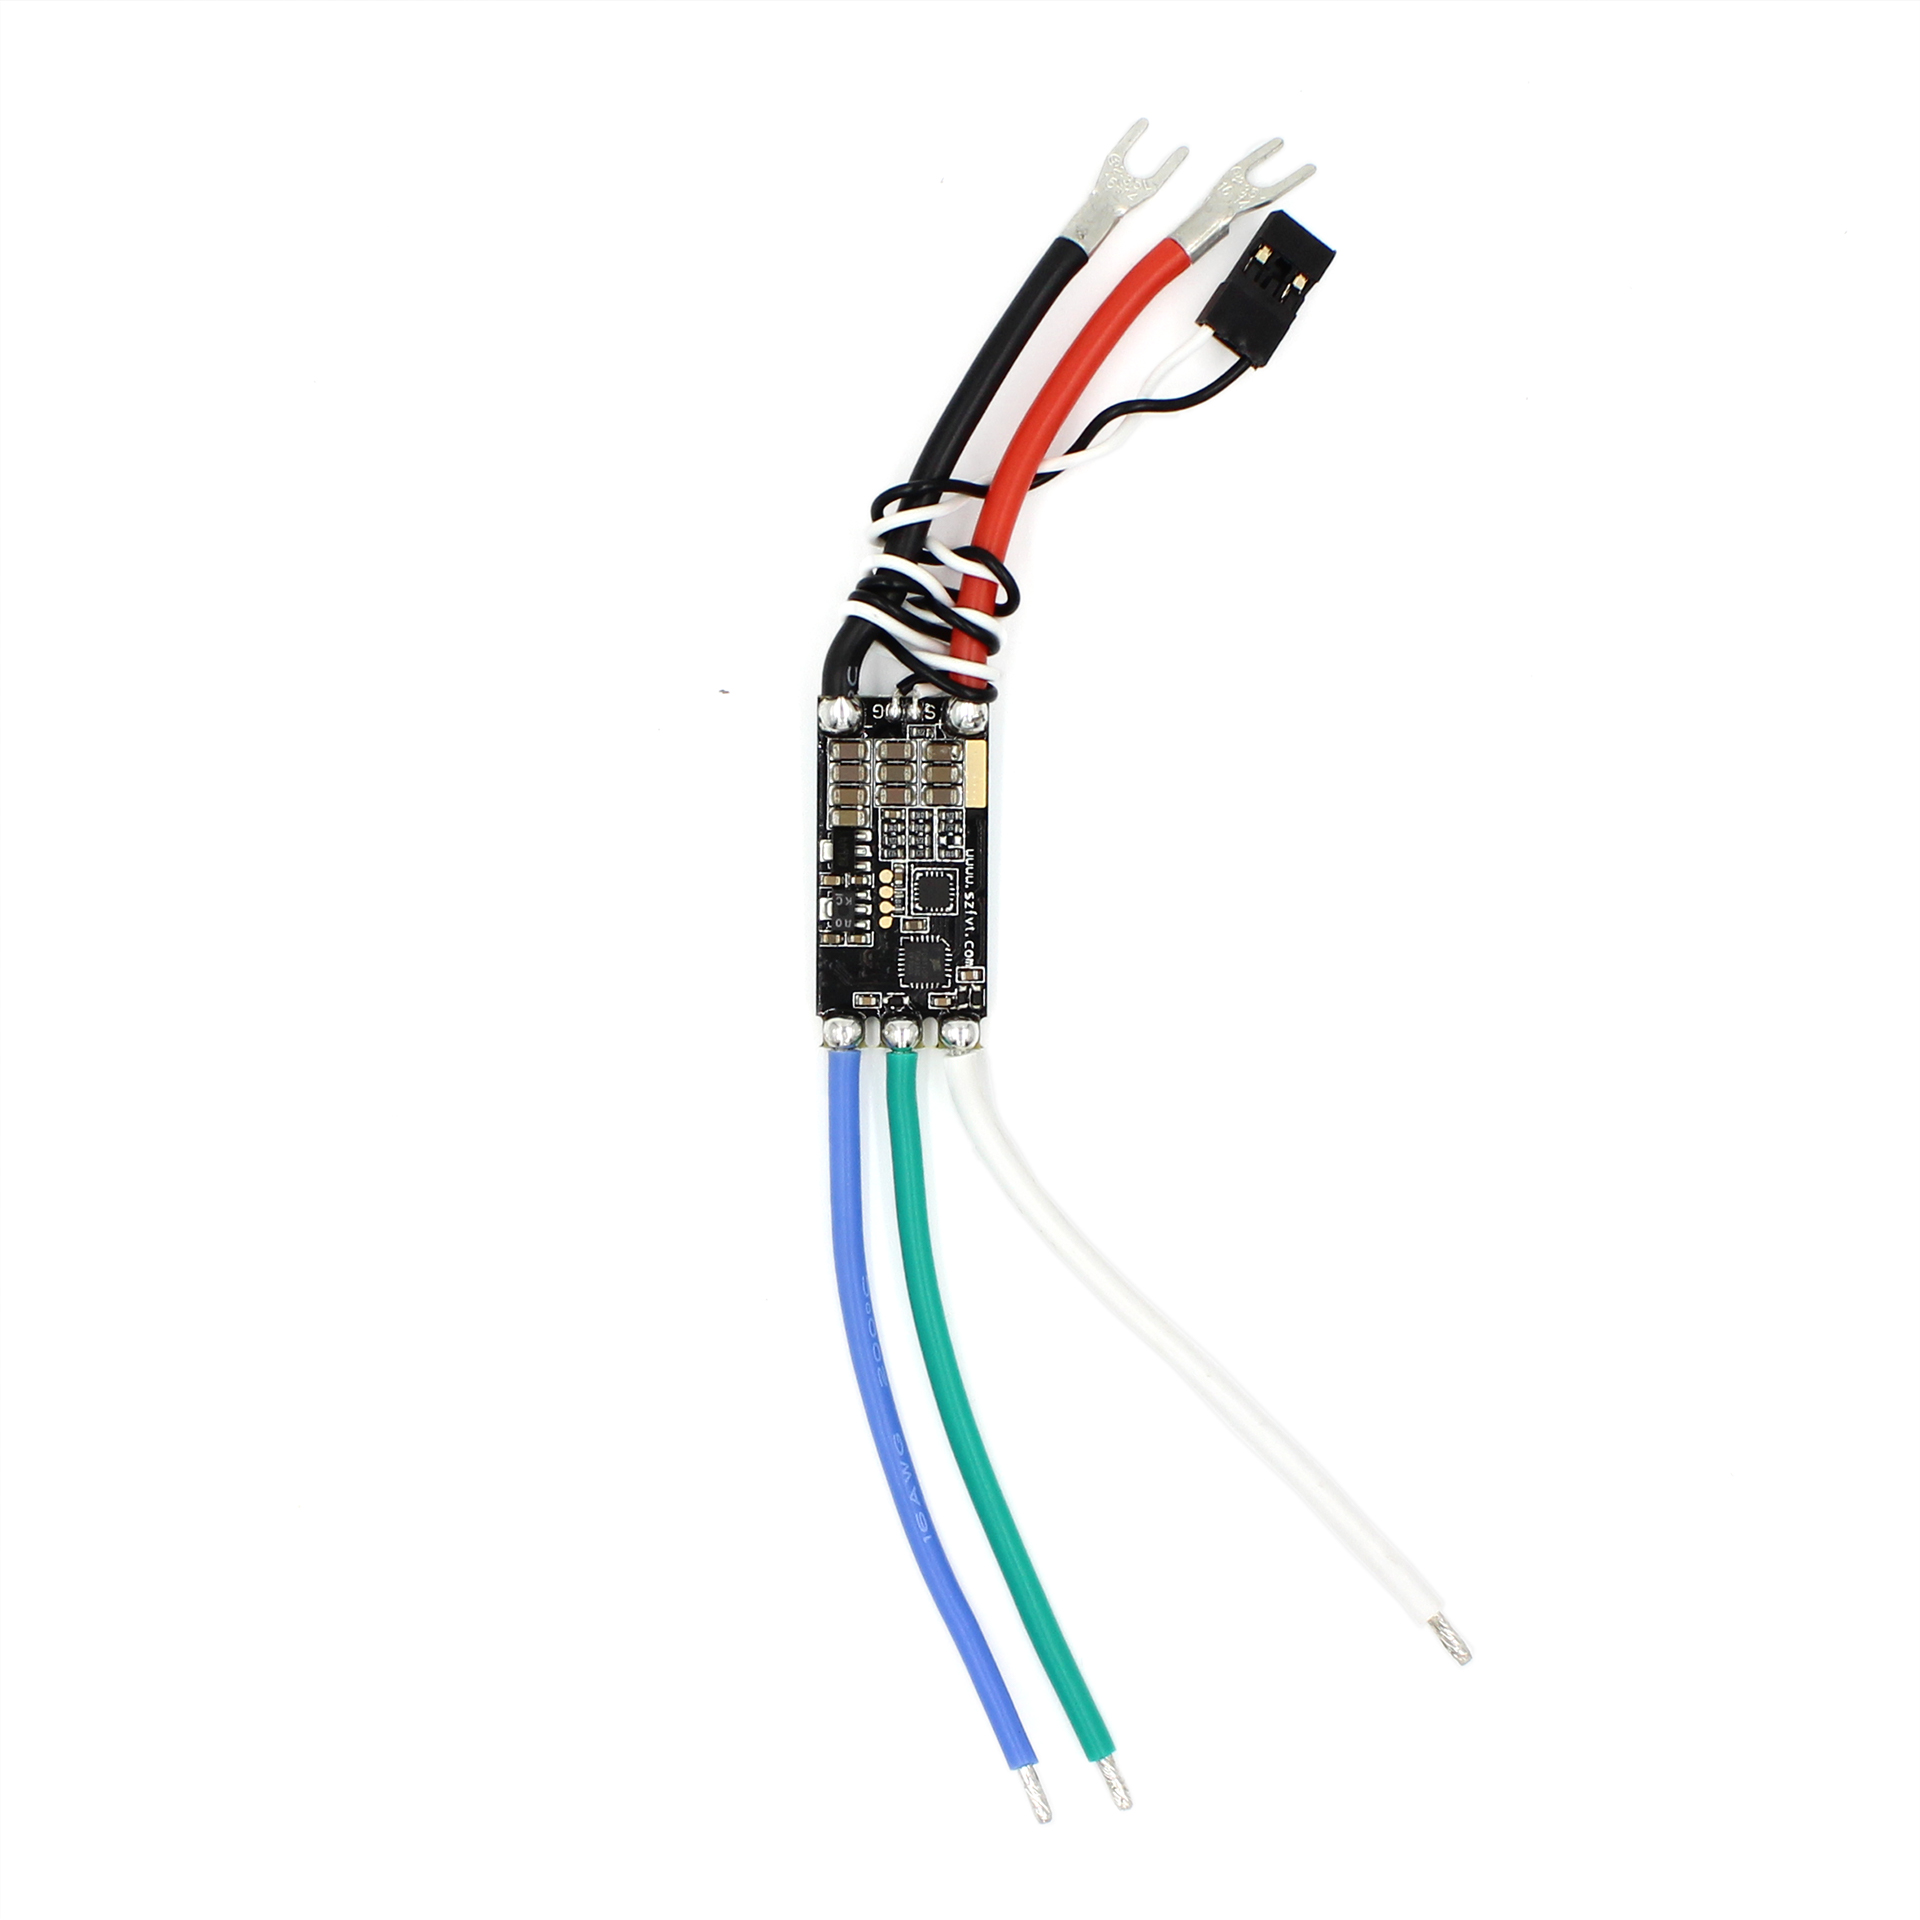
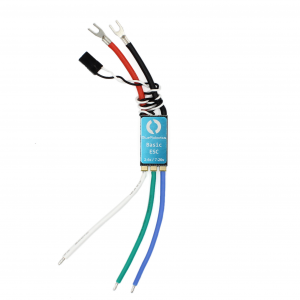
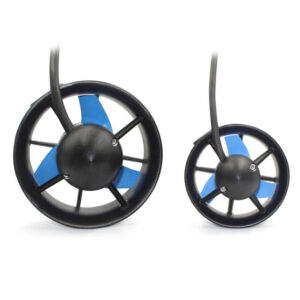
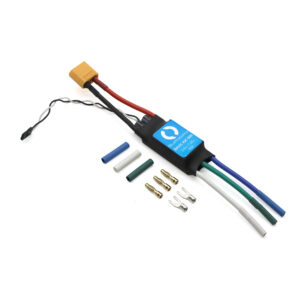
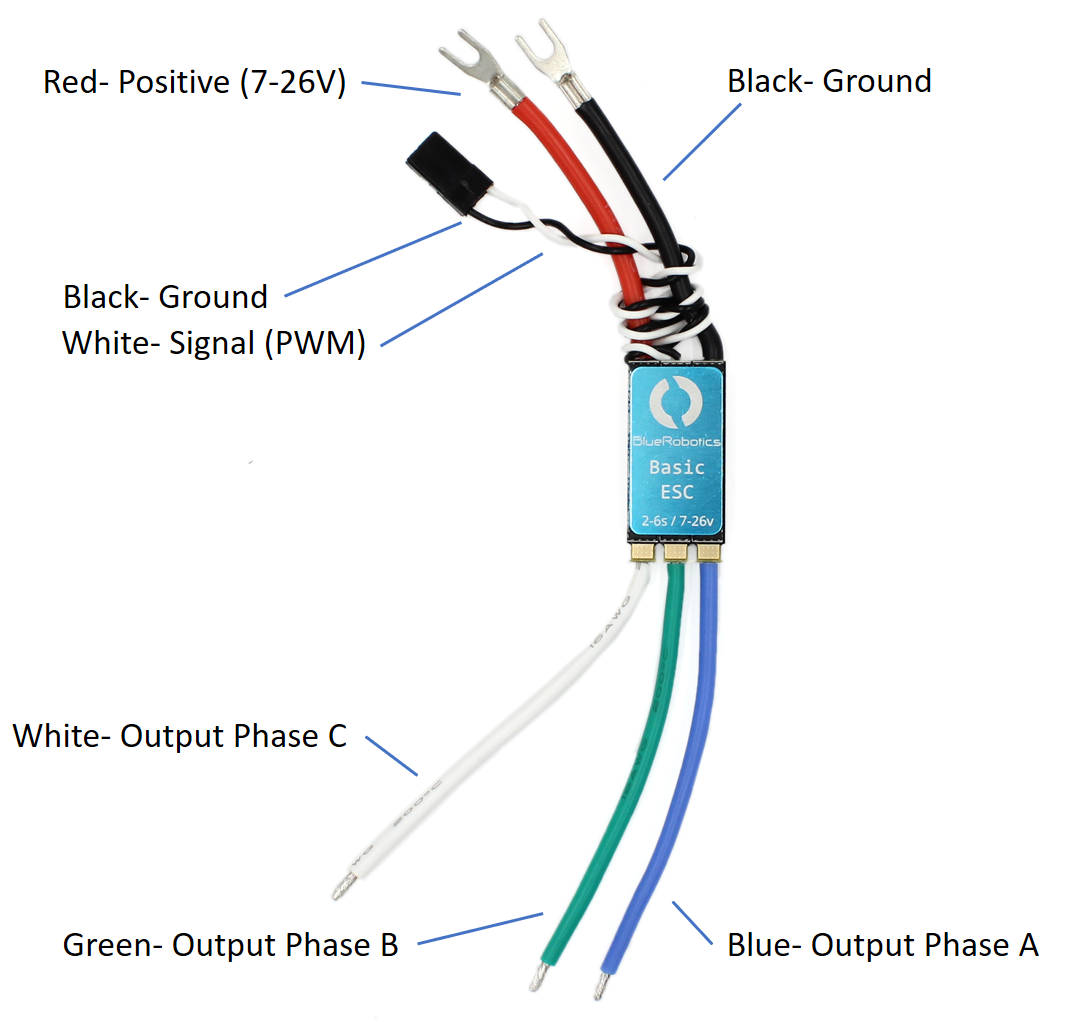
1. Connect the three motor phase wires to the three motor wires. The order does not matter, the motor will spin with the wires connected in any configuration. However, switching any two wires will change the direction of the motor.
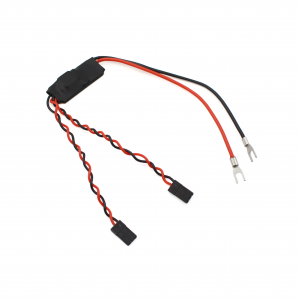
2. Connect the red power wire and black ground wire to a battery or other power source. With a motor connected, you will hear three beeps in rising pitch indicating the ESC is powered on.
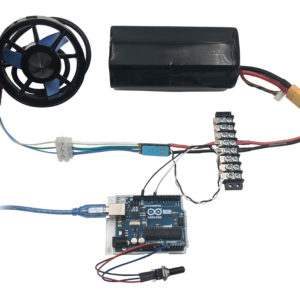
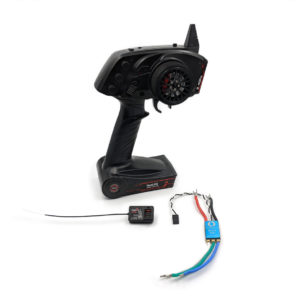
3. Connect the signal cable to your signal source like an RC radio receiver or microcontroller board. The white wire is the signal wire.
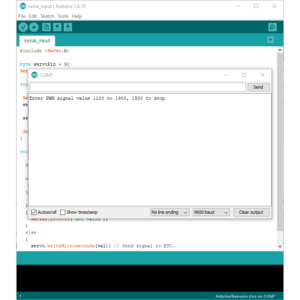
4. Send a stopped signal (1500 microseconds) for a few seconds to initialize the ESC. You will hear two tones indicating initialization, and then you can send a signal from 1100-1900 µs to operate the thruster. 1500–1900 µs for forward thrust, 1100–1500 µs for reverse.
PWM Signal

Diagram
Installation and Thermal Considerations
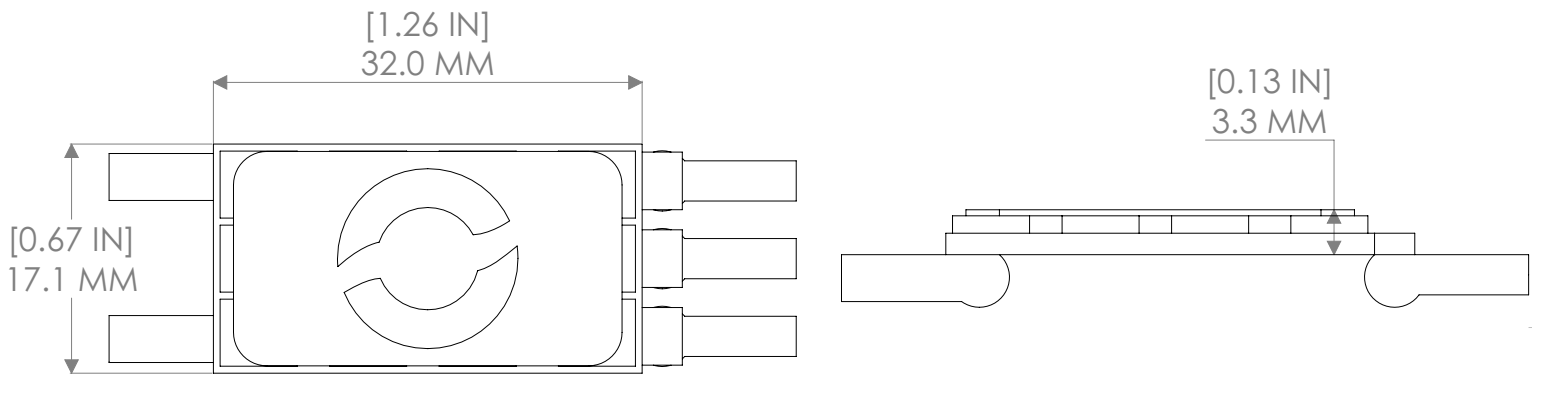
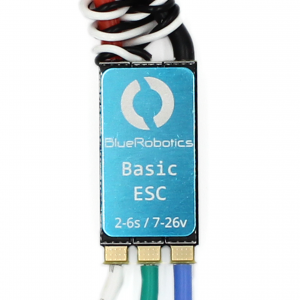
Like all ESCs, the Basic ESC can generate a significant amount of heat when operated. It’s important to consider this when mounting and operating the ESC to ensure that it is not damaged by overheating. Most of the heat is generated in the MOSFETs, which are underneath the blue aluminum heat spreader. Here are a few helpful tips:
1. If possible, make sure the heat spreader is exposed to free air or attached to a larger heat sink.
2. Do not use any adhesives that may insulate the heat generating components, such as silicone sealant.
Guides
Troubleshooting
When a motor is connected to an ESC, the ESC can use it as a “speaker” to play a series of beeps. These beeps provide information about the status of the ESC and are useful for troubleshooting. The following is the meaning of the beeps played during the typical initialization sequence.
1. At power on the ESC will beep three times in rising pitch. If you do not hear these beeps:
- The ESC may not be receiving power. Check your power supply and all power connections.
- The motor may not be connected correctly to the ESC. Check that there is a good connection between the three ESC motor wires and the motor wires.
2. If any throttle signal is detected the ESC will then beep one time. If you do not hear this beep:
- It means the ESC is not receiving any sort of throttle signal. Check the signal source to see if it is powered on and sending the correct signal.
- Check the connection between the signal source and the white ESC signal wire.
3. If the initialize/stop signal (1500 µs) is detected the ESC will beep one final time indicating that it is fully initialized. If you do not hear this beep:
- It means the ESC is not receiving the correct 1500 µs signal. Check if your signal source is sending the correct 1500 µs signal.