
Using Blue Robotics Components on a Competition ROV
ROV Competitions: Learning for the Future
In all four years of high school, I competed in the MATE Underwater ROV competition, and loved it! From freshman year when my Scout class ROV was barely able to move, to Junior and Senior years when my team and I advanced to the international competition and ended up placing third, and then first, in the world in Ranger class, I learned key skills and acquired knowledge which I draw from on a daily basis. In fact, my participation is what led to my interest in marine robotics, and played a large part in landing me an internship at Blue Robotics last year, leading to my job here now.
The competition has certainly evolved since I was a participant- back in my day the only thruster option in the budget was converted bilge pump motors. We used them and we liked it! Now many teams are stepping up to the increased challenge of the competition, and using newly affordable products, like ours, which didn’t exist just a few years ago.
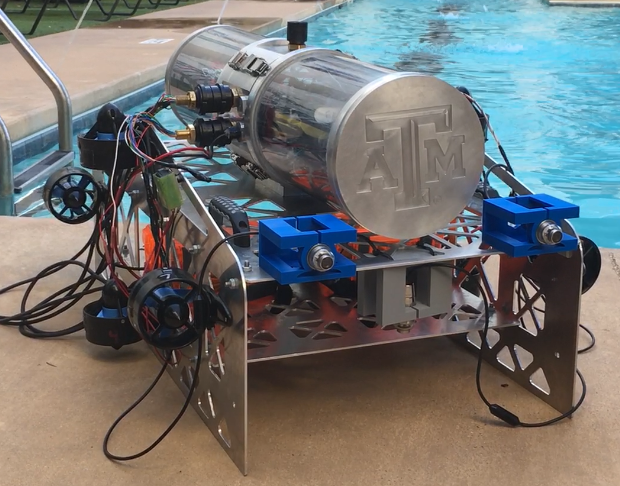
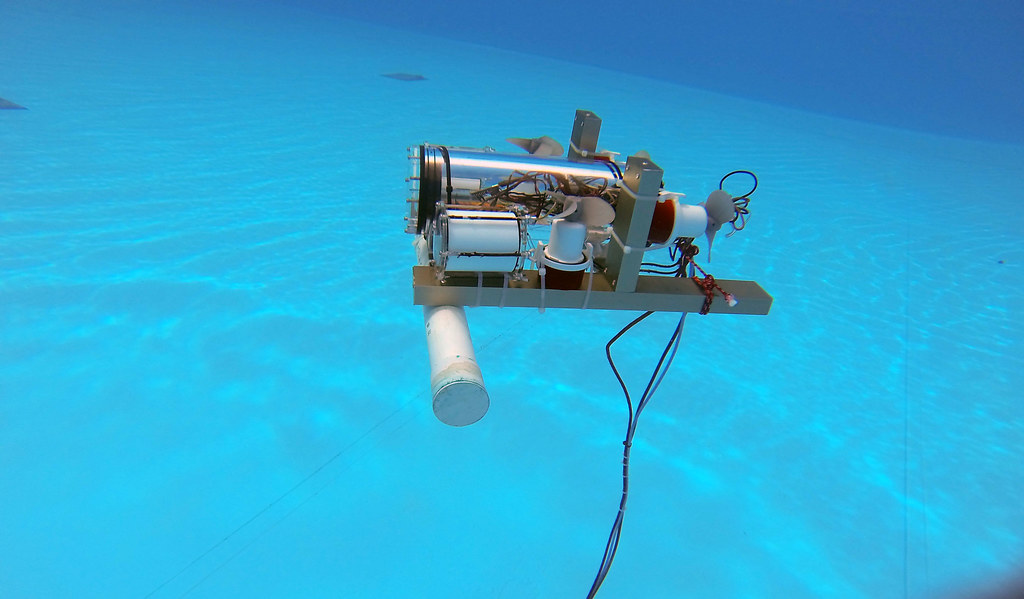
T200 Thrusters mounted on a competition AUV (left), and an ROV with T100 Thrusters (right).
If you’re interested in using some of our products for a student ROV or subsea vehicle competition, you likely have a few questions about what parts to use to make a competent ROV. I’ve put together this brief introduction going over some of our products and how to use them in your vehicle to make it easy to get your competition ROV ready and running!
Thrusters
The core of any good ROV is a set of powerful and reliable thrusters to move around with and accomplish your mission goals. Our T200 Thruster can work well for student teams, as long as the power budget allows.
Depending on the number of thrusters you are planning on using, you may have to limit the max throttle on your thrusters to prevent blowing your fuse! Don’t worry, even at half throttle, a T200 will be much more powerful and efficient than a bilge pump thruster. Refer to the specifications and charts in the technical details to get an idea of the power draw and consumption.
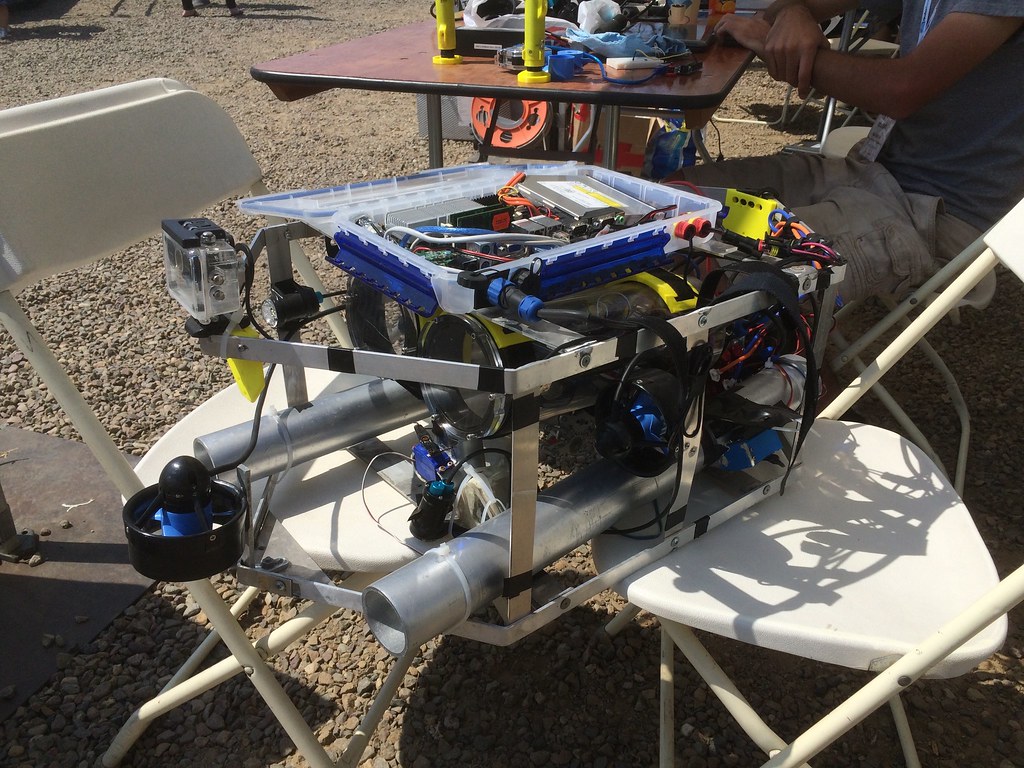
An AUV at the AUVSI RoboSub competition.
It’s important to note that our thrusters are based on brushless motors, different from the traditional brushed design found in most other ROV thrusters and electric motors. The easiest way to tell these motor types apart is by the number of wires they have- if there are three wires coming out, like our thrusters, this means it’s a brushless motor. You can’t run our thrusters by simply connecting them to a battery or switch (unless you want a barbecue!), you need a brushless electronic speed controller, or ESC, like our Basic ESC.
The Basic ESC allows you to efficiently and smoothly operate a thruster with standard RC PWM signals, which can easily be generated by an Arduino microcontroller or similar. Simply program the Arduino, hook it up to the ESC and motor as outlined in the product quick start, and you’re good to go!
There are plenty of easy-to-follow tutorials online, and even tools like AI, that can help you get started with using an Arduino. This method lets you control your ROV using almost any kind of controller that connects to a computer or Arduino, with the main goal of sending signals to the thrusters. If you want a more advanced setup, you can also use Blue Robotics’ software tools, like BlueOS and ArduSub, which run on a Raspberry Pi and connect to a Navigator or Pixhawk controller. This setup gives you more features and flexibility for your ROV. You will need one ESC per thruster- there’s no clever way to get around this!
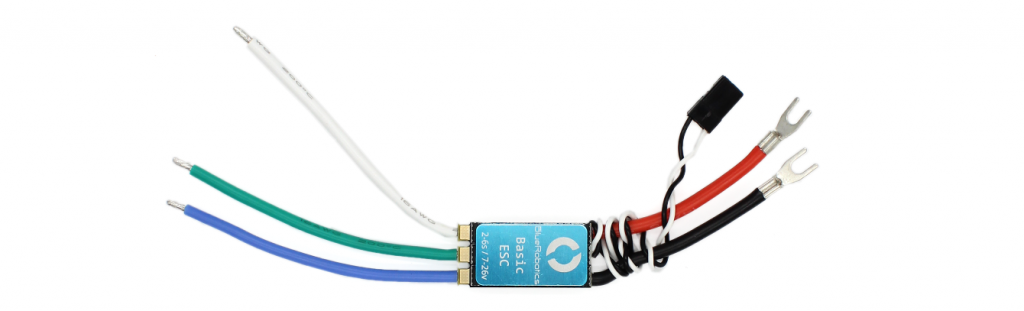
The Basic ESC
The Basic ESCs are not waterproof, so you will need to keep them out of the water. We recommend keeping the ESCs close to the thrusters and onboard the vehicle for maximum performance and practicality, inside one of our watertight enclosures. If the ESCs are kept on the surface instead, three power wires need to be run down to each motor. As you draw more current, the voltage can drop significantly, greatly reducing the performance of your vehicle. Any cable thick enough to prevent this from occurring would make for a very bulky and heavy tether, hampering your vehicle’s performance anyway. Keeping the ESCs onboard means you only need a single pair of thick power wires for your whole vehicle, a much more practical solution. For example, a 50 ft tether supplying 25a at 12v would have a voltage drop of about 1.5v with an 8AWG pair, just fine for something like the MATE competition.
Watertight Enclosures
Rated for pressures much higher than you will see in a MATE competition or similar, our watertight enclosures will keep your vehicle’s control electronics safe and dry, while being quick and easy to open for troubleshooting or other modifications. We often find that any wiring between components takes up a lot more space than expected! Because of this, we recommend our 4″ Watertight Enclosure over the other sizes in most cases:
- It will give you plenty of room to work with.
- It has lots of buoyancy to make up for the weight of the rest of your vehicle.
- With the optional Electronics Tray you can easily and conveniently place whatever you need inside.
- It also has an optional clear dome, perfect for a camera or complete Camera Tilt System that needs a wide, clear view so you can see the competition area (and those pipe cleaner crabs or fishing lure shrimp!).
- Enough space for up to 18 of our cable penetrators per side, giving you lots of room for thrusters and other accessories.
If you need even more space, our enclosures also come in 6″ and 8″ sizes. You can fit a powerful mini computer with room to spare into one of these, like what is often needed for the RoboSub AUV competition!
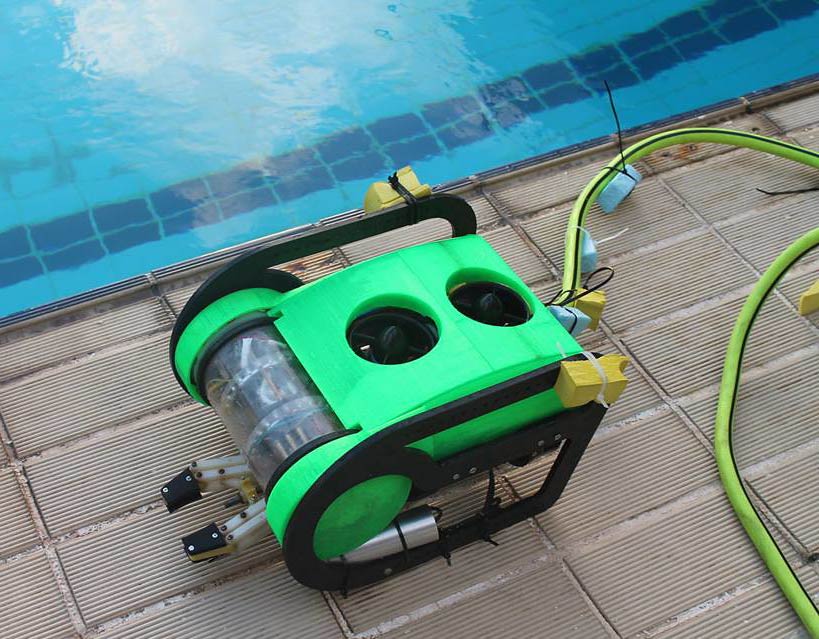
An ROV with bilge-pump thrusters and a 4" Watertight Enclosure.
Otherwise, if you’re really pressed for space on your vehicle’s frame, you might be able to fit all of your electronics into one of our 3″ Watertight Enclosures, but you’ll have less space on the end caps for cables and no electronics tray option, unless you make your own. We also have a 2″ Series Watertight Enclosure, which could be useful if you want to mount auxiliary cameras on your vehicle, and can’t waterproof them by potting.
Our cable penetrators are a simple and reliable method of passing cables into a watertight enclosure while keeping water out. Note that you’ll need one vent on your watertight enclosure to make it possible to open and close!
Sensors
If your competition requires accurate depth sensing, the Bar02 Depth Sensor mounts to a watertight enclosure and will measure your depth to within a few millimeters at up to 10 meters deep! If you also need to measure temperature to an accuracy of plus or minus a degree Celsius this sensor has you covered. If you need a higher resolution temperature reading, the Celsius Temperature Sensor will do the job to the nearest 0.1°C. We also have the Bar30 Depth Sensor if you need to measure greater depths of up to 300 m and don’t need quite as high an accuracy as the Bar 02.
All these sensors communicate with a microcontroller over the I2C protocol and are easily used with an Arduino. Note, however, that since they use 3.3v logic (Arduinos usually use 5v) you will need an I2C Logic Level Converter to make sure they work properly. We have a guide covering the process of using a Bar30 or Bar02 with an Arduino in further detail.
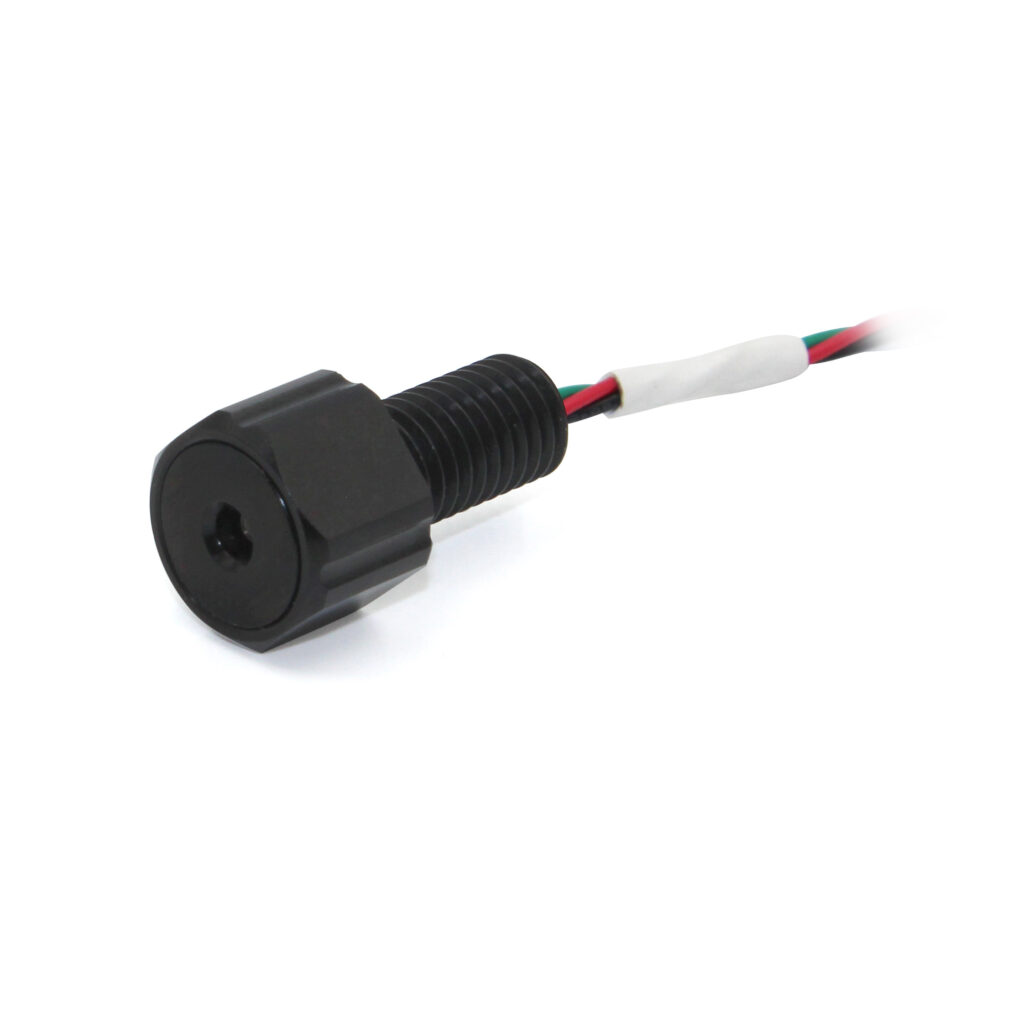
The Bar02 Ultra High Resolution 10m Depth/Pressure Sensor.
For some more advanced applications or challenging competitions, you may also need to detect something at range, such as how far away an object is or how far above something your vehicle is. Our Ping Echosounder has a range of up to 30 m, can lock onto a solid target to see how far away it is, and give you all the raw data to see if anything smaller is along the way too. A standard serial UART interface makes it easy to use directly with an Arduino, or you can use our BLUART USB to serial adapter to plug it directly into an onboard or topside computer.
If You Need More Help
Hopefully this post answered most of your questions if you’re on a student team, and made it easy to decide what you need for your vehicle. A more in-depth explanation of ROV design, science, and fabrication can be found in this excellent textbook which may be very familiar to some of you! If you have any other specific questions about a component, it’s probably answered in the Technical Details or Learn tab of the product page, or we have a relevant guide. If not, don’t hesitate to email us for clarification, or ask your question on our very active discussion forum.
Good luck and have fun!
Here are a few other useful links: