
WTE Vent Assembly Guide
Introduction
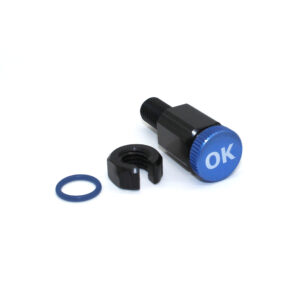
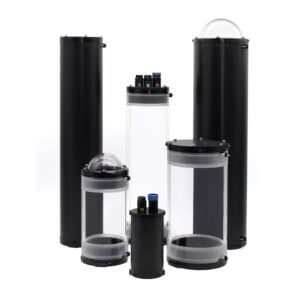
The enclosure vent allows the release of trapped air when using the watertight enclosures. Once sealed, it provides a reliable high-pressure seal against water.
Important Notes
Parts and Tools
You Will Need
Assembly
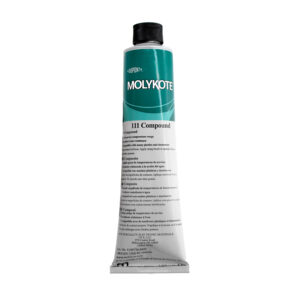
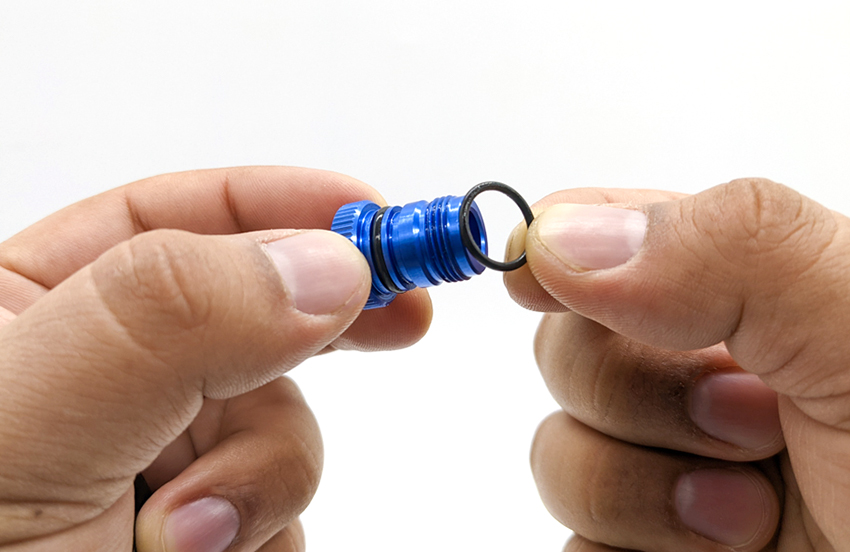
1. Lubricate the o-rings with a thin layer of silicone grease. The o-rings used for the plug and the o-ring used for the bulkhead look very similar but are different sizes.
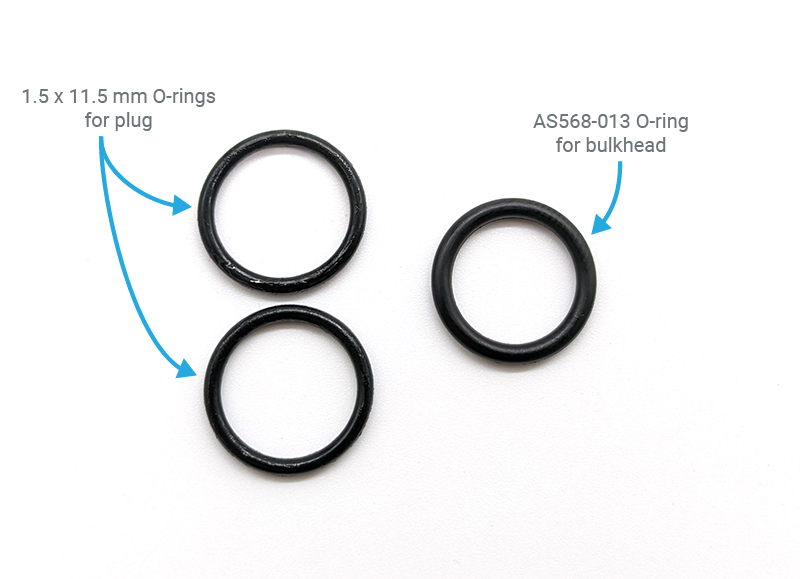
Install the 2 slightly thinner o-rings on the Vent Plug.
Install the slightly thicker bulkhead o-ring in the groove on the underside of the bulkhead.
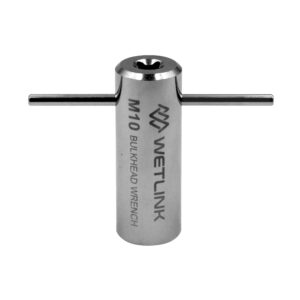
2. Using the provided M10 nut, secure the bulkhead to an appropriate hole in the watertight enclosure end cap. Tighten to finger tight, then use the Bulkhead Wrench to tighten an additional ~1/16 of a turn. If you can’t loosen the bulkhead with your fingers, it is tight enough. If using a torque wrench, tighten to 3.5 Nm.

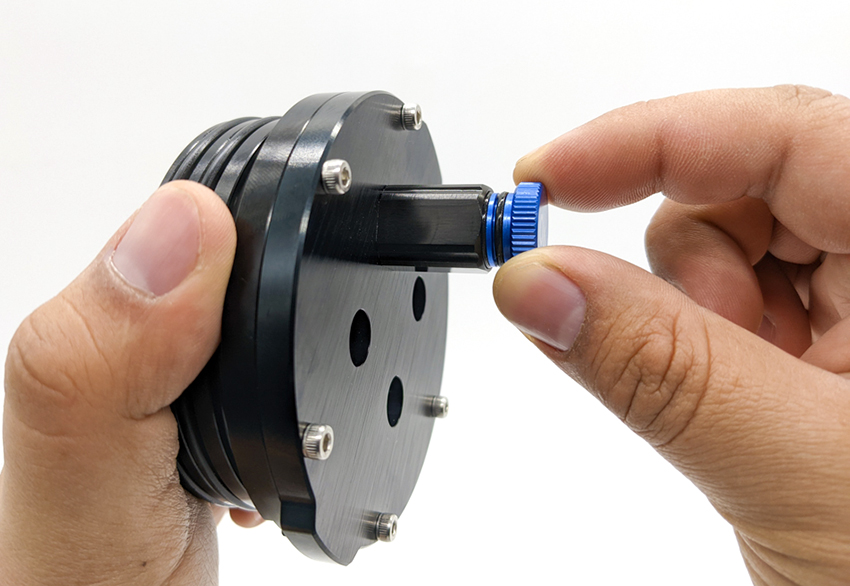
Insert the plug into the bulkhead and tighten.
Related Guides
Using the Vacuum Plug and Hand Pump
Watertight Enclosure (WTE) User Guide
Authors

Rusty
Rusty is the founder and CEO of Blue Robotics. His background is in engineering but he likes to be involved in everything at Blue Robotics!

Elisa
Elisa is the co-founder and head of the sales/marketing/support team at Blue Robotics, but her main role is keeping the people HYPED on underwater robotics!