
WetLink Cable Splice Kit User Guide
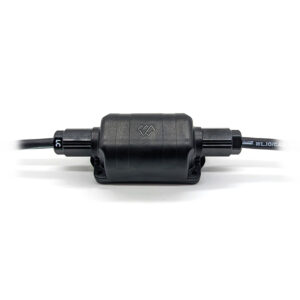
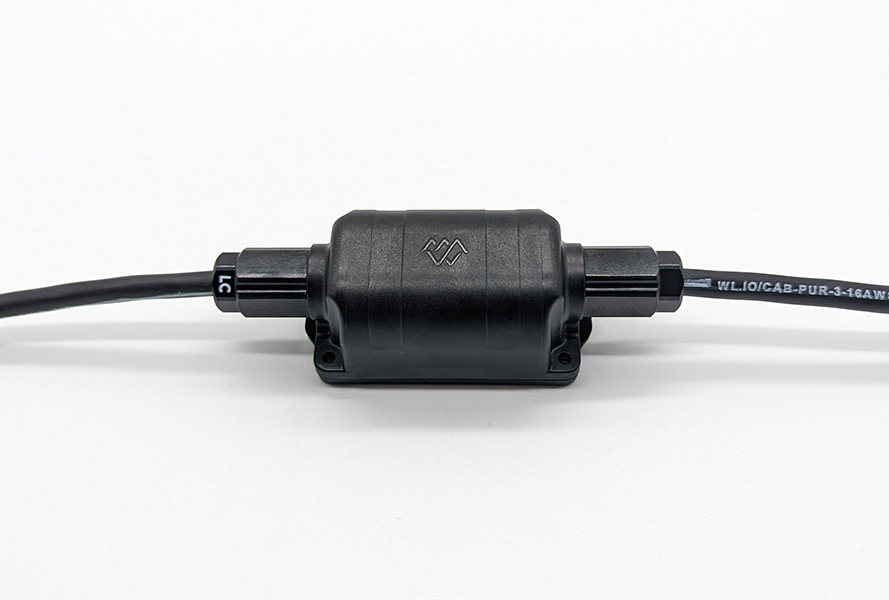
The WetLink Cable Splice Kit enables quick and easy connection of two cable ends without the use of potting compounds, molds, or curing time. The resulting splice is depth rated to 500 meters and can be submerged indefinitely, making it suitable for reliable connections in underwater applications. This guide will show you how to use the WetLink Cable Splice Kit.
Before You Start
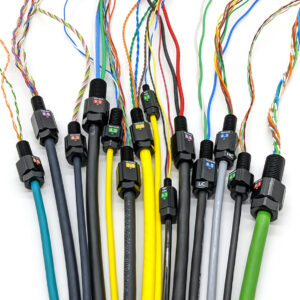
The WetLink Cable Splice Kit is only compatible with M10 size WetLink Penetrators, M06 and M14 size WLPs are not currently supported. Each cable end must have an M10 WetLink Penetrator installed before using the splice kit. For instructions on how to install WetLink Penetrators, check out these guides:
WetLink Penetrator Assembly and Installation
How to Choose a WetLink Penetrator
Cable Stripping
Parts and Tools
In addition to the WetLink Cable Splice Kit and the cables you’re going to splice, you’ll need the following:
- 2 x M10 bulkhead O-rings and nuts (these come with the WetLink Penetrators)
- At least one M10 Bulhead Wrench and either one additional M10 Bulkhead Wrench or a 16mm/adjustable wrench
- 2 mm Hex driver
Assembly
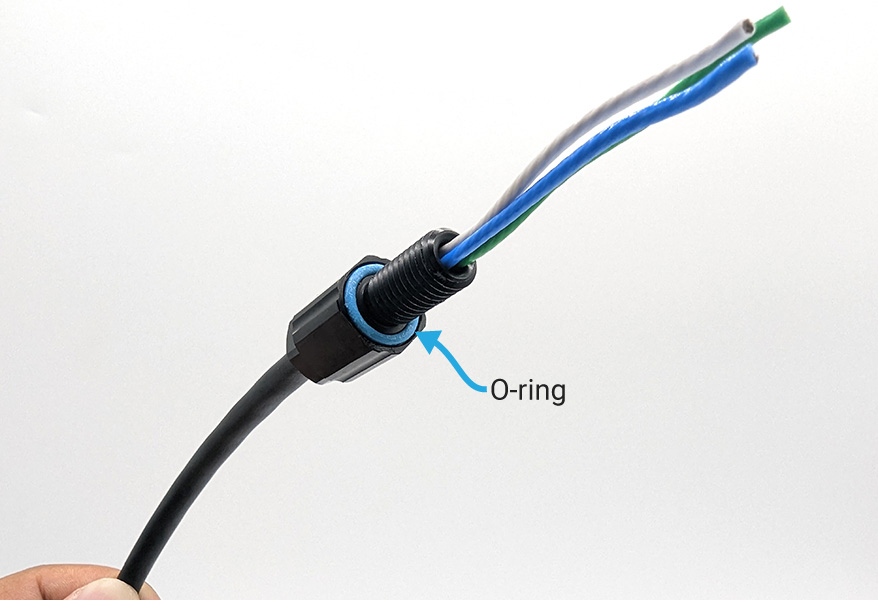
1. Take the M10 bulkhead O-rings included with the WetLink Penetrators and apply a thin, even coat of the included Molykote 111 compound. Install an O-ring in the O-ring groove on the underside of each WetLink Penetrator.
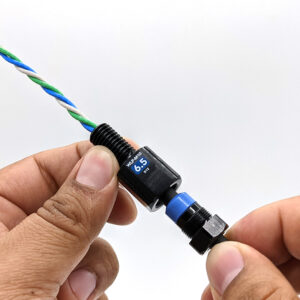
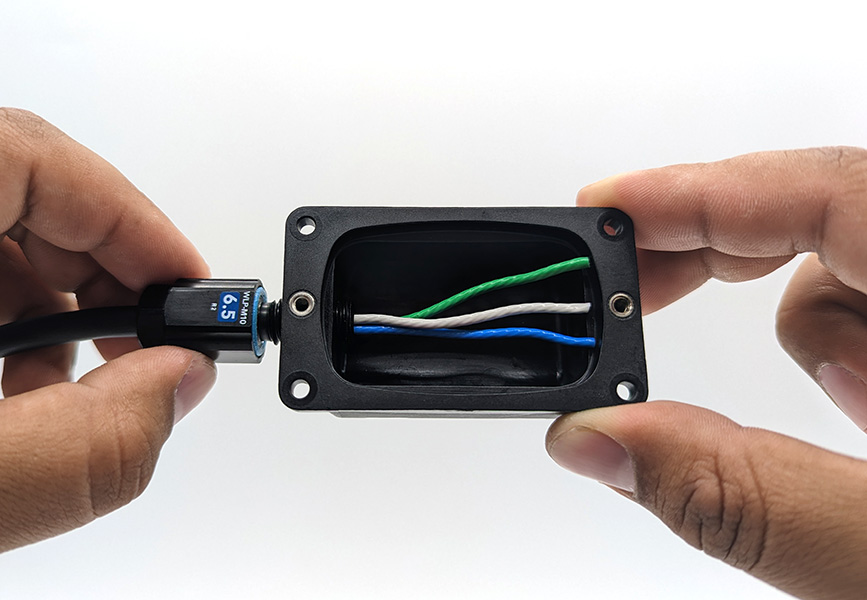
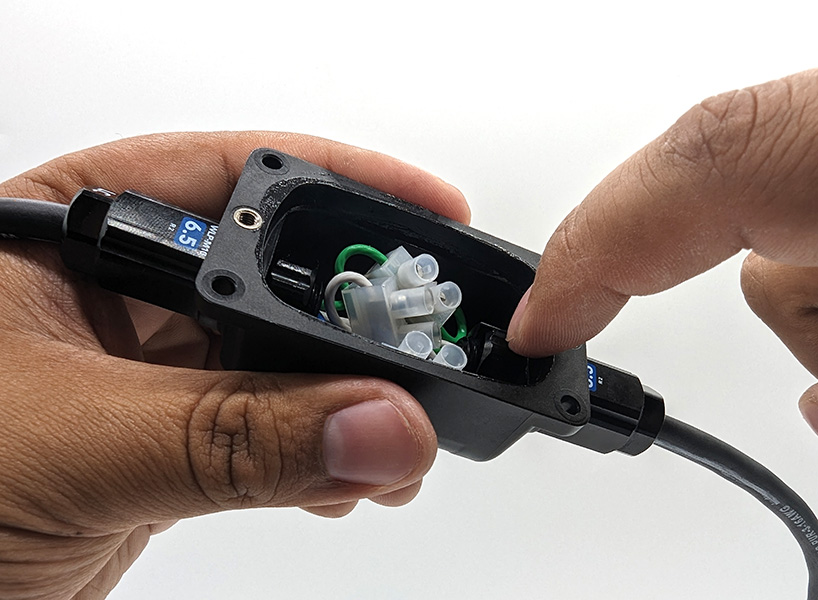
2. Take one of the cables and feed the wires through one of the holes in the splice kit enclosure.
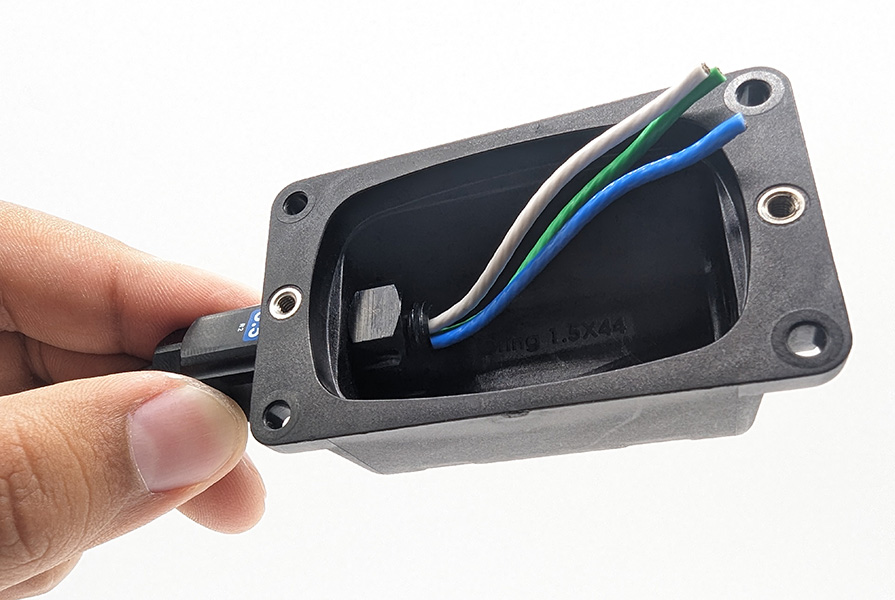
3. Hold the penetrator in the hole while you fasten a penetrator nut on the other side. Tighten the nut until finger-tight.
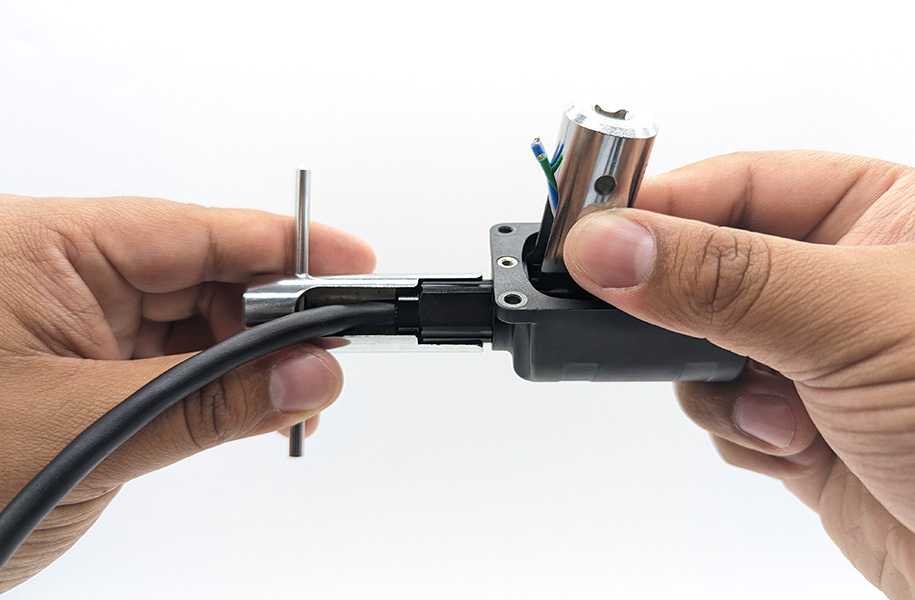
4. Use the M10 Bulkhead Wrench to hold the nut in place while you tighten the WetLink Penetrator with a second wrench. Tighten the penetrator completely, if you can’t loosen it with your fingers, it is tight enough. If you’re using a torque wrench, tighten to 3.5 Nm.
5. Repeat steps 2 through 4 for the other cable.
6. Once both penetrators are installed, make all wire connections inside the enclosure.
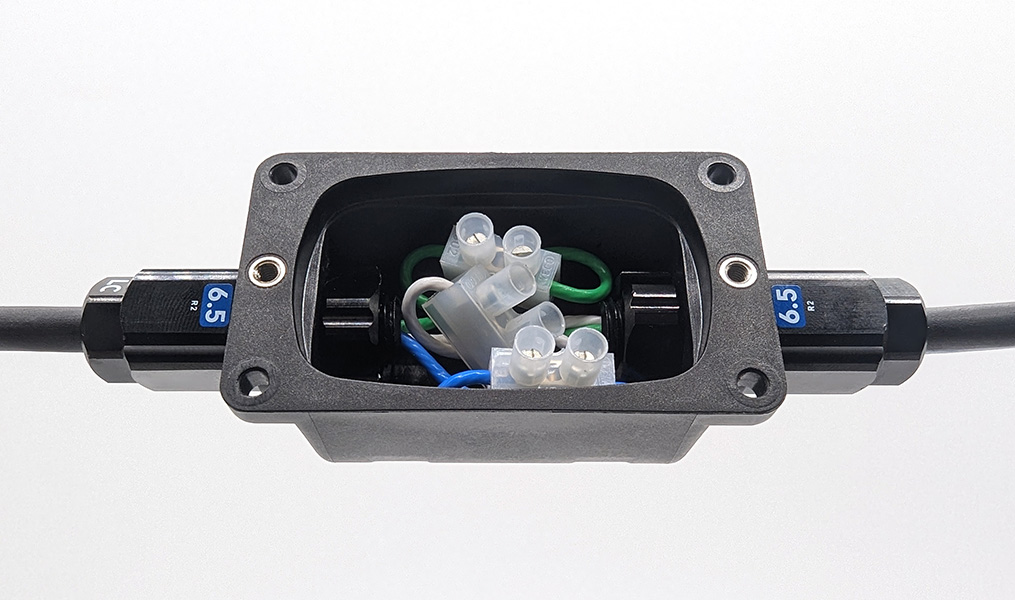
The wire connectors shown here are not included in the kit.
In this example we’re using Euro-style terminal blocks to make the connection, but you can use a solder splice and heat shrink, another type of terminal, or connectorized PCB depending on your cable.
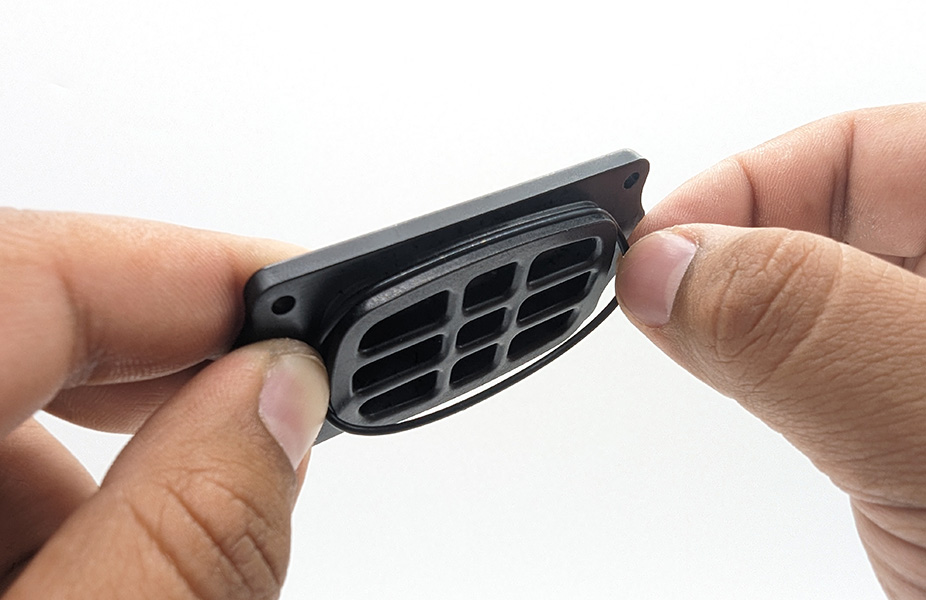
7. Apply a thin, even coat of Molykote 111 to the splice kit lid O-ring and install it in the groove in the lid.
8. Apply a thin, even coat of Molykote 111 to the top of the inner surface of the splice kit enclosure.
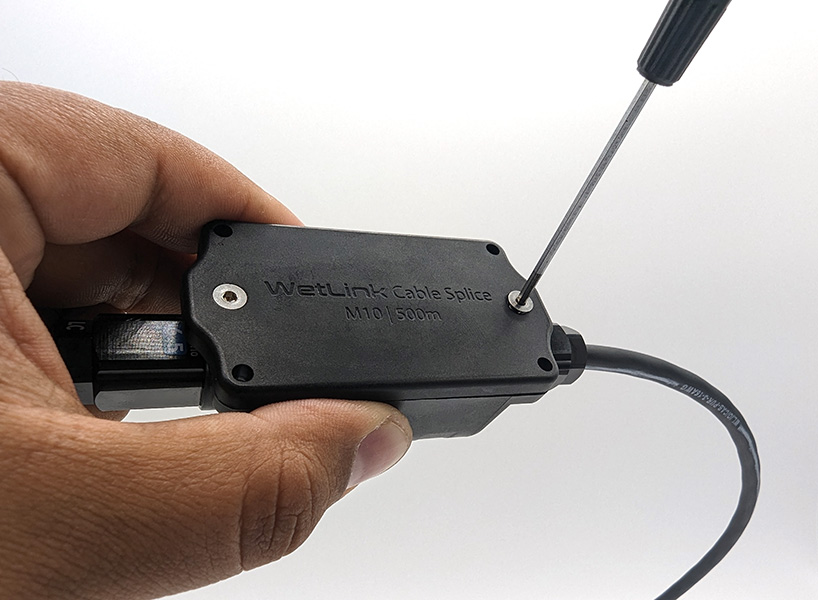
9. Install the lid onto the enclosure and secure it using the lid screws and a 2 mm hex driver.
You now have a waterproof connection that is depth rated to 500 meters.
Mounting
The WetLink Splice Kit has two built-in mounting features.
Mounting Screw Holes
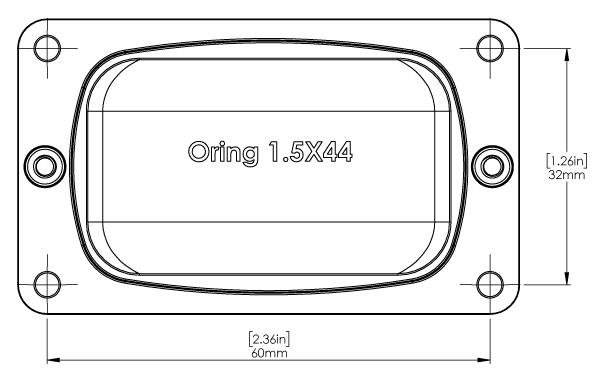
Four 3.2 mm holes can be used to mount the splice kit to a surface using M3 screws (not included) or another type of screw.

The mounting hole pattern is shown below.
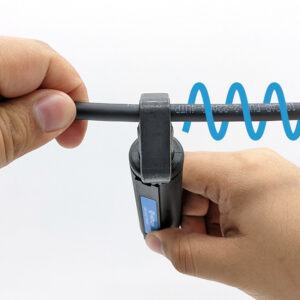
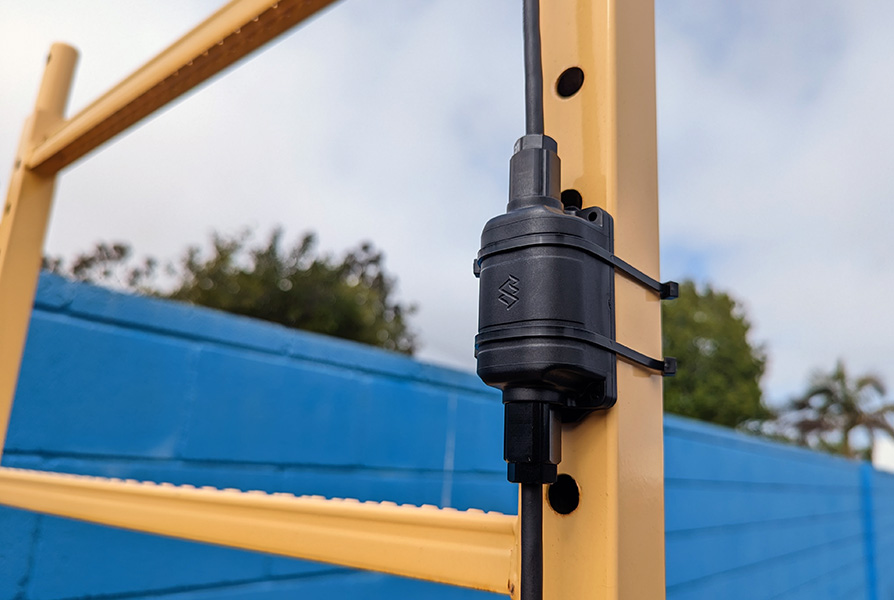
Zip Tie Grooves
Two grooves molded into the splice kit enclosure help to keep it in place when mounted using zip ties.
Maintenance
The WetLink Cable Splice Kit was designed to remain submerged indefinitely, eliminating the need for maintenance. If you frequently open and close the splice kit lid, you should check the lid O-ring for damage and relubricate both the O-ring and enclosure.
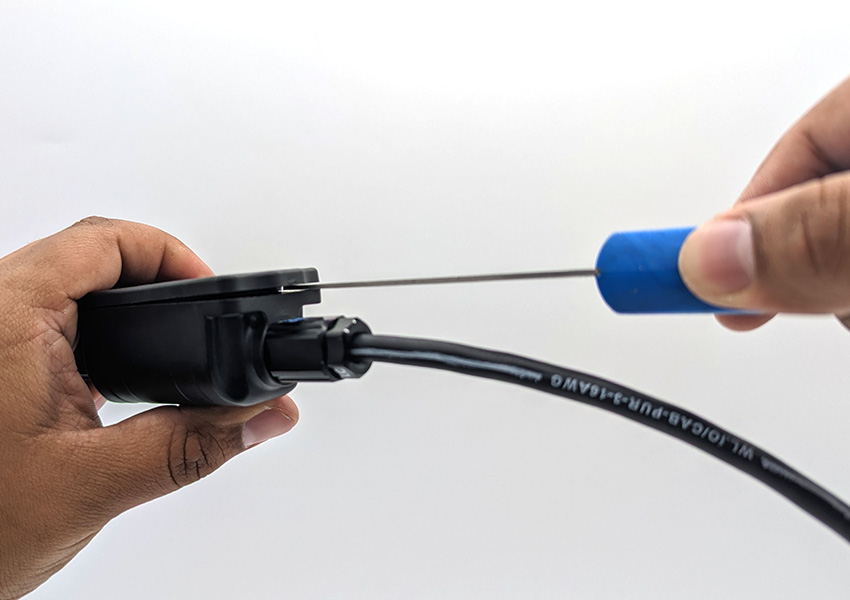
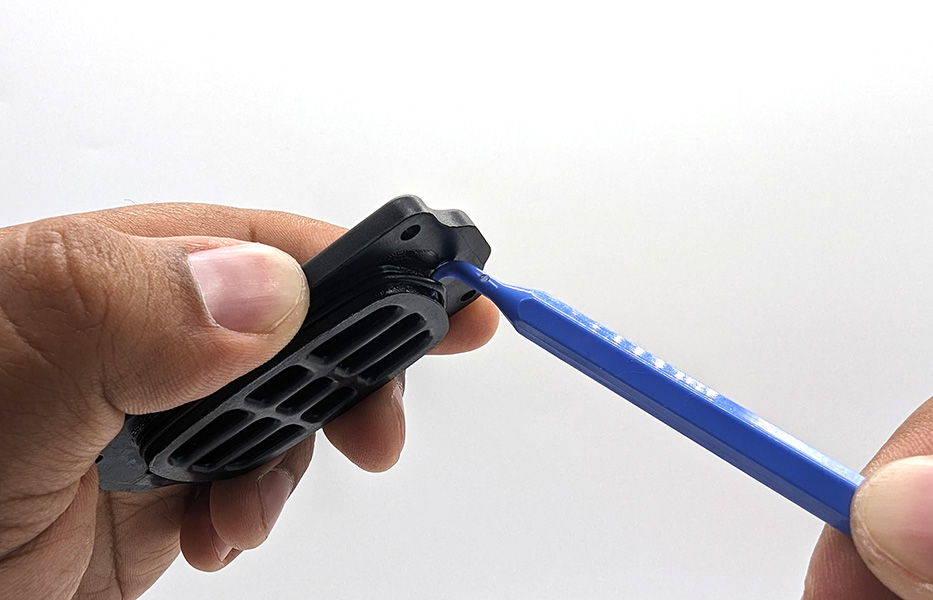
It is ok to use a tool to pry off the splice kit lid if it is difficult to open.
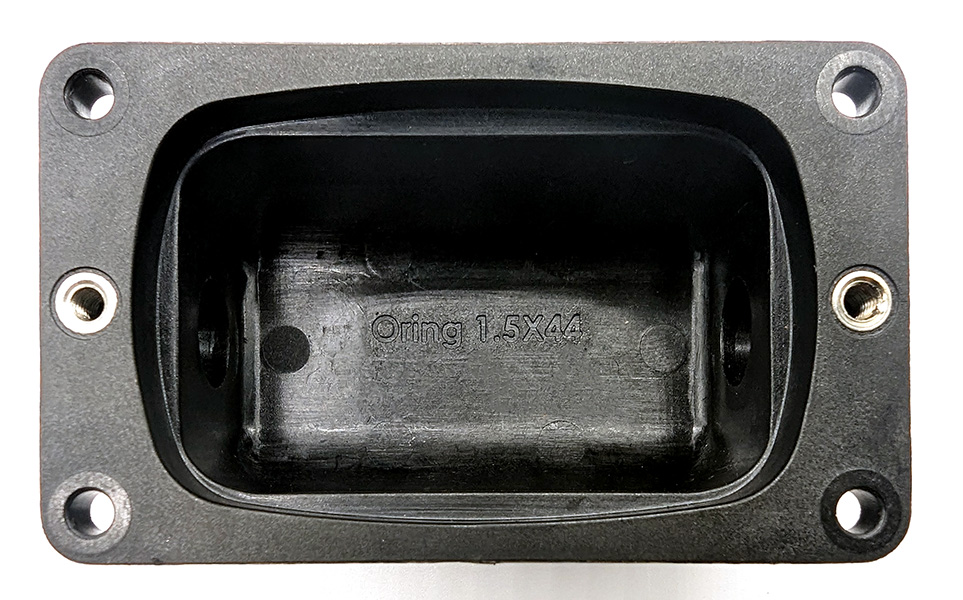
If the lid O-ring is damaged and needs to be replaced, the O-ring size is molded into the inside of the enclosure for easy reference. The O-ring size is 1.5 x 44 mm.
The Blue Robotics nylon O-ring pick can be used to help remove the O-ring without damaging the lid.
Feedback
We’re always trying to improve our documentation, instructions, software, and user experience. If you’d like to leave feedback about how we can make this guide better, let us know here.