Potting a Cable Penetrator
Introduction
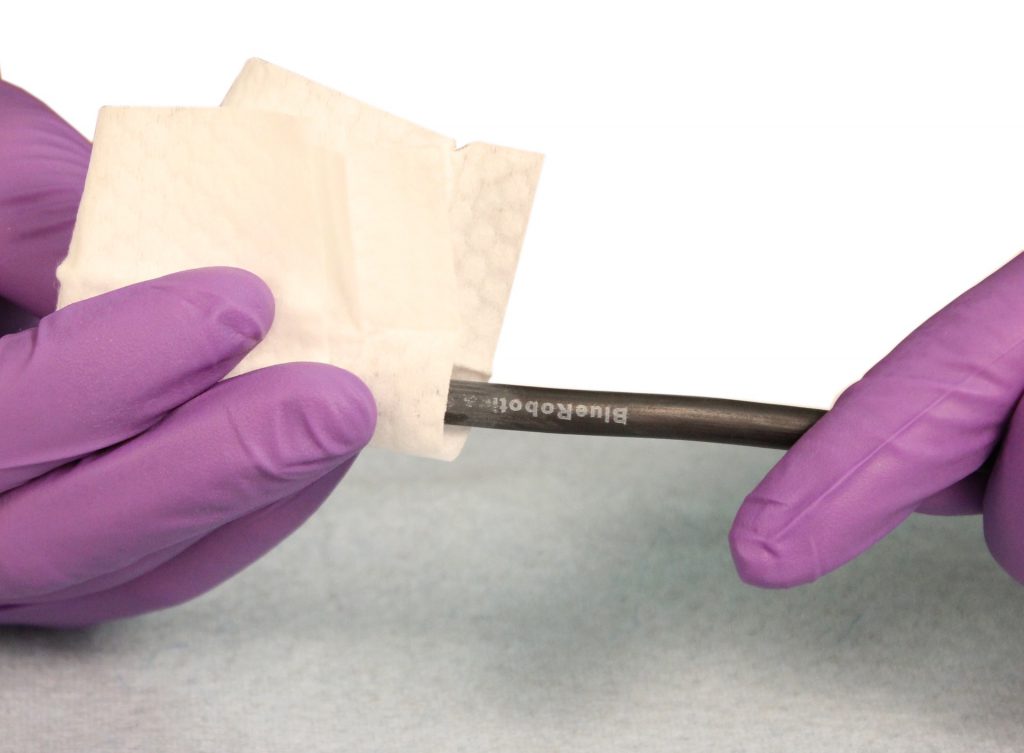
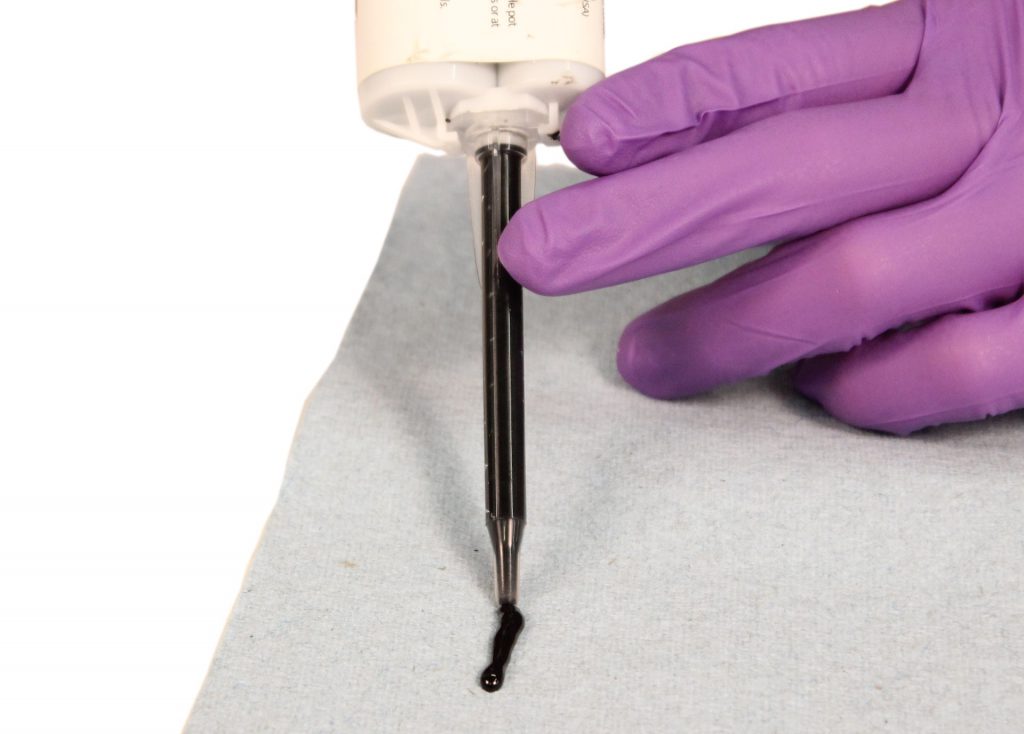
The Wetlink Thixotropic 80A potting compound has excellent adhesion to a wide range of materials, including our anodized aluminum penetrators and polyurethane cable jackets. This, combined with a high degree of flexibility and chemical resistance, makes it the ideal compound to reliably seal penetrators and retain excellent performance over time. A high degree of thixotropy, or shear thinning property, allows it to stay where applied and minimizes dripping while still being easy to dispense and reduces bubbles. We use and recommend this compound on all of our cable penetrators. The Wetlink cartridge is designed to be used with a 2:1 ratio cartridge dispenser and bayonet lock mixing tips for simple dispensing. Potting is easy to do, and there is plenty of time to make adjustment or clean up any drips as necessary. Proper surface preparation with acetone is required to achieve proper performance. Avoid touching the inside of the penetrator and acetone prepared cable jacket at any time with anything other than gloved hands, skin oils may compromise the bond.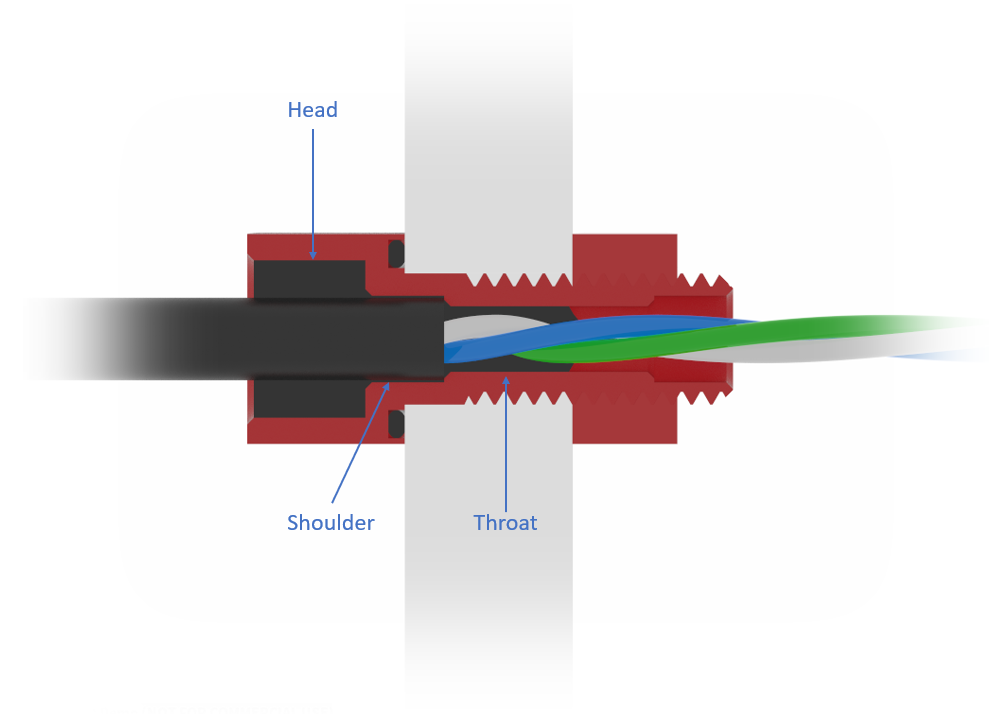
Safety
Avoid skin contact with the acetone wipes and either part of the Wetlink Thixotropic 80A Epoxy. In case of contact, wash the exposed area thoroughly with soap and water.
Parts and Tools
You Will Need

- Paper towels or other disposable wipes
- Small vise or clamp
- Gloves
- Syringe with luer tip (optional)
Video Guide
Step 1: Stripping the Jacket
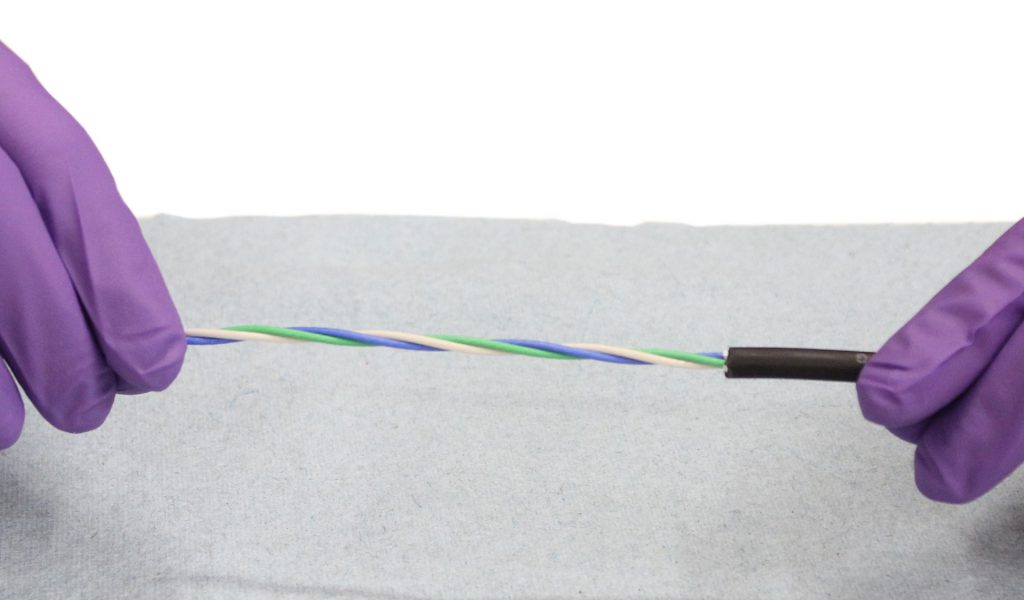
To strip the wire jacket, please follow the Cable Jacket Stripping Tutorial.Step 2: Prepping the Wires
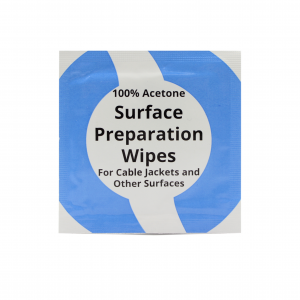
Step 3: Cleaning Surfaces
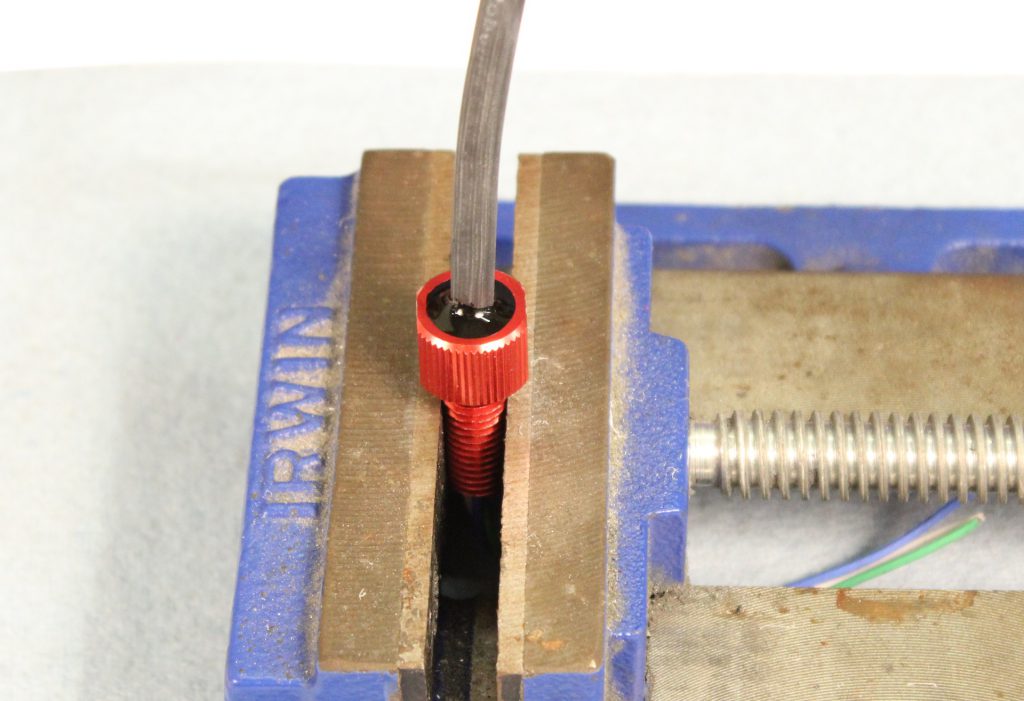
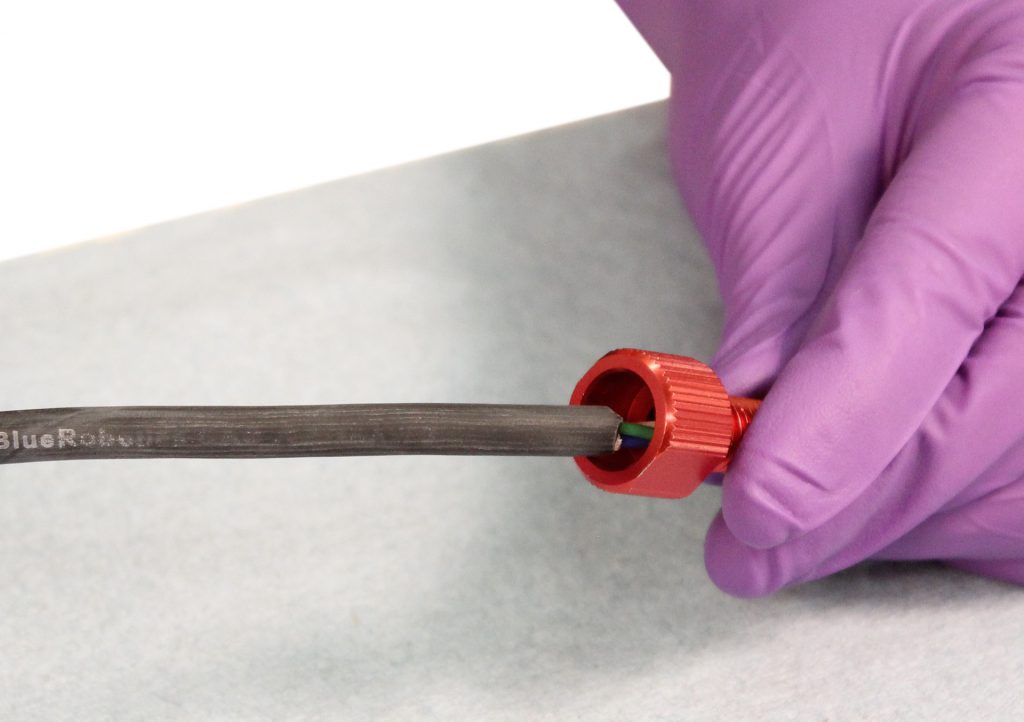
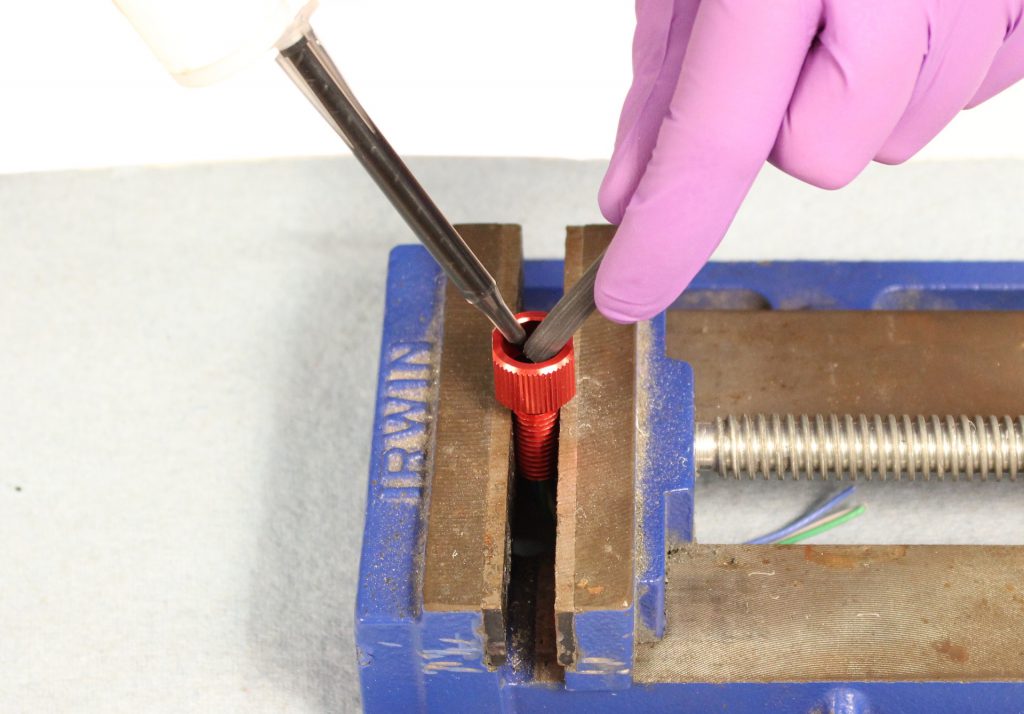
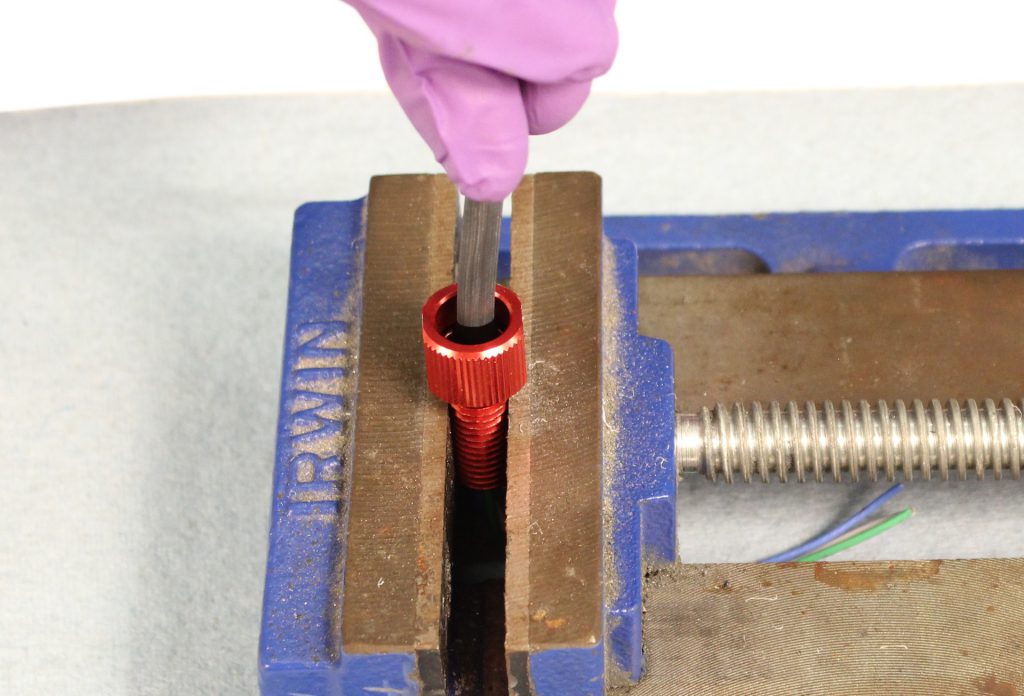
Step 4: Bring the Cable and Penetrator Together
Step 5: Priming the Mixing Tip
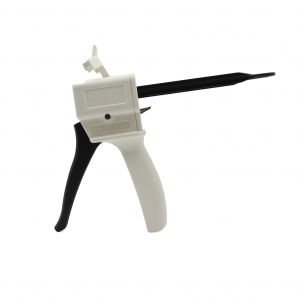
Step 6: Sealing the Penetrator
Step 7: Filling the Head

Step 8: Curing