
Newton Sediment Sampler Attachment Guide
Introduction
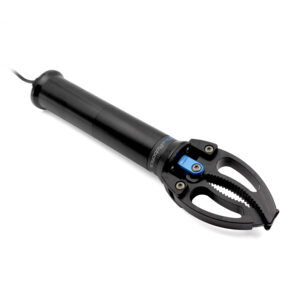
The Newton Sediment Sampler is an attachment for the Newton Gripper. It replaces the gripper jaws with two rubber cups, turning it into a sediment sampler.

This guide will show you how to install and use the Newton Sediment Sampler Attachment.
Parts and Tools
You Will Need

You will also need:
- 3 mm hex key or driver (ball-end hex not recommended)
- Medium-strength threadlocker such as Loctite 242 or 243
Installation
Removing the Gripper Jaws
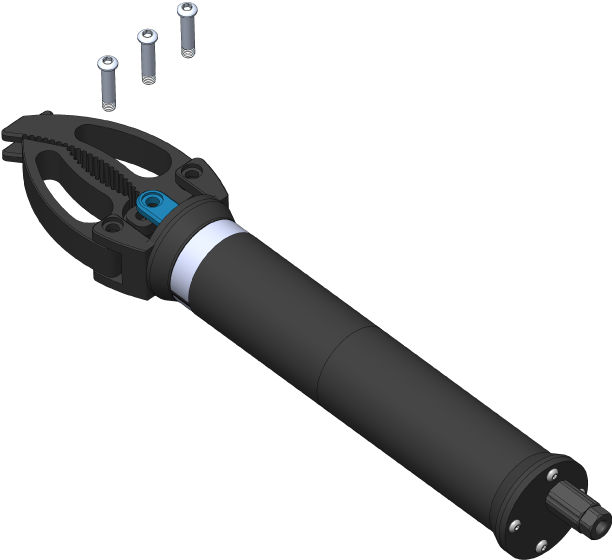
1. Use a good-quality 3 mm hex driver or key to remove the three bearing screws that secure the jaws. Avoid using ball-end or worn-out hex tools as these can strip the screw head. You can reuse these bearing screws to install the sediment sampler or keep them as spares.
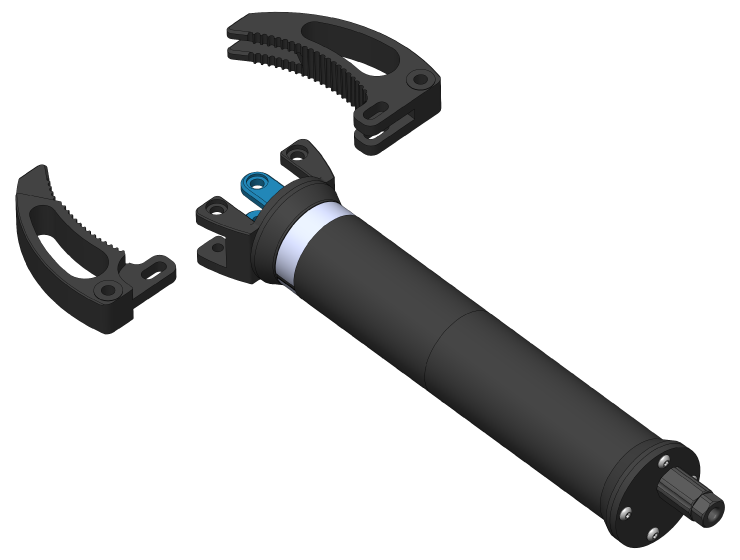
2. Remove the jaws from the Gripper.
Assembling the Sediment Sampler
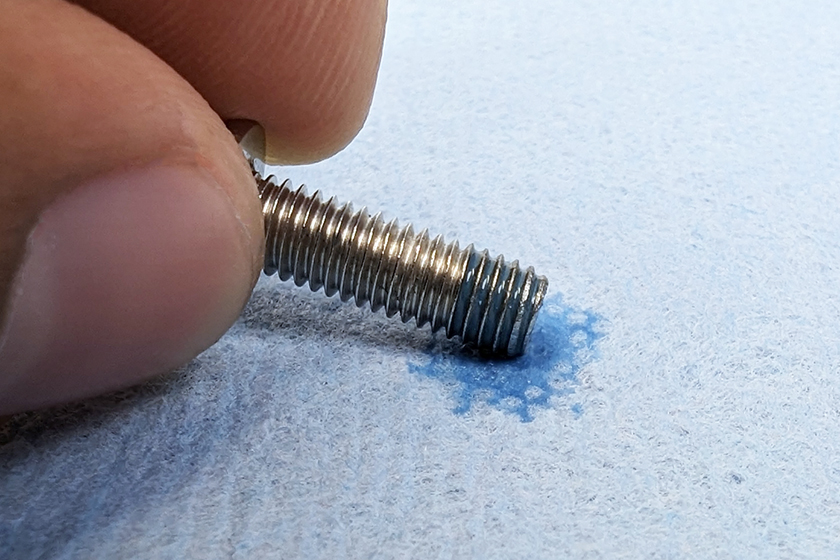
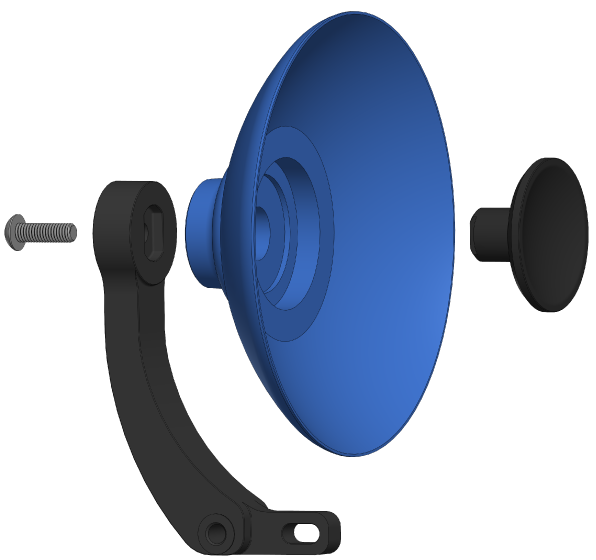
1. Apply a drop of thread locker to the end of the two M5x16 button head screws. Roll the screws on a paper towel to spread the thread locker evenly and remove excess.
2. Insert the cup mount into the cup and use a M5x16 button head screw and 3 mm hex driver to secure it to the plastic arm. The cup mount is keyed and should align with the recess in the arm to prevent it from rotating. Repeat for the other arm.
3. Apply a drop of Loctite thread locker to the end of the three bearing screws. Roll the screws on a paper towel to spread the thread locker evenly and remove excess.
4. Align the mounting holes and secure the arms to the Gripper using the three bearing screws and 3 mm hex. Start with the two outer screws then the middle screw.
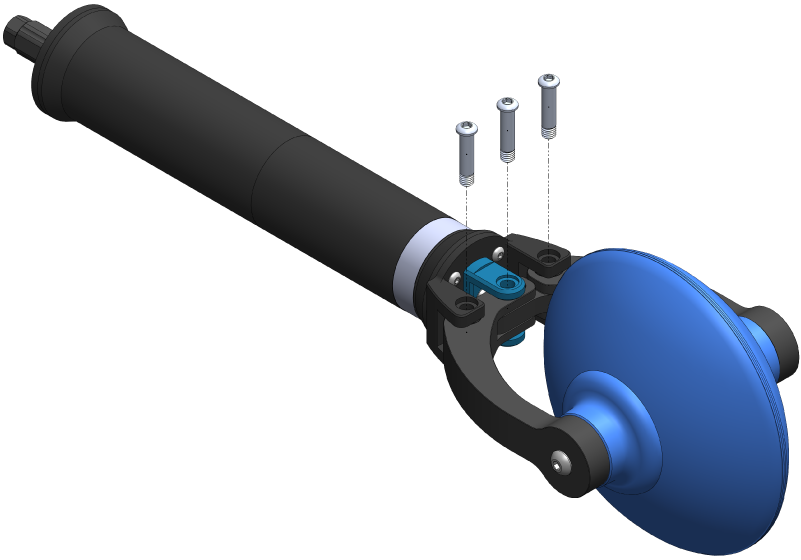
Your Newton Gripper is now a sediment sampler!
Installation and Operation on a BlueROV2
If you’ll be using the sediment sampler with a BlueROV2, you can follow the Newton Gripper installation guide for installation and operation instructions. The sediment sampler can be installed in the regular bottom frame-mounted position, or it can also be mounted using the Roof Rack in the front-mounted position to angle the sampler up or down.
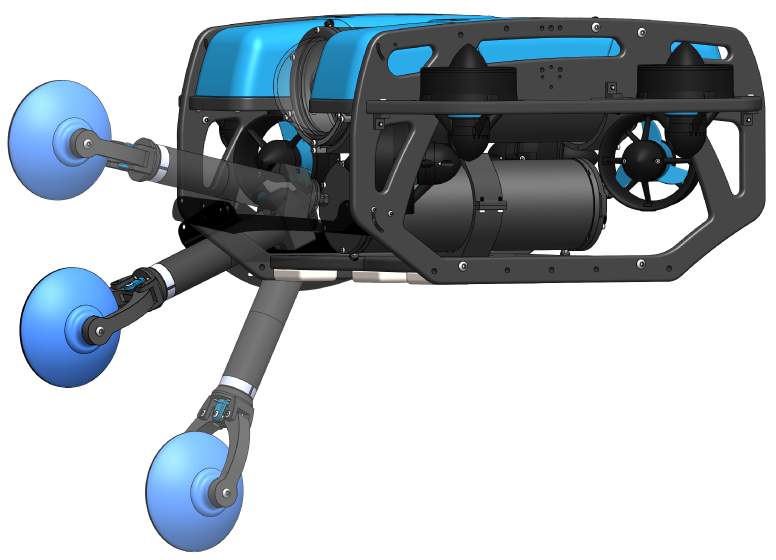
Sediment Sampler installed using the Roof Rack.
Using the sediment sampler on the BlueROV2 will naturally bring you very close to the seafloor, which has a tendency to kick up sand and sediment when the thrusters are engaged. Sand and sediment can wear down the protective coating on the rotors, so we recommend being extra thorough when rinsing off the BlueROV2 after sediment sampling missions. A great way to flush out the thrusters is to fill up a large storage bin or trash can with fresh water, submerge the BlueROV2, then run the thrusters for a few seconds.
General Usage
The Newton Gripper is controlled using a servo style PWM signal. Follow these instructions to control the Gripper using PWM directly.
1. Connect the yellow signal wire to a 3.3V PWM signal source such as an autopilot board or microcontroller.
2. Connect the red and black power wires to a 9–18V power source.
- Red wire: 9–18 volts
- Black wire: ground
3. Provide a PWM signal to operate:
- 1500 microseconds (μs) for neutral (no movement)
- Greater than 1530 μs to 1900 μs to open
- Less than 1470 μs to 1100 μs to close
Storage
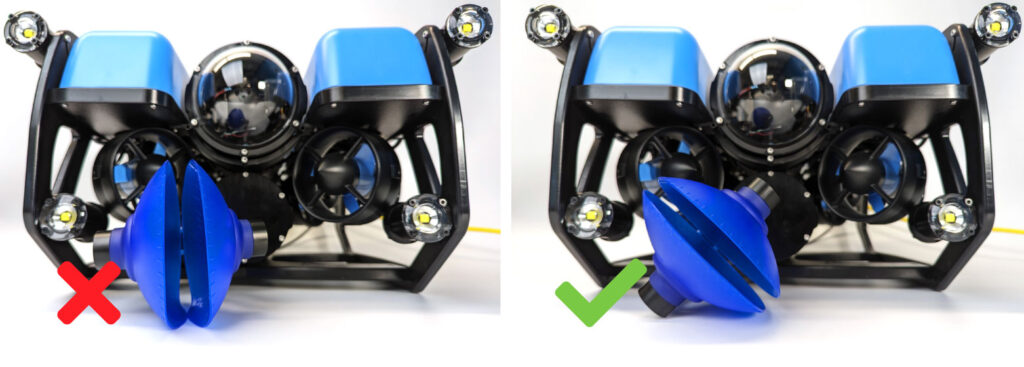
Avoid resting the sediment sampler on the cups during long-term storage to prevent deformation. When installed on the BlueROV2, you can rotate the gripper in the mount to rest it at an angle.
Feedback
We’re always working to make our documentation, instructions, software, and user experience even better. If you have any ideas on how we can improve this guide, feel free to let us know here.