Connectorize the Fathom Tether with a Cobalt Connector
Users often seek a tether that can be quickly disconnected from the ROV for ease of transportation. Blue Robotics is developing its own epoxy-free connector solution. In the interim, this guide provides step-by-step instructions to properly terminate the Blue Robotics Fathom tether with an 8-pin Cobalt Connector from Blue Trail Engineering. You can also find similar documentation from Blue Trail here with a cable of their choice. This guide focuses specifically on the Blue Robotics Fathom Tether. Follow these steps carefully to ensure a secure and reliable connection!
Parts and Tools You Will Need
- 10-22AWG wire strippers
- 2-part epoxy
- 2x Female crimp pins
- 6mm (¼”) diameter grinding bit
- 8-pin Cobalt Series Bulkhead Connector
- 8-pin Cobalt Series Cable Termination Tool
- 8-pin Large Cobalt Series Cable Termination Kit
- Acetone wipes
- Arbor press
- AWG 18 to 28 crimp tool
- Blue Robotics Fathom Tether
- Cable Jacket Stripper
- Dremel tool
- Latex gloves
- Luer tip
- M10 WetLink Bulkhead Wrench
- Multimeter
- Solder
- Solder flux
- Soldering iron
- Syringe
- Vise
Preparing the Connector Shell
1. Use a 6mm (¼”) diameter grinding bit with a Dremel to abrade the Connector Shell’s interior where the cable enters. When finished, it should be visibly abraded. This will ensure the epoxy adheres well to the Connector Shell.
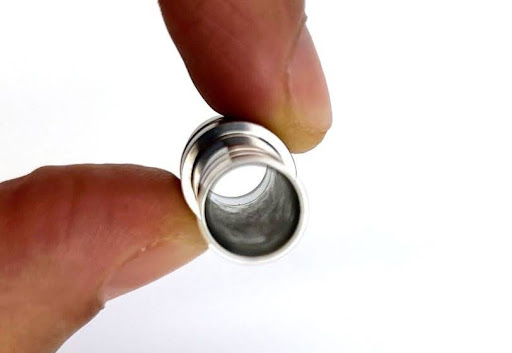
2. Clean the inside of the Connector Shell with an acetone wipe and allow it to dry.
Preparing the Fathom Tether
1. Insert the Locking Sleeve and Connector Shell on the tether end.
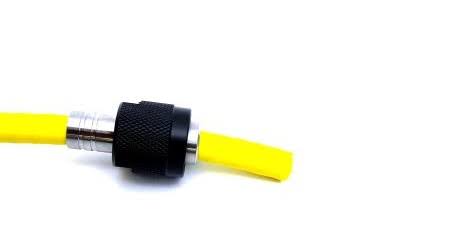
2. Strip 1-2 cm off the tether jacket and cut the fillers off.
3. Unwind and separate the individual wires.
4. Strip 5-6 mm off the wire insulation with 10-22AWG wire strippers.
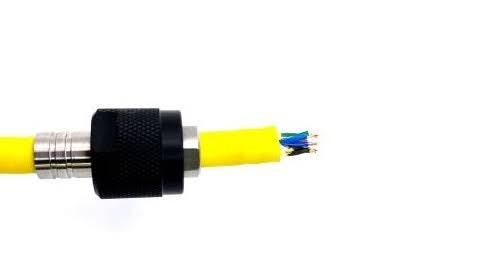
5. Tin the wire ends using solder flux and the solder. Flux is key to using a minimum amount of solder – the ends of the wire still need to fit in the connector!
Soldering the Connector Insert
1. Use a vice or jig to hold the Connector Insert in place.
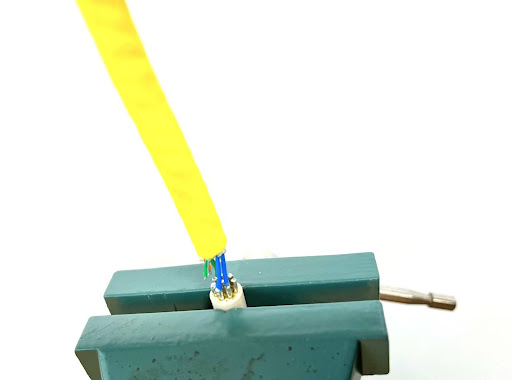
2. Carefully solder the wires in the following 8-pin cable connector pinout:
- Green/White (center)
- Green
- Orange/White
- Blue
- Blue/White
- Orange
- Brown/White
- Brown
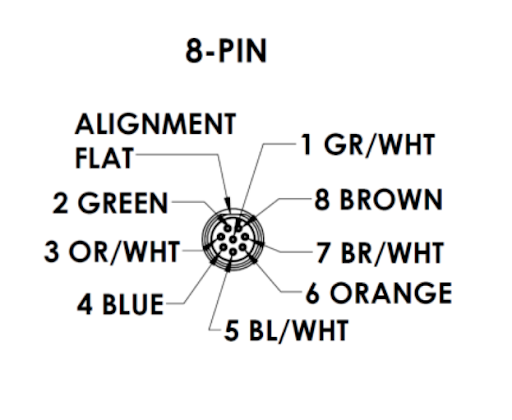
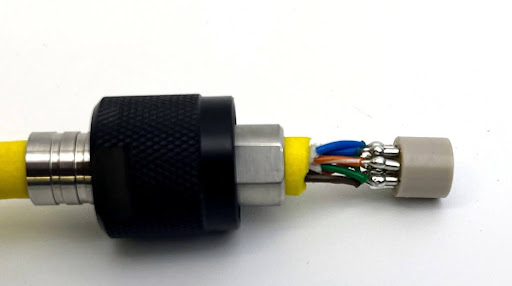
3. Double-check that each wire is soldered to the correct contact, the solder isn’t bridging, and bare wires aren’t in contact.
4. Throw on the latex gloves and thoroughly clean the tether end adjacent to the connector with the acetone wipes.
Pressing the Connector Shell and Insert
1. Clamp the Connector Shell in a vice vertically.
2. Place the lower half of the Termination Tool over the Connector Shell.
3. Align the flats.
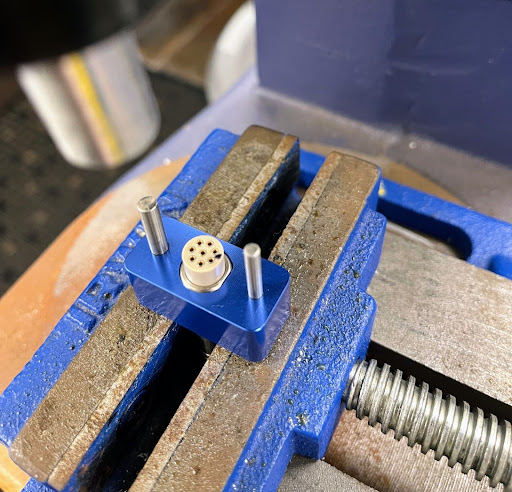
4. Place the Termination Tool’s upper half onto the Termination Tool’s lower half with the pins aligned.
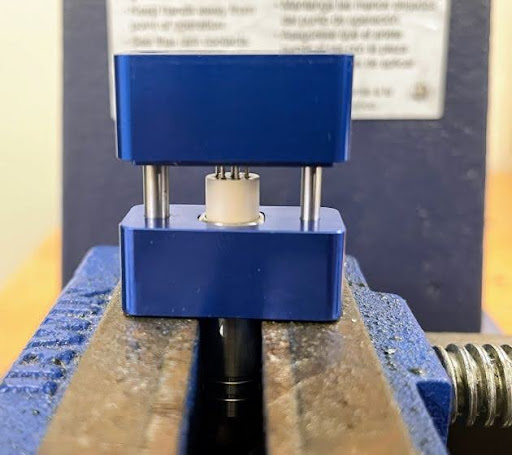
5. Press with Arbor Press.
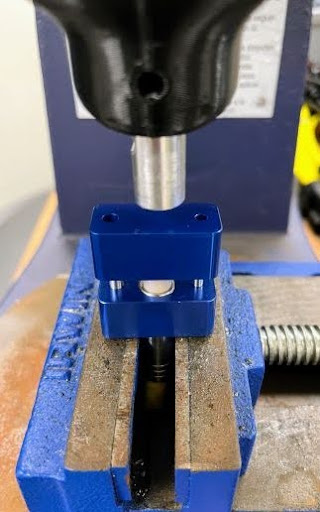
6. Remove the Termination Tool. Voila! You have a fully pressed tether connector. Make sure the face of the Connector Insert is nicely aligned with the end of the Connector Shell. If it’s not quite there, just reposition the Termination Tool and gently press the Connector Insert all the way into the Connector Shell.
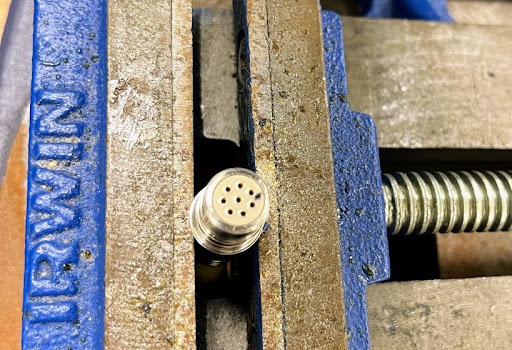
7. Check your work: use a multimeter to verify that there aren’t any electrical shorts between the individual contacts and between each contact and the Connector Shell.
Potting the Cobalt Connector
1. Use a jig or an alternative system to support the Cobalt Connector in a vertical position.
2. Load the epoxy into a syringe.
3. Attach the luer tip to the syringe.
4. Pot the connector. Prepare the connector for potting by warming its body with a hot air gun or a hair dryer—this helps the epoxy flow nicely, especially in cooler climates. Try to fill the connector as much as you can, spreading the epoxy evenly around the tether. Give the tether a gentle wiggle from side to side to encourage the epoxy to move to the bottom, and slowly add more epoxy until the connector is fully filled. After that, let the epoxy settle for about 20 minutes, and feel free to add a little more if needed!
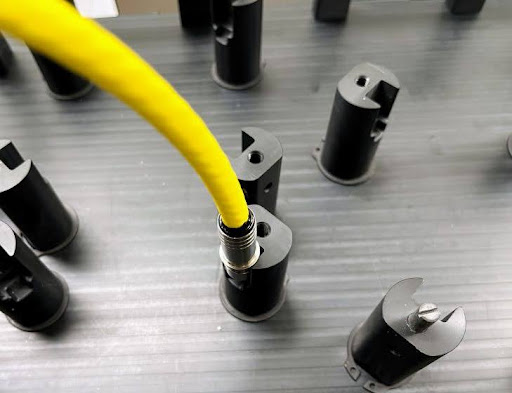
5. Allow the epoxy to cure fully without disturbing the assembly. When fully cured, check for electrical shorts again with a multimeter.
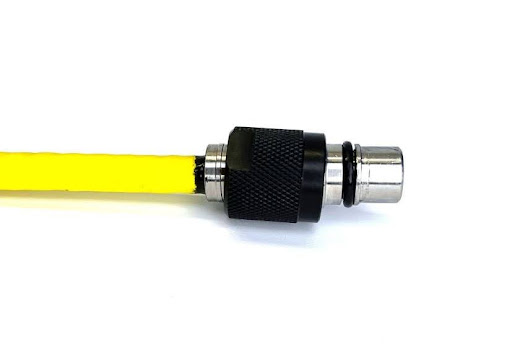
6. Lubricate the O-ring and install it in the groove on the Connector Shell, ensuring that the groove and the O-ring are free from lint, hair, or other contamination.
Installing Bulkhead Connector
1. Strip ~4.5mm off the Blue/Blue White wire insulation.
2. Crimp the cable wires with female crimp pins.
3. Install the crimp connector housing: blue/white cable on the left side of the connector and blue on the right side.
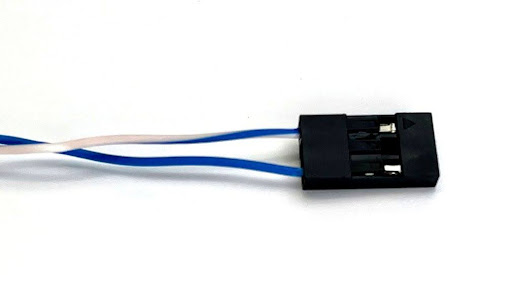
4. Fasten the Bulkhead Connector to the End Cap.
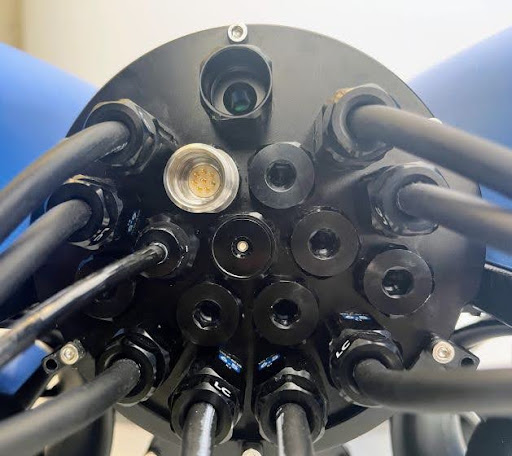
5. Connect the Bulkhead Connector wire to the Fathom X: white to blue/white and blue to blue.
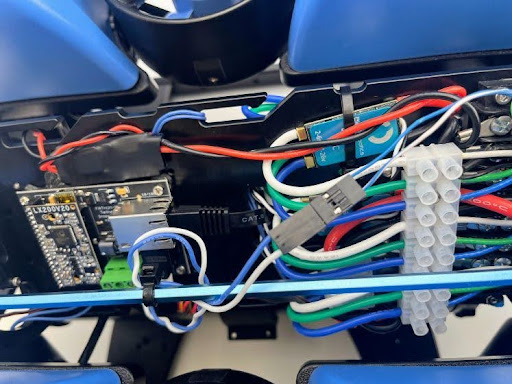
Final Assembly
1. Attach the Connector Shell to the Bulkhead Connector, aligning the flat sides.
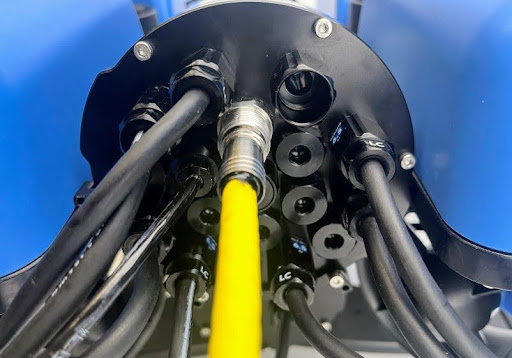
2. Slide the Locking Sleeve over the Connector Shell and Bulkhead Connector and fasten it with an M10 WetLink Bulkhead Wrench.
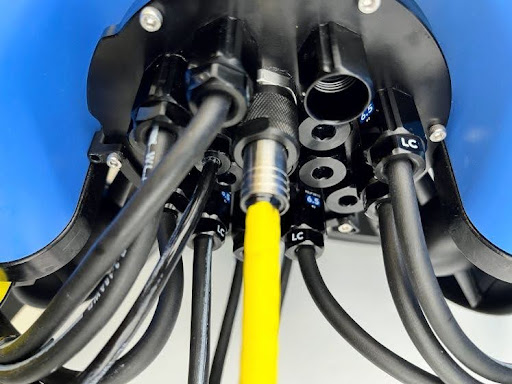
3.Mount the tether to the ROV frame and enjoy a quick disconnect system!
What did you think of this guide? Can we improve it? Let us know here!
