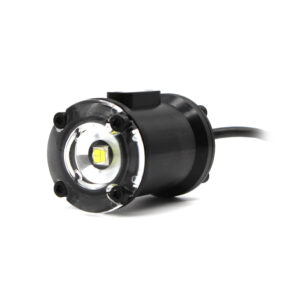
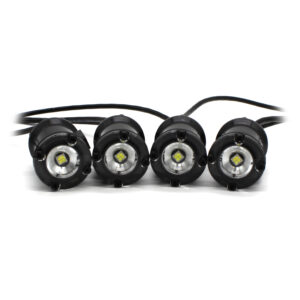
Lumen Light Installation and Example Code
Introduction
The Lumen Light can be easily installed using the built-in threaded M3 mounting holes.
Parts and Tools
You Will Need
Installation
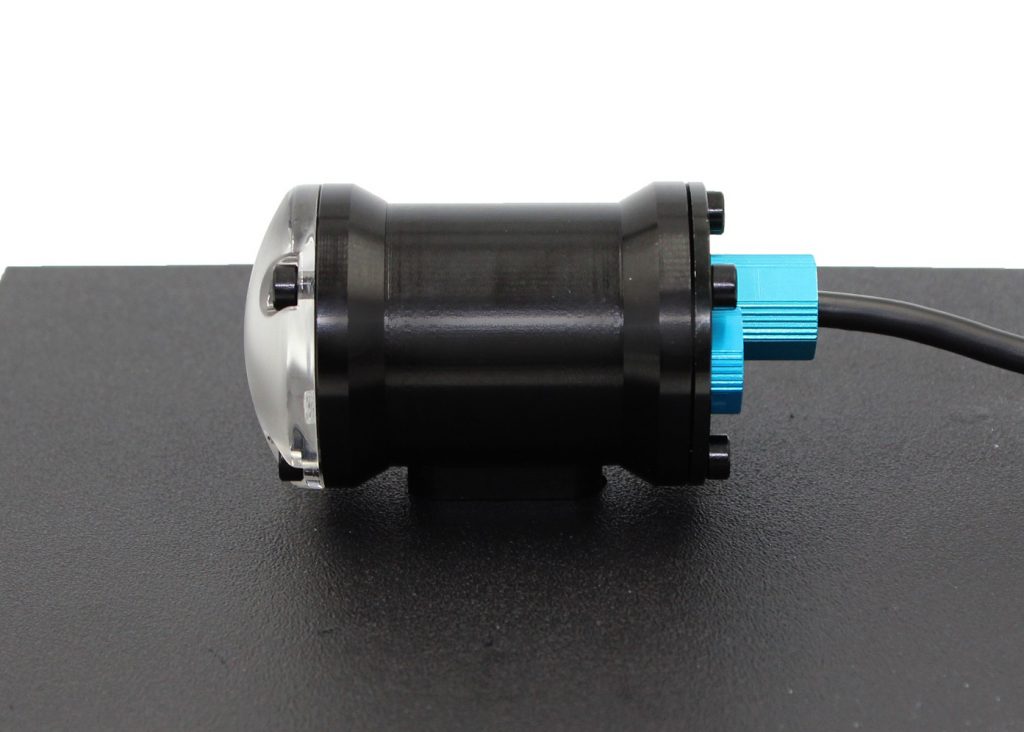
The two threaded holes are best used when you have access to install a screw that tightens into the holes. This applies to most ROVs. Note that the threaded holes have the same size and spacing as the thruster mounting holes so you can use a thruster mounting bracket or hole pattern.
1. Drill two holes between 3.1mm and 3.3mm (0.12-0.13″) in diameter 19mm (0.75″) apart in the part you wish to mount the light.
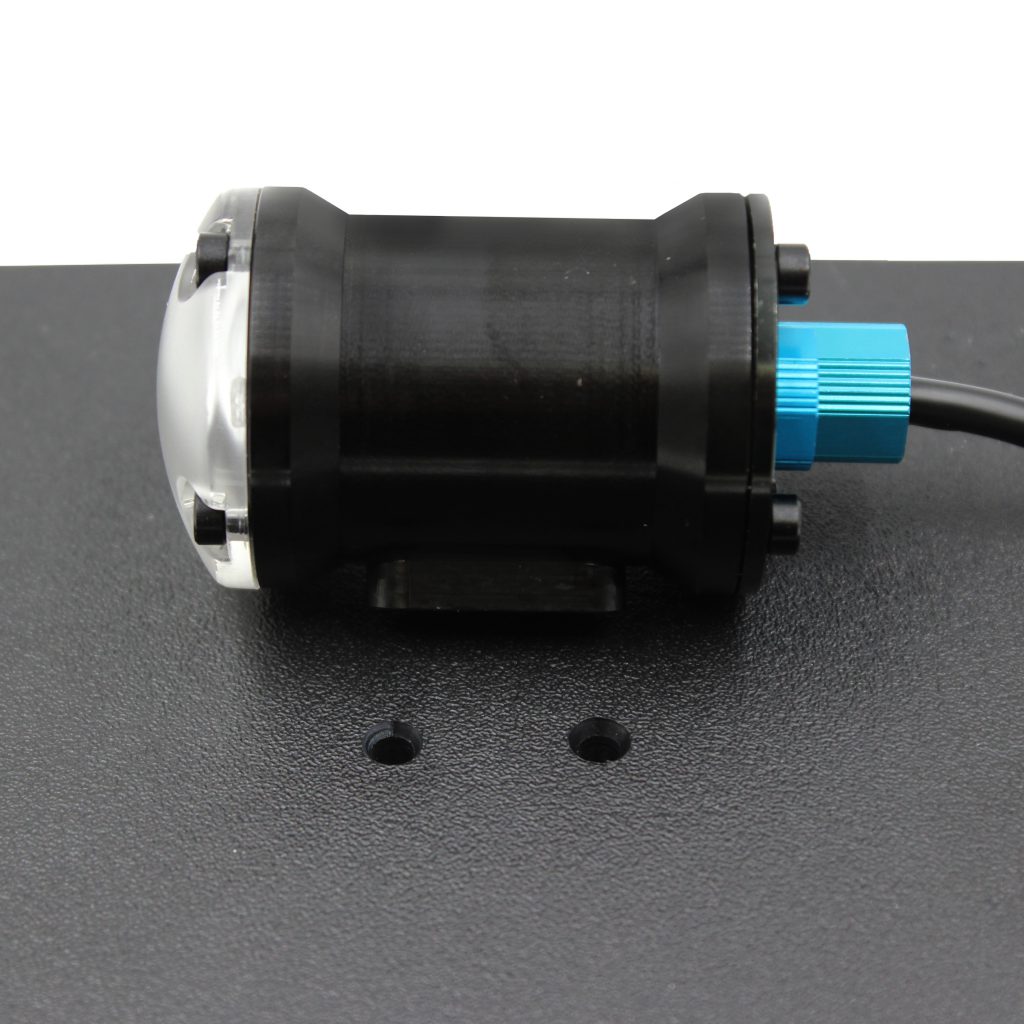
Install the included M3x0.5 mounting screws through the holes that you just drilled. If you need longer screws, we recommend 316 stainless steel screws roughly 1.5 – 3.0mm longer than the thickness of the part that you are mounting to. Optional: Apply a small dab of Medium-strength (blue) threadlocker such as Loctite 243 to the M3 screws.
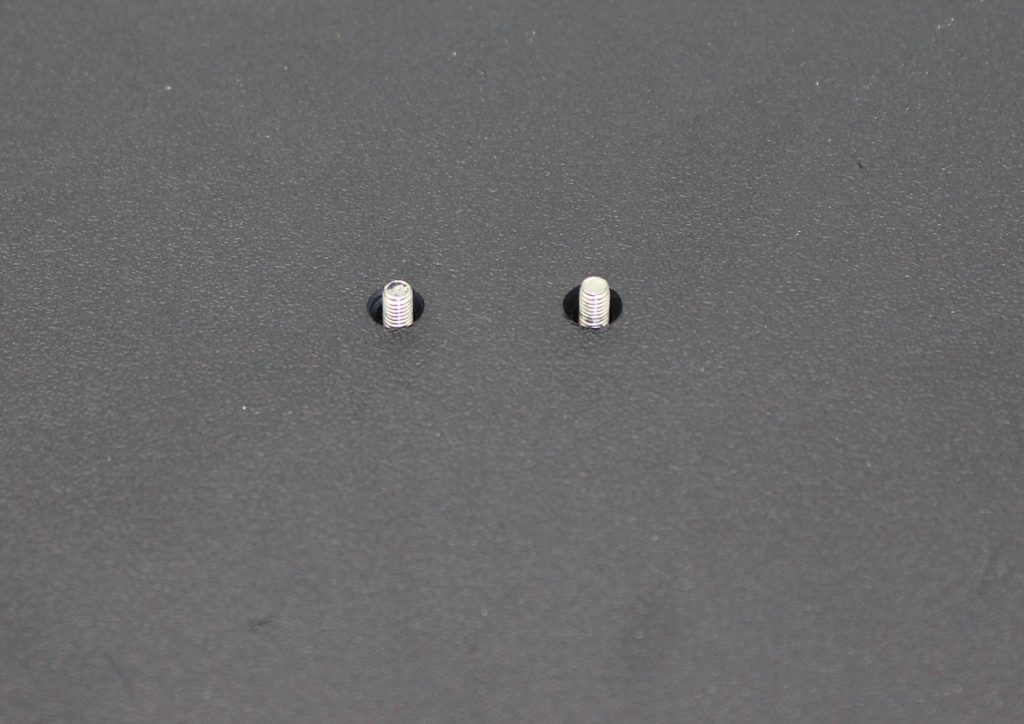
Attach the Lumen onto the screws and tighten until hand tight. Be careful to avoid over-tightening and stripping the threads.
Operation
Simple On/Off, No Brightness Control
Connect the yellow signal wire to the power wire directly or through a switch to turn on to full brightness.
Dimming with PWM Signal
The Lumens can be controlled with a regular servo or RC style PWM signal:
1. Connect the yellow signal wire to a PWM signal source.
2. Provide a PWM pulse from 1100 μs (off) to 1900 μs (full brightness) to control the brightness.
Example Arduino Code
This example uses the Arduino Servo library to control the light brightness. This provides an update rate of 50 Hz and can use any pin on the Arduino board as the “servoPin”.
If you’ve never used Arduino before, we suggest checking out some tutorials!
#include <Servo.h>

byte servoPin = 9;
Servo servo;

void setup() {
  servo.attach(servoPin);

  servo.writeMicroseconds(1100); // send "off" signal to Lumen light
}

void loop() {
  int signal = 1700; // Set signal value, which should be between 1100 and 1900

  servo.writeMicroseconds(signal); // Send signal to Lumen light
}
Feedback
We’re always trying to make our documentation, instructions, software, and user experience better. If you’d like to leave feedback about how we can make this guide better, let us know here.

