
Installing the Subsea RGB LED Indicator on the BlueROV2
If your BlueROV2 has aluminum tubes, you might miss being able to see the Navigator’s status light. Fortunately, the Subsea RGB LED Indicator is plug-and-play compatible with the Navigator Flight Controller—so you can be reunited with that pleasant, blinking blue glow.
This guide will show you how to install the RGB Indicator on the BlueROV2.
Parts and Tools for Installation
You will need these parts and tools to complete the installation:
- 1 x M10 Bulkhead Wrench
- 1 x 2.5 mm hex driver
- Silicone grease (Molykote 111)
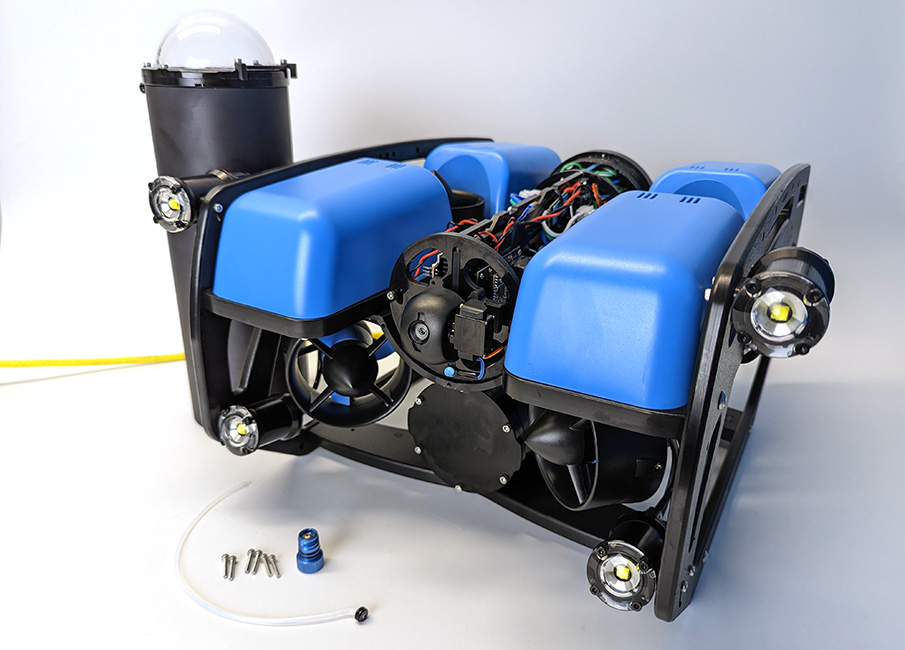
Preparing the BlueROV2
You will need to open the BlueROV2 Electronics Enclosure and remove a blank bulkhead penetrator. To do this, you will need:
- 1 x 2.5 mm hex driver
- 1 x M10 Bulkhead Wrench
If you’re unsure about any step in this section, more detailed instructions can be found in the Servicing the BlueROV2 section of the BlueROV2 Operation guide.
1. Make sure your BlueROV2 is completely powered off by disconnecting the battery.
2. Use the 2.5 mm hex to remove the M3x16 mounting screws that secure the enclosure mounting clips to the cradles, remove the PRV or vent plug, and remove the Electronics Enclosure tube from the Electronics Enclosure assembly.
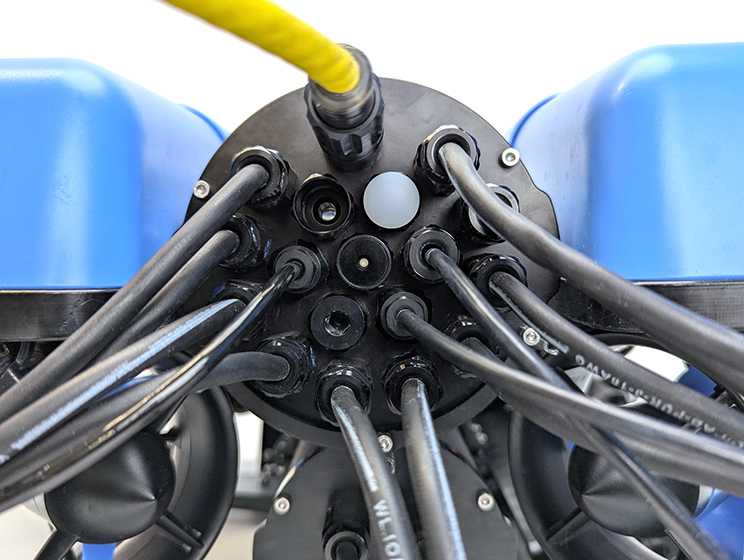
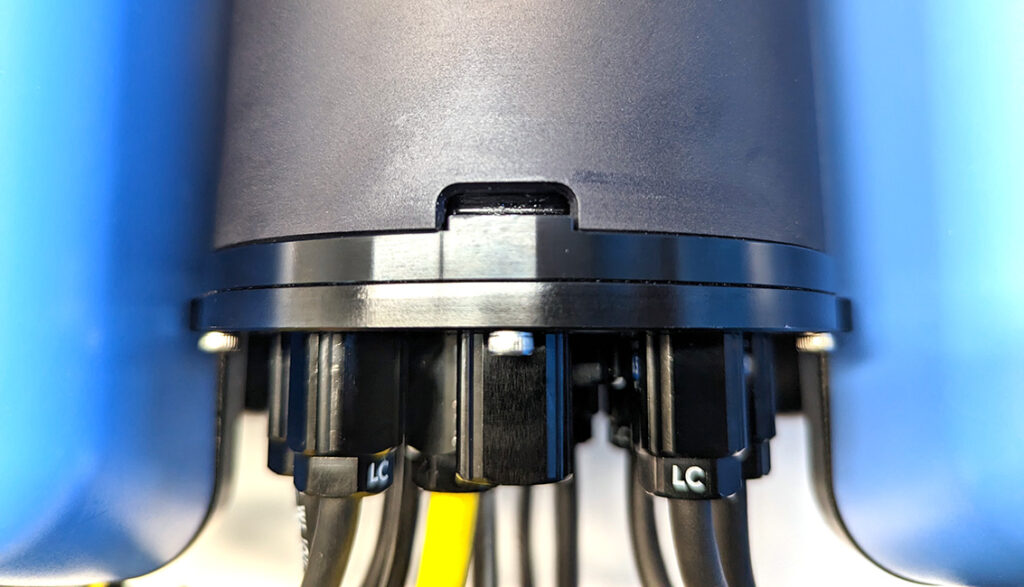
3. Choose one of the blank penetrators in the middle of the end cap and use the M10 Bulkhead Wrench to remove it.
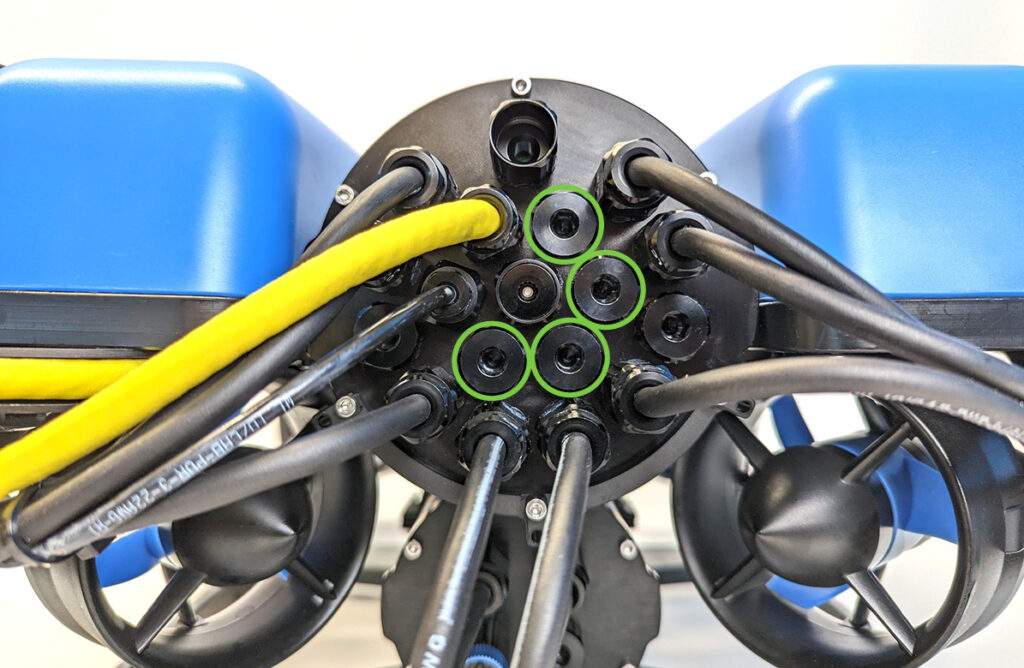
Installing the Indicator
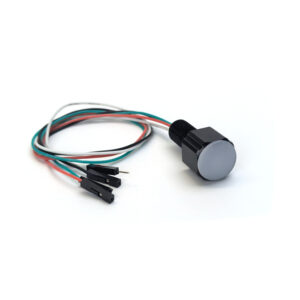
To install the Indicator you will need the following:
- The Indicator
- 1 x M10 bulkhead nut (included with the Indicator)
- 1 x -013 O-ring (included with the Indicator)
- 1 x 30 mm piece of heat shrink (included with the Indicator)
- 1 x M10 Bulkhead Wrench
- Silicone grease (Molykote 111)
1. Wipe the exterior surface of the end cap around the hole where you removed the blank bulkhead penetrator. Ensure the O-ring seating area is clean and free of dust or debris.
2. Check the included bulkhead O-ring for any dirt or damage before installation.
3. Apply a thin layer of silicone grease to the O-ring and place it in the groove on the underside of the bulkhead.
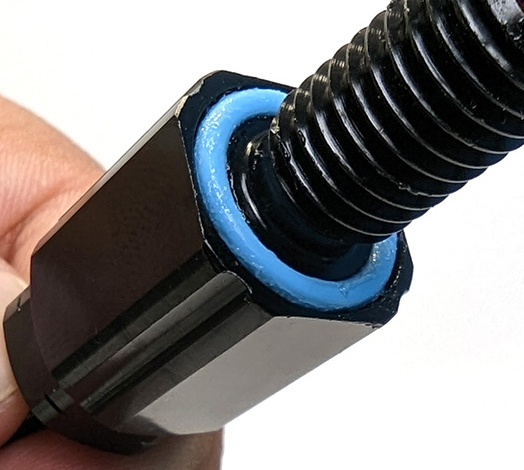
4. Insert the bulkhead in the hole and fasten the bulkhead nut on the opposite side. Tighten the nut by hand until it is finger-tight, then use the bulkhead wrench to fully secure the connection. When properly installed, the bulkhead should be fixed in place with no rotation, and you should not be able to loosen it by hand.
Wire Connections and Reassembly
1. Connect the black, red, and green indicator wires to the RGB header on the Navigator. The order of the wires from left to right is black, red, green.
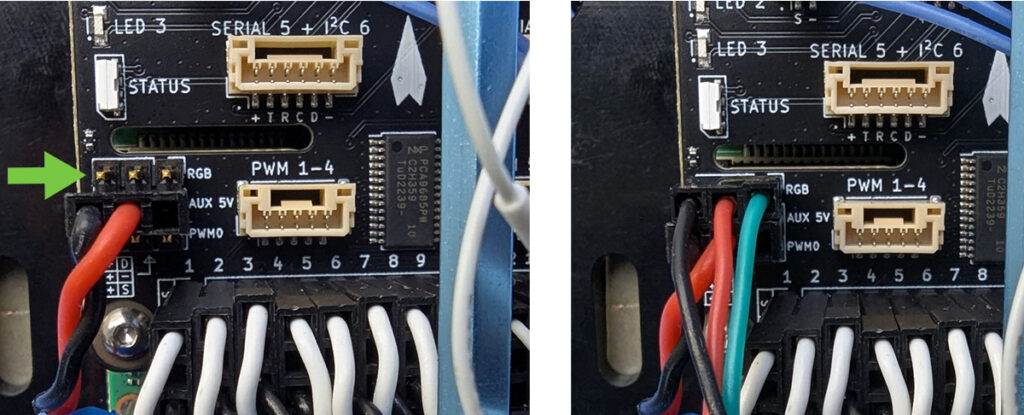
2. The white Indicator wire is not used. You can use the included piece of heat shrink tubing to cover the exposed pin on the white wire then tuck the wire out of the way.
3. That’s it! Now you can reassemble the BlueROV2. Apply a thin coat of silicone grease to the two radial O-rings on the O-ring flange and the inner end of the tube.
4. Reinstall the tube and dome assembly onto the flange. If the ROV has a locking-style enclosure, ensure the rotation locking tab sits inside the slot in the tube.
5. If your ROV has a locking cord, insert it through the slot.
6. Reinstall the PRV or vent plug back in the bulkhead. Turn the plug clockwise until it stops to seal it.
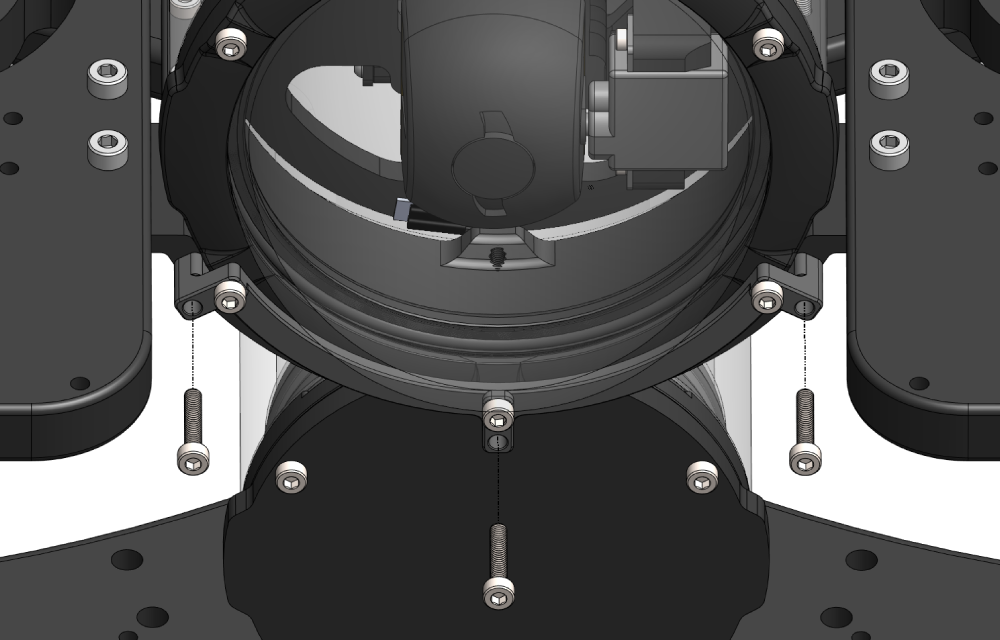
7. Place the Electronics Enclosure on the enclosure cradles and line up the mounting clips with the screw holes on the cradles. Use the 2.5 mm hex to install the screws through the mounting clips and into the front and rear enclosure cradles
When you power on the BlueROV2, the Indicator will match the Navigator status light.
Feedback
We’re always working to make our guides, software, and user experience even better. If you have any ideas on how we can improve this guide, feel free to let us know here.