By: Jonathan N., Mechanical Engineer at Blue Robotics
Hey guys! Since we started shipping BlueROV2s in August of 2016, we have been making improvements to the kit to make it easier and less time consuming to assemble. We have been incorporating some of the improvements quietly as we went, but we have made a couple of big changes that we would like you to know about.
First we have updated the assembly instructions to reflect the fact that much less assembly is required on your end. The new instructions are 35% shorter than the old instructions! Here’s everything that has changed. Some of these changes happened months ago and some of them happened recently.
- ArduSub 3.4 (stable version) comes preinstalled on the Pixhawk.
- Our recommended parameters come preinstalled on the Pixhawk.
- ArduSub Raspbian comes loaded on the SD card for the Raspberry Pi 3.
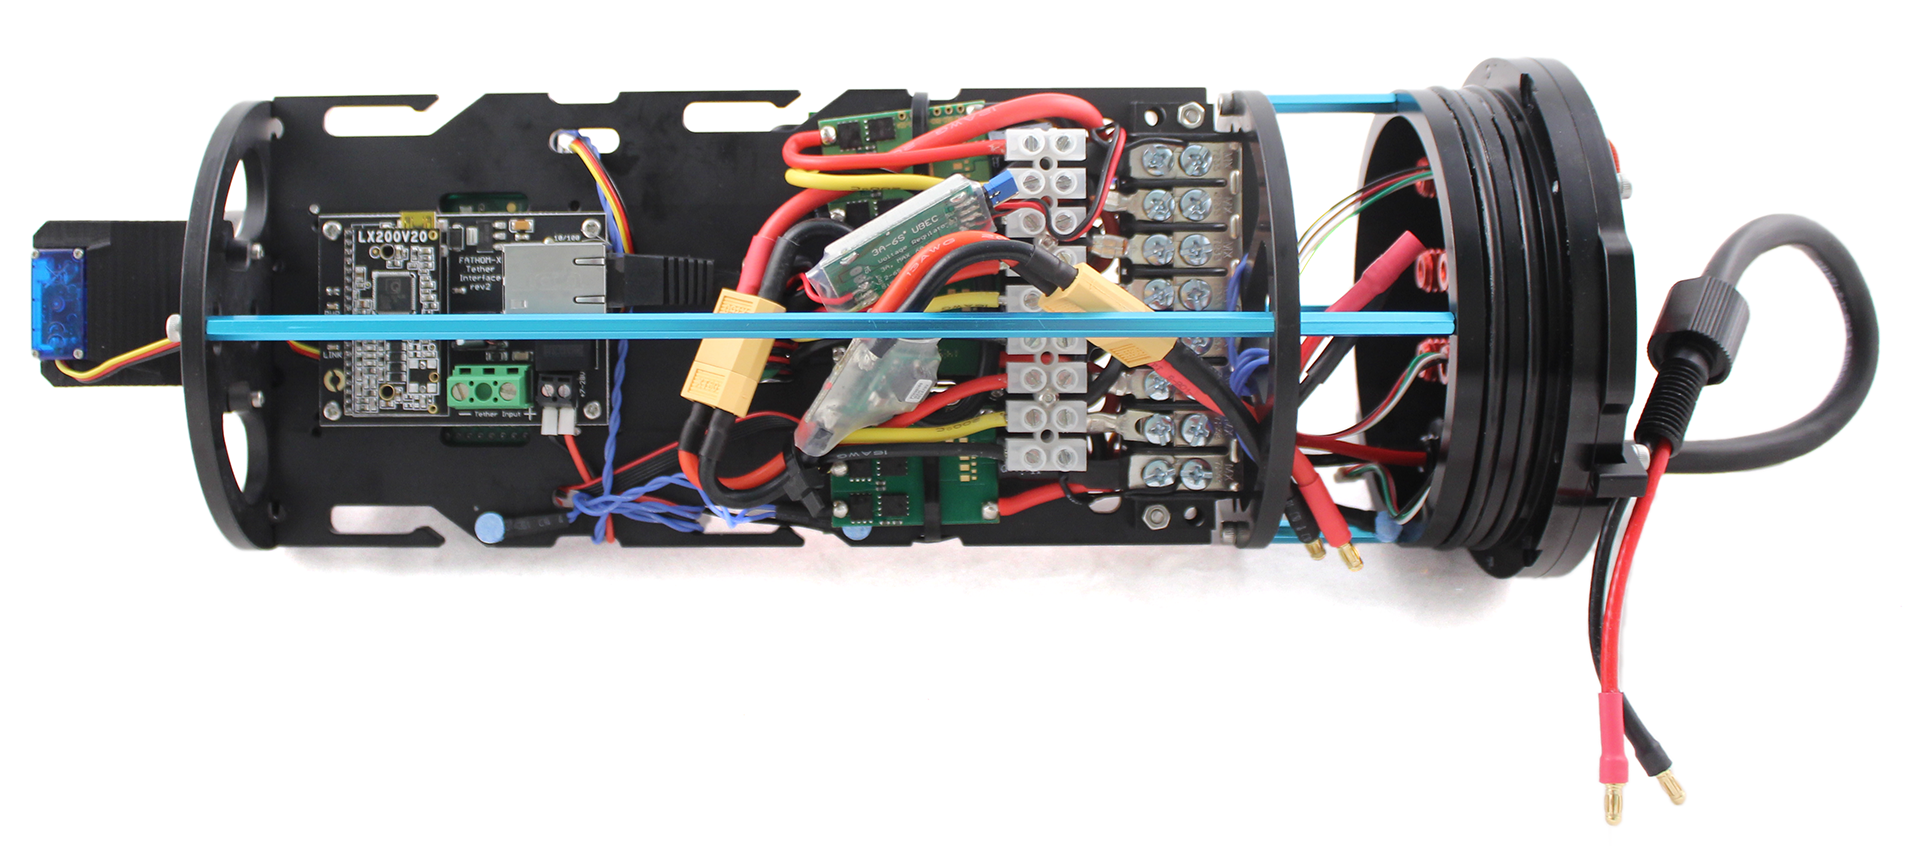
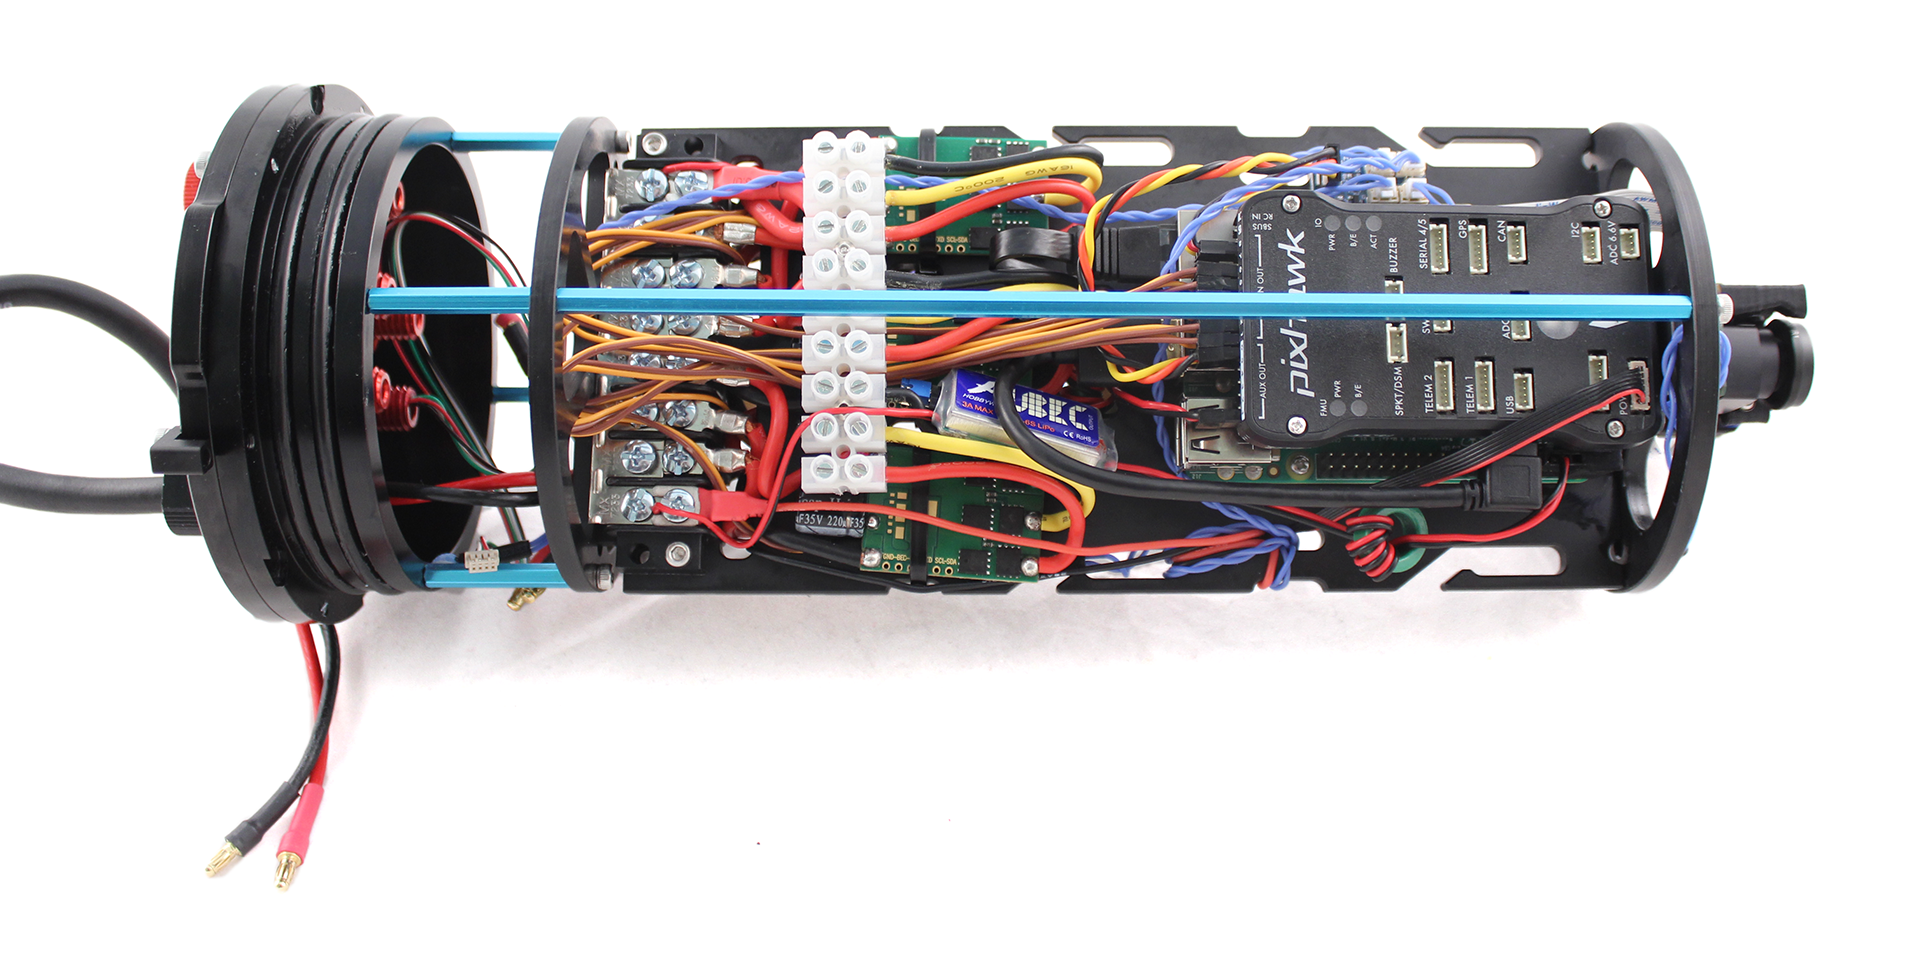
- The Fathom-X Tether Interface board comes installed on the electronics tray and all of the wiring has been completed.
- The Raspberry Pi and Pixhawk come installed on the electronics tray with most of the wiring completed.
- The Pixhawk Power Module is installed and the wiring is completed.
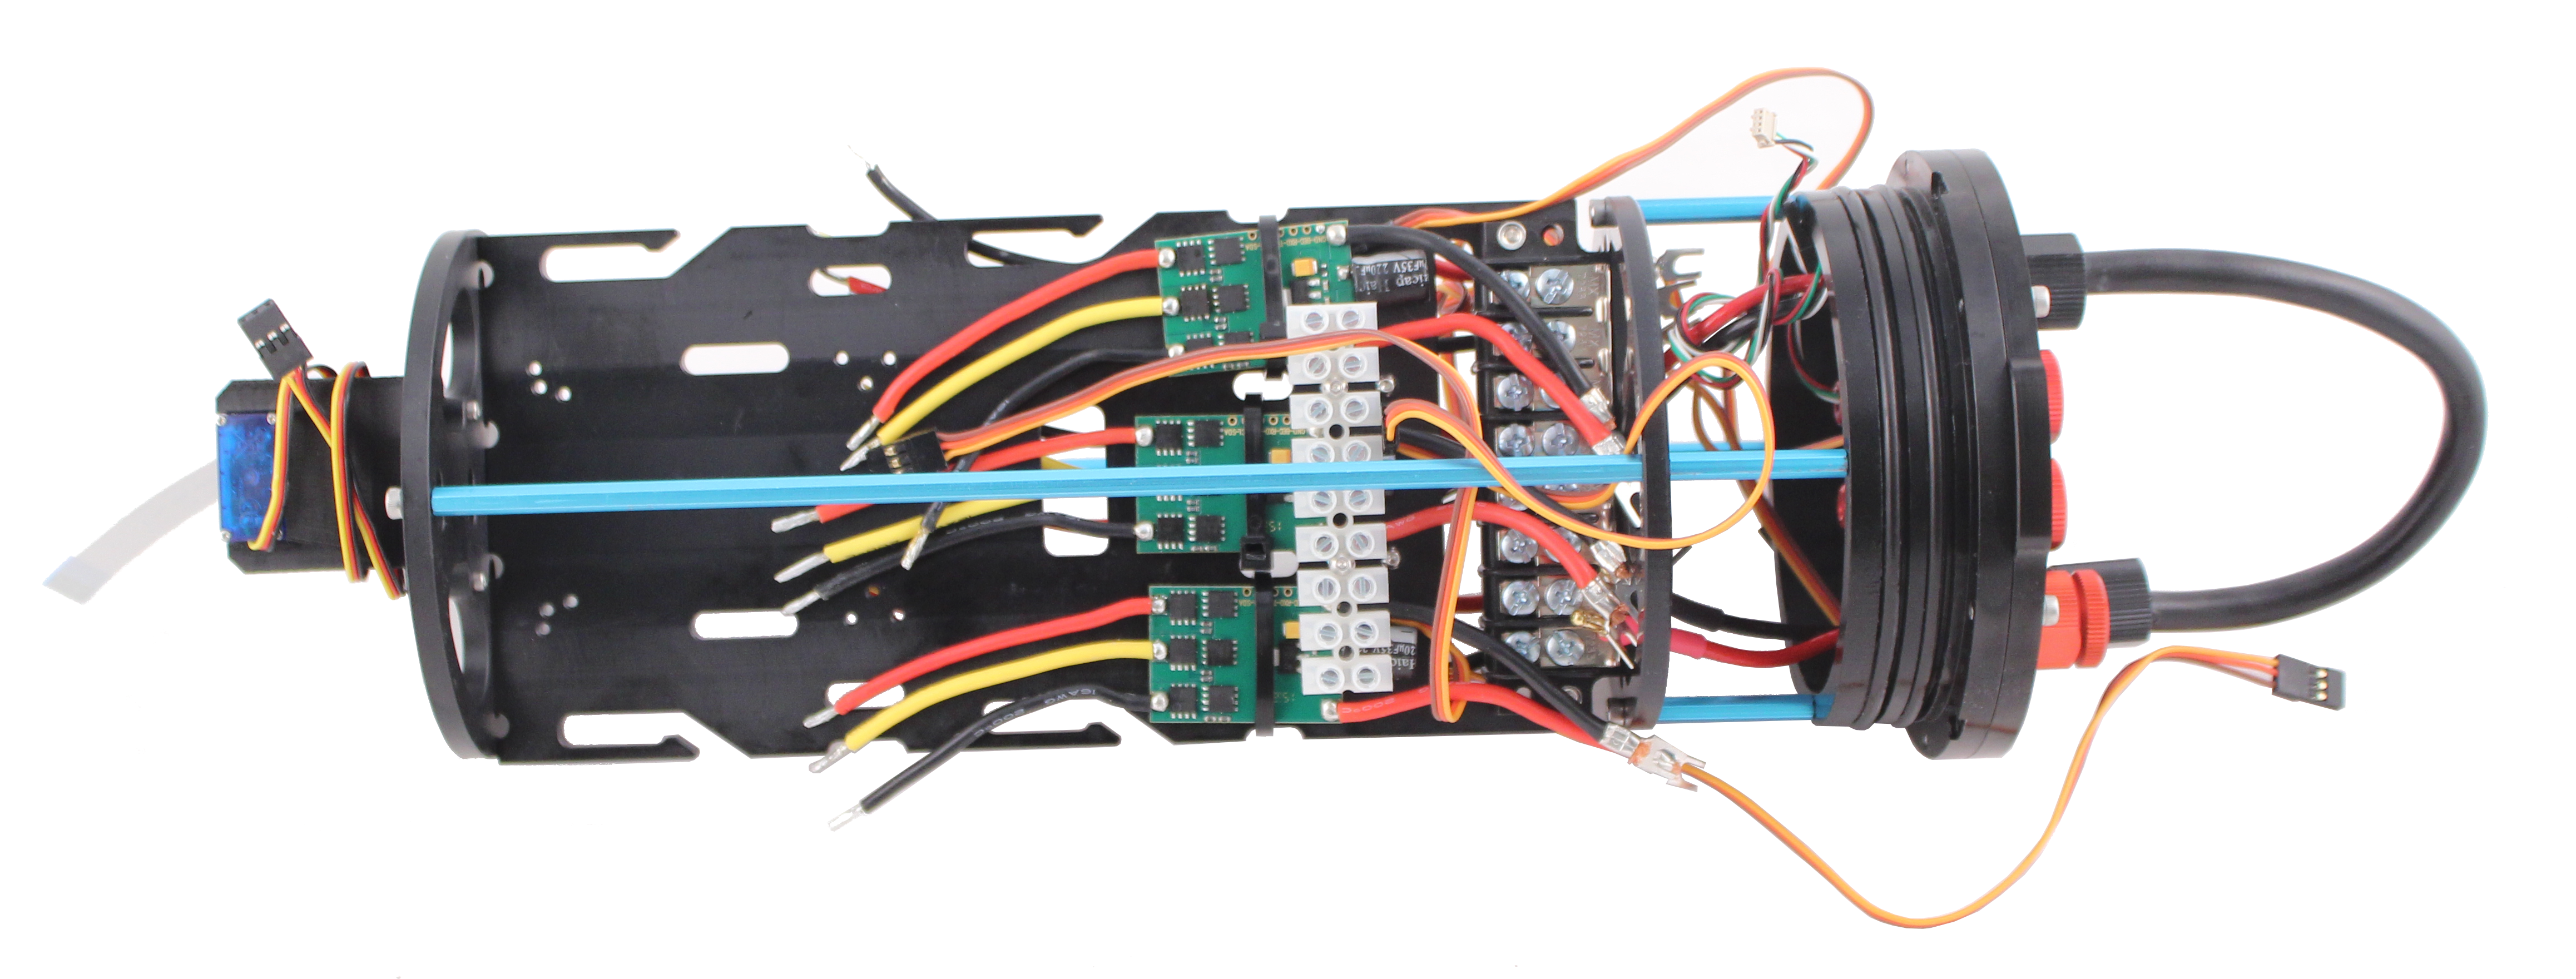
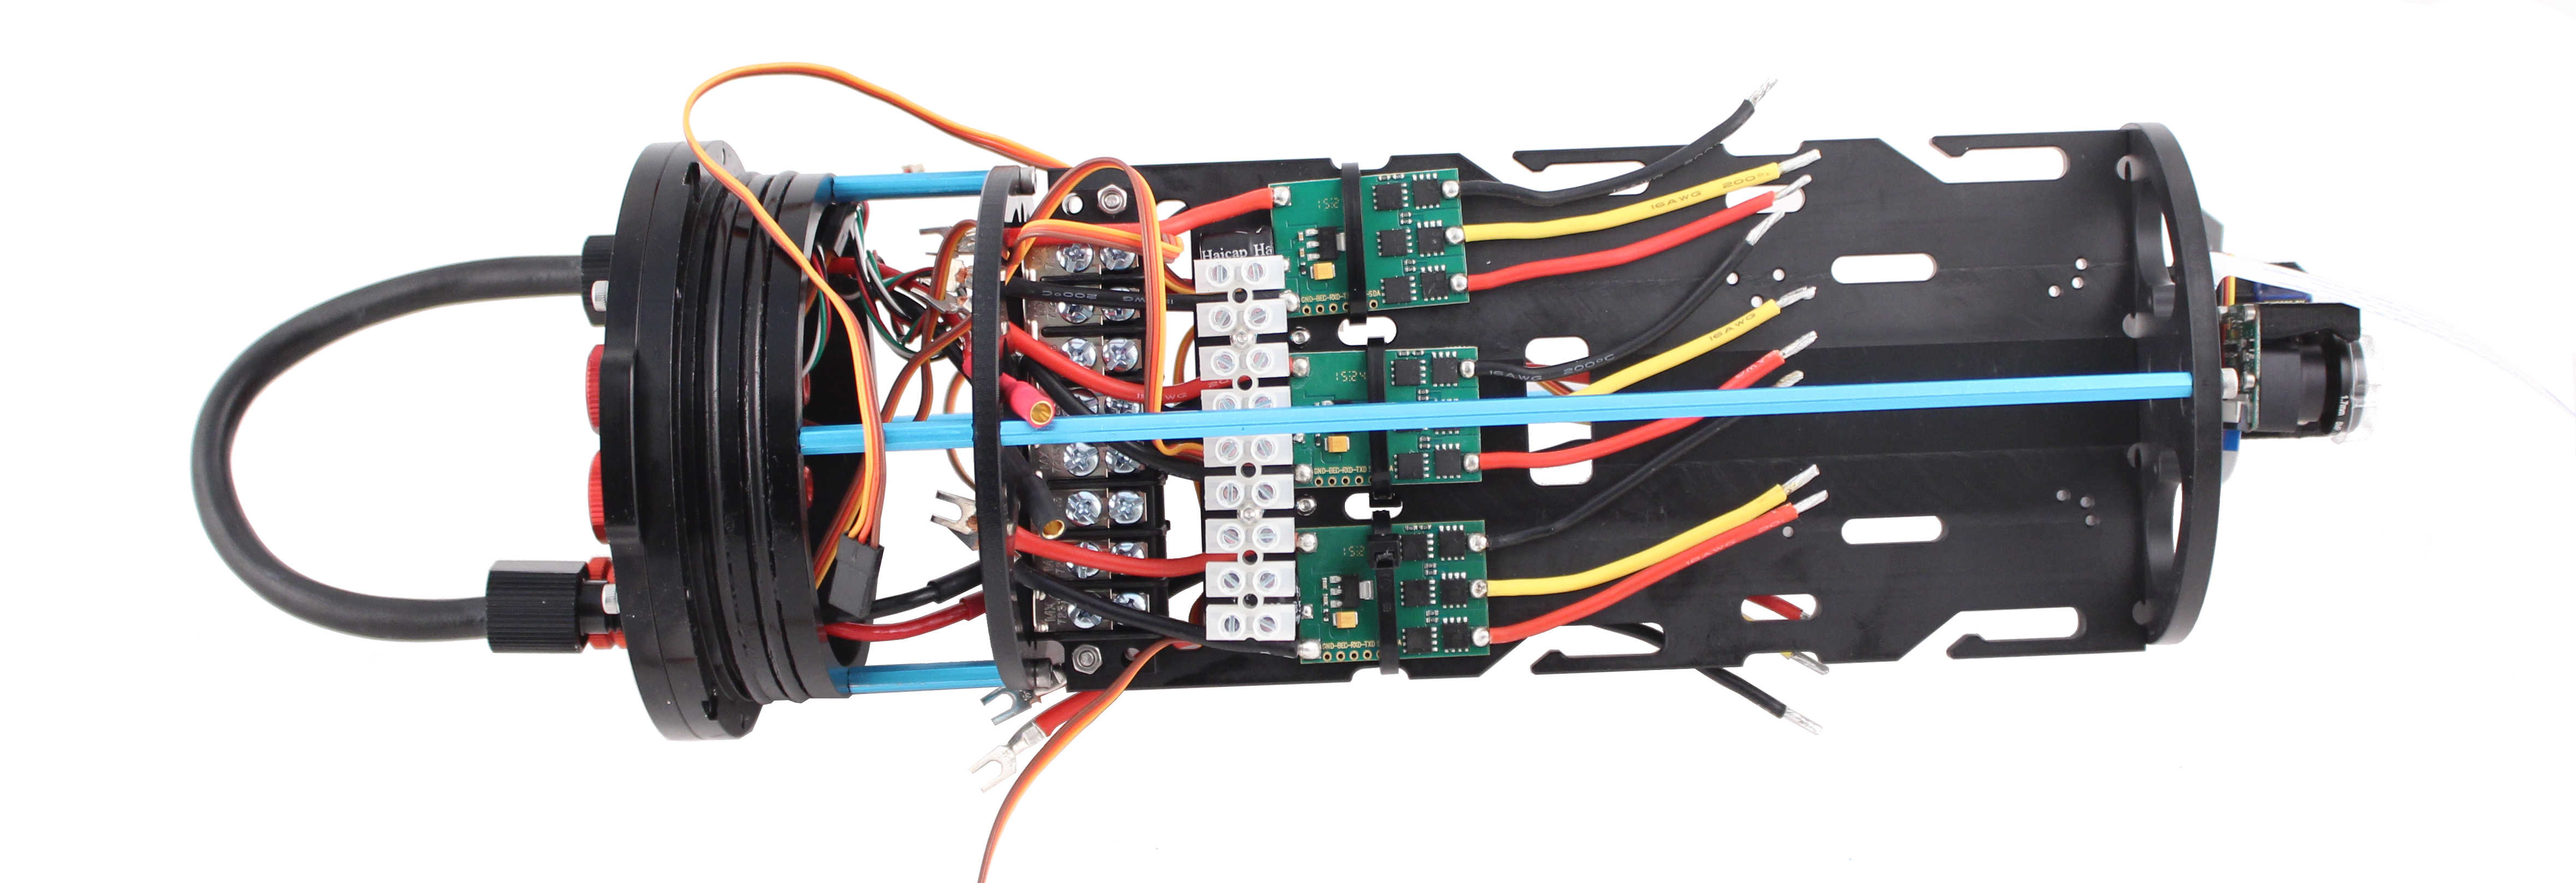
- The ESCs now come with all of the wiring completed.
- Three of the thrusters now come with the counter-clockwise propellers pre-installed.
- The camera, Pixhawk, Raspberry Pi, and Fathom-X connections have all been tested.
- The SOS Leak Sensor is included and installed onto the electronics tray!
If reading a bunch of bullet points isn’t your thing. Here are some pictures comparing the first batch to what we are doing now.
If you received your kit prior to March, you might still want to use the original instructions, which are still available here.
Checkout the updated documentation page for the new, simplified instructions! If you have any comments or feedback, please feel free to post at the related topic on our discussion forums!


I like the new instructions. definitly easier to see where some of the important wires go!