
Watertight Enclosure Clamps Guide
Introduction
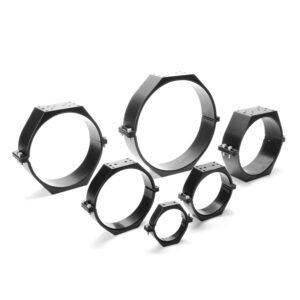
The Watertight Enclosure Clamps provide an easy way to mount cylindrical watertight enclosures. The newly redesigned series of clamps also feature a new mounting hole system that allows any clamp to attach to any other clamp, providing all sorts of clamp-to-clamp mounting configurations!
Clamp Hardware
The clamps include all fasteners required to make clamp-to-clamp connections and to clamp around the tubes. Extra fasteners are included that can be used for mounting. Fastener sizes are called out in the drawings and tables throughout this guide.
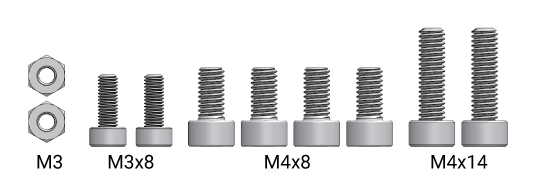
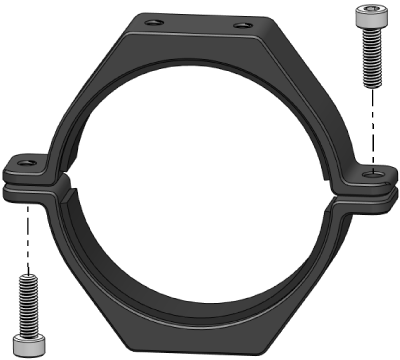
2'' Clamp Included Hardware
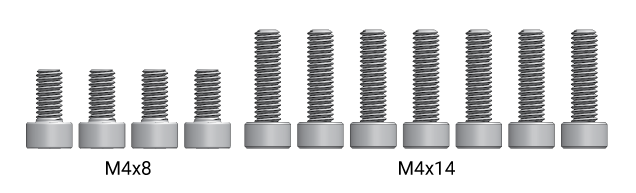
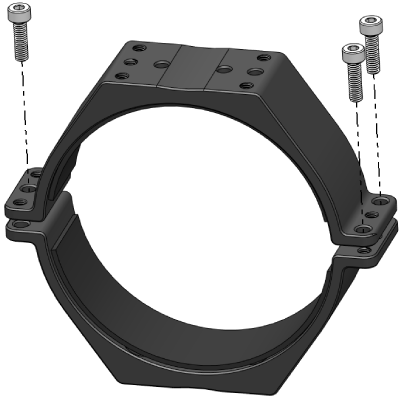
3'', 4'' Clamp Included Hardware
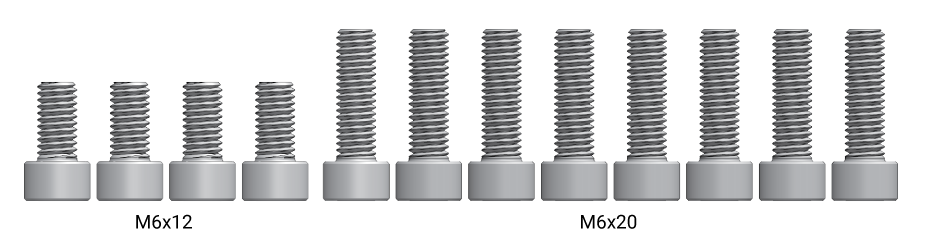
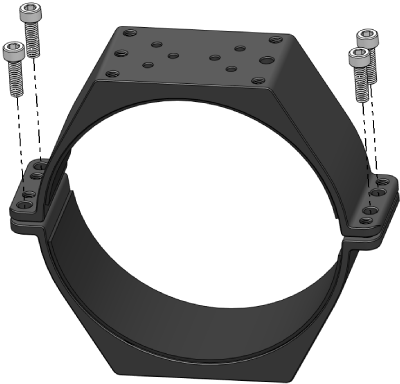
5'', 6'', 8'' Clamp Included Hardware
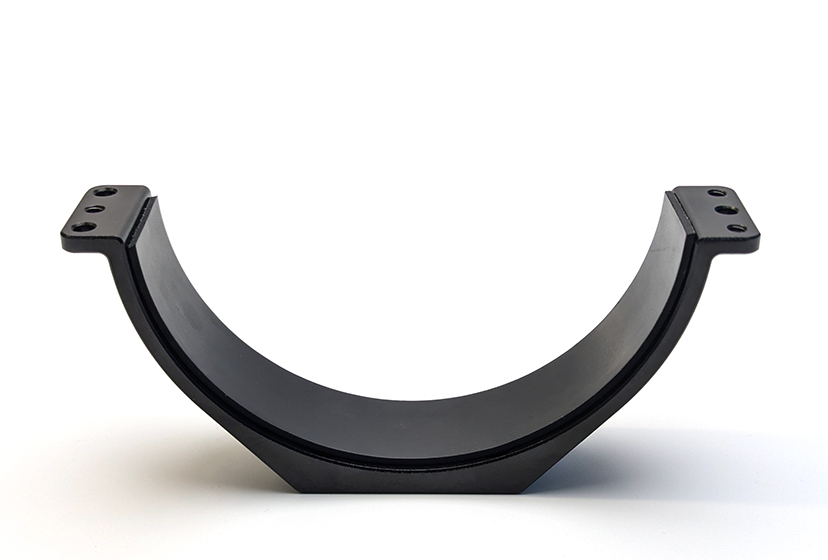
Mounting the Clamps
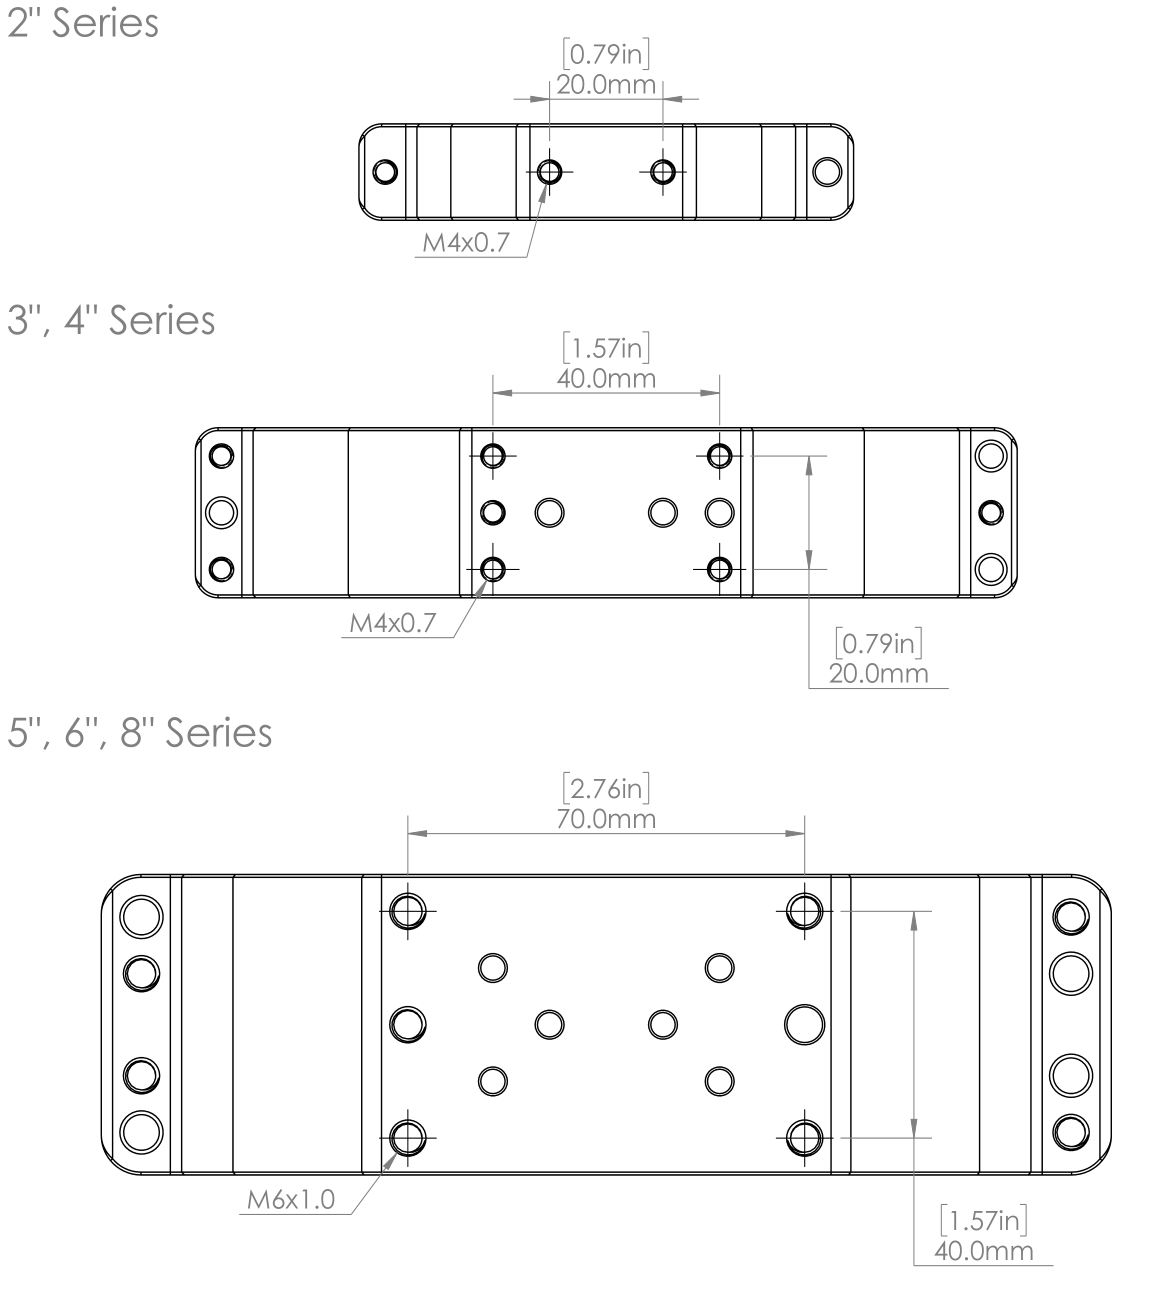
Each clamp features a threaded mounting hole pattern that can be used in two ways:
- as threaded holes to screw directly into the clamp
- as clearance holes to thread into the mounting surface.
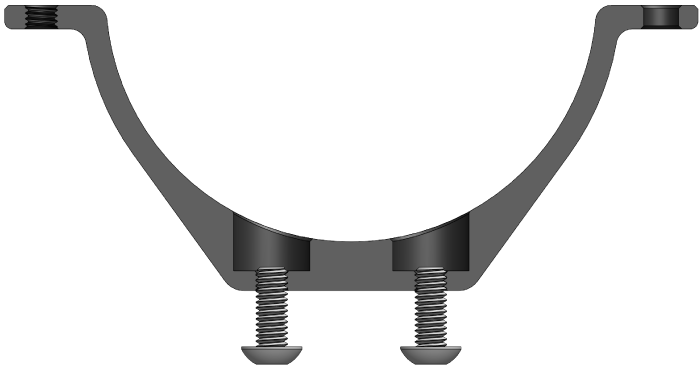
Screws threaded directly into mounting holes.
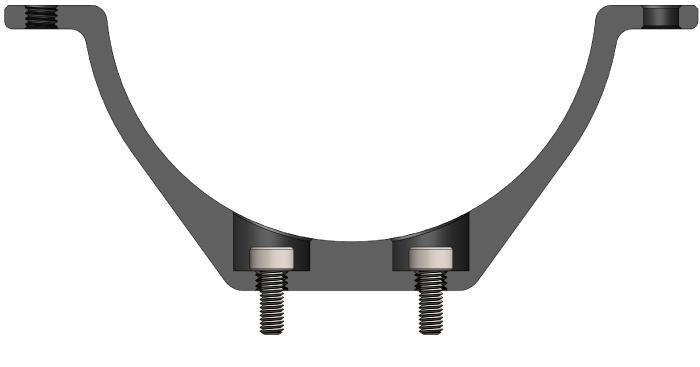
Mounting holes used as clearance holes.
The mounting hole patterns are shown below.
- To use the mounting holes as clearance holes, use a fastener size one whole metric size smaller than indicated, and make sure to mount the clamp before installing the rubber strip!
- The other holes on the bottom of each clamp are used for clamp-to-clamp mounting but can also be used for regular mounting if needed.
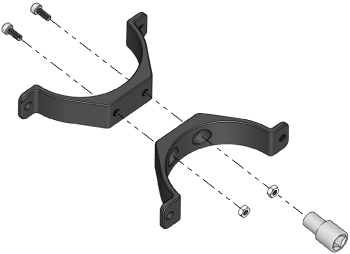
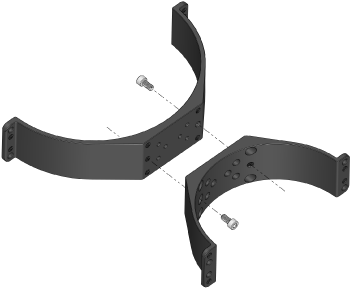
Clamp-to-Clamp Mounting
The coolest new feature about the clamps is the ability to mount any two clamp sizes together. The different clamp-to-clamp mounting combinations and fasteners used are shown in the table below. Make sure to make any clamp-to-clamp connections before installing the rubber strips on the clamps!
| Image | Clamp 1 | Clamp 2 | Fasteners Used | Fastener Drive Size |
|---|---|---|---|---|
 | 2" | 2" | 2 x M3x8 2 x M3 hex nut* (*requires 5.5 mm socket) | 2.5 mm hex |
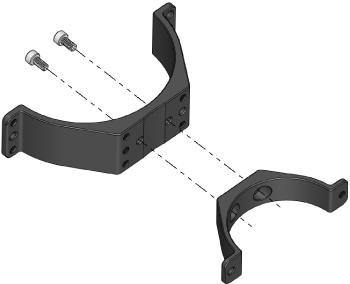 | 3", 4" | 2" | 2 x M4x8 | 3 mm hex |
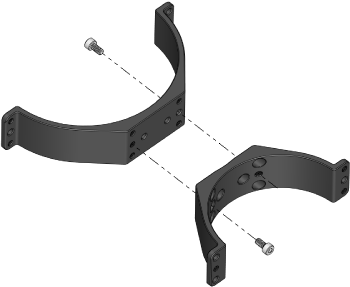 | 3", 4" | 3", 4" | 2 x M4x8 | 3 mm hex |
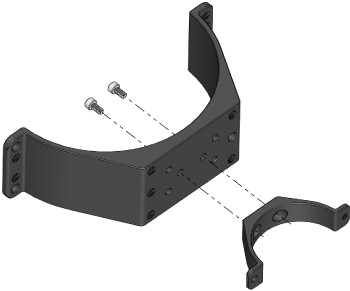 | 5", 6", 8" | 2" | 2 x M4x8 | 3 mm hex |
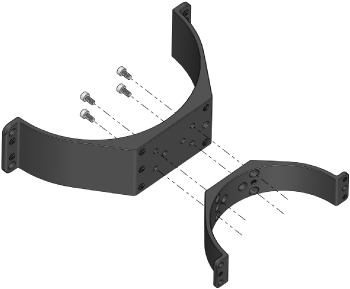 | 5", 6", 8" | 3", 4" | 4 x M4x8 | 3 mm hex |
 | 5", 6", 8" | 5", 6", 8" | 2 x M6x12 | 5 mm hex |
Installing a Clamp on a Watertight Enclosure
1. Make any clamp-to-clamp connections before installing the rubber strips.
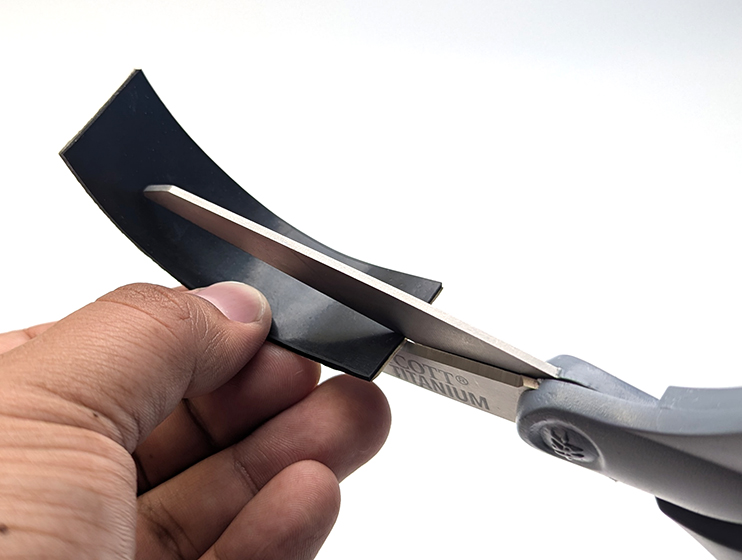
2. Remove the film from the included adhesive rubber strips then install a strip on each clamp.
- The 2” clamps include only one rubber strip that must be cut in half lengthwise before installing.
3. Place the clamps around the tube. Position the clamps so the unthreaded holes on one clamp align with threaded holes on the other clamp.
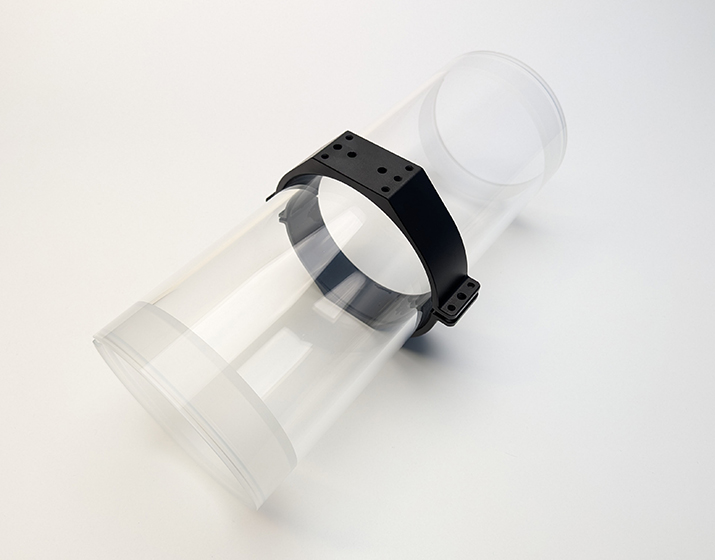
4. Use the included screws to secure the clamps to the tube. The appropriate screws for each clamp size are shown in the table below.
- Screws should always pass through an unthreaded hole first before threading into a threaded hole.
- Note that not all the clamping screw holes are used. The 3″ and 4″ clamps require only three clamping screws, while the 5″, 6″, and 8″ clamps only require four clamping screws to secure the clamps together.
| Image | Clamp Size | Fasteners Used | Fastener Drive Size |
|---|---|---|---|
 | 2" | 2 x M4x14 | 3 mm hex |
 | 3", 4" | 3 x M4x14 | 3 mm hex |
 | 5", 6", 8" | 4 x M6x20 | 5 mm hex |
Tighten the screws equally so there is an equal amount of space between the clamps on both sides of the tube.
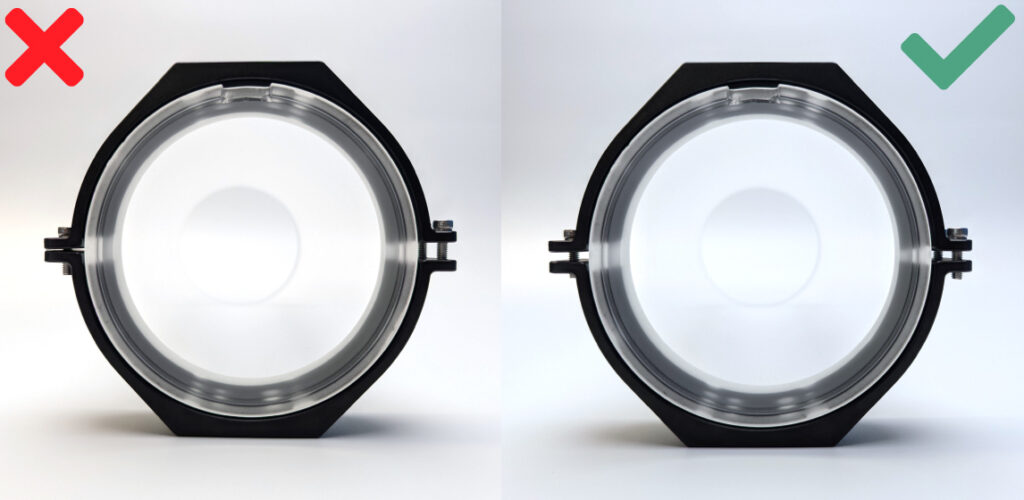
- Do not overtighten the clamps on acrylic tubes. Tighten the screws only enough to hold the clamp on the tube securely.
Feedback
We’re always working to make our guides, software, and user experience even better. If you have any ideas on how we can improve this guide, feel free to let us know here.