Switch Installation
Introduction
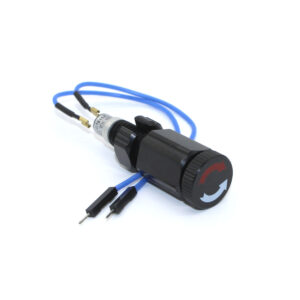
This Switch allows you to turn a circuit on and off inside a watertight enclosure without needing to open it! Handling up to 5A of current and 120V, you can use it to directly operate low power circuits or interact with a microcontroller to provide input for the operation of your vehicle.
Parts and Tools
You Will Need

Installation
1. Lubricate the O-rings with a thin layer of silicon grease. The O-rings used for the Switch Plug and the O-ring used for the Switch Bulkhead look very similar but are different sizes.
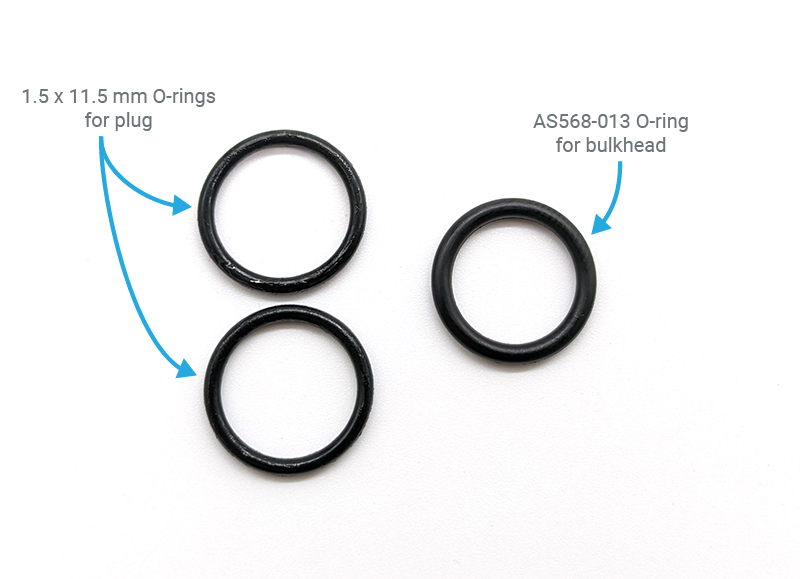
Install the 2 slightly thinner O-rings on the Switch Plug.
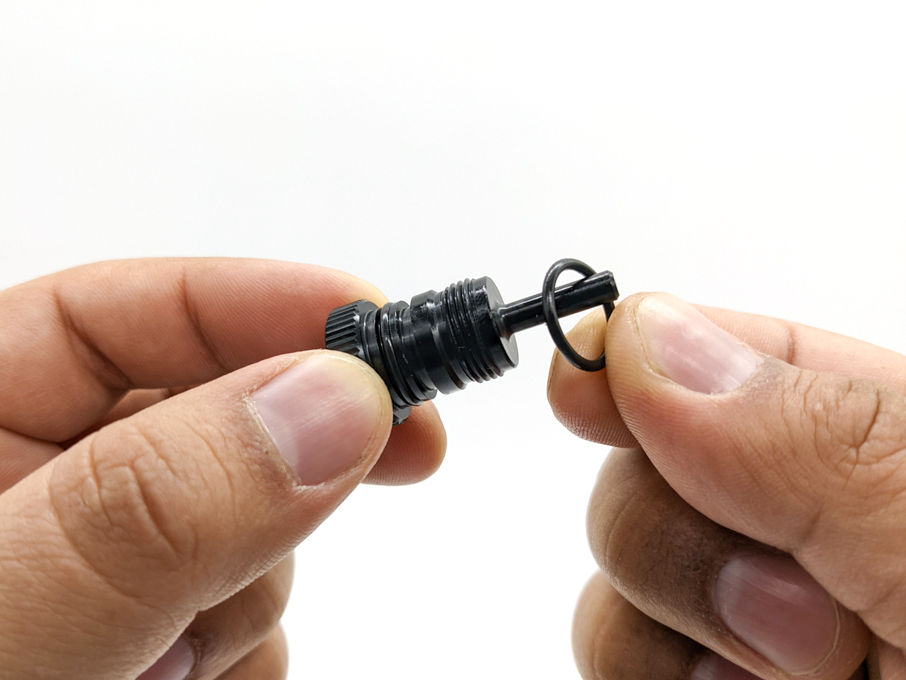
Install the slightly thicker bulkhead O-ring in the groove on the underside of the bulkhead.
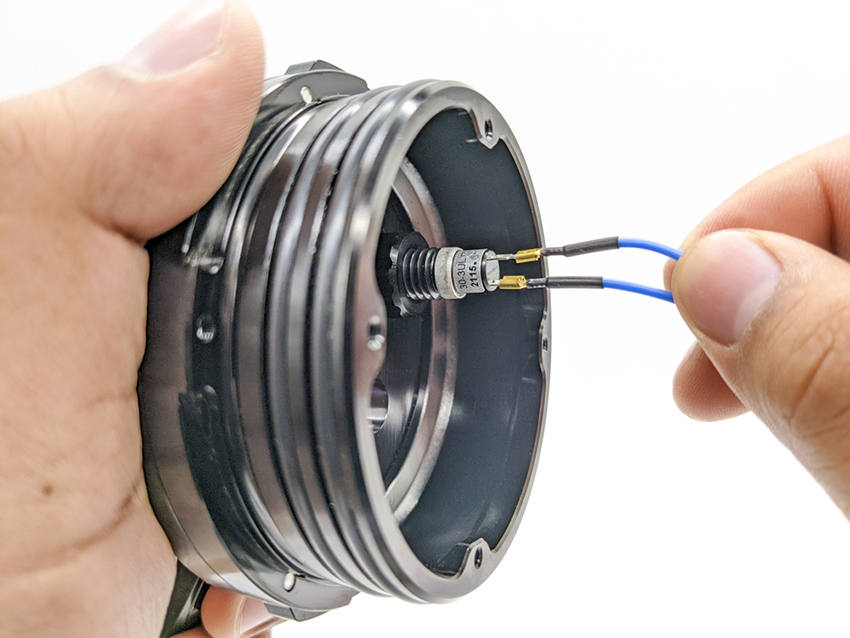
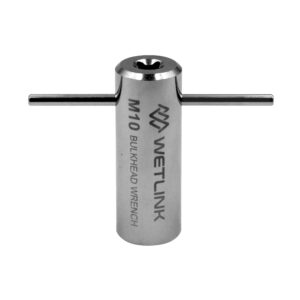
2. Using the provided M10 nut, secure the Switch Bulkhead to an appropriate hole in the watertight enclosure end cap. Tighten to finger tight, then use the Bulkhead Wrench to tighten an additional ~1/16 of a turn. If you can’t loosen the bulkhead with your fingers, it is tight enough. If using a torque wrench, tighten to 3.5 Nm.

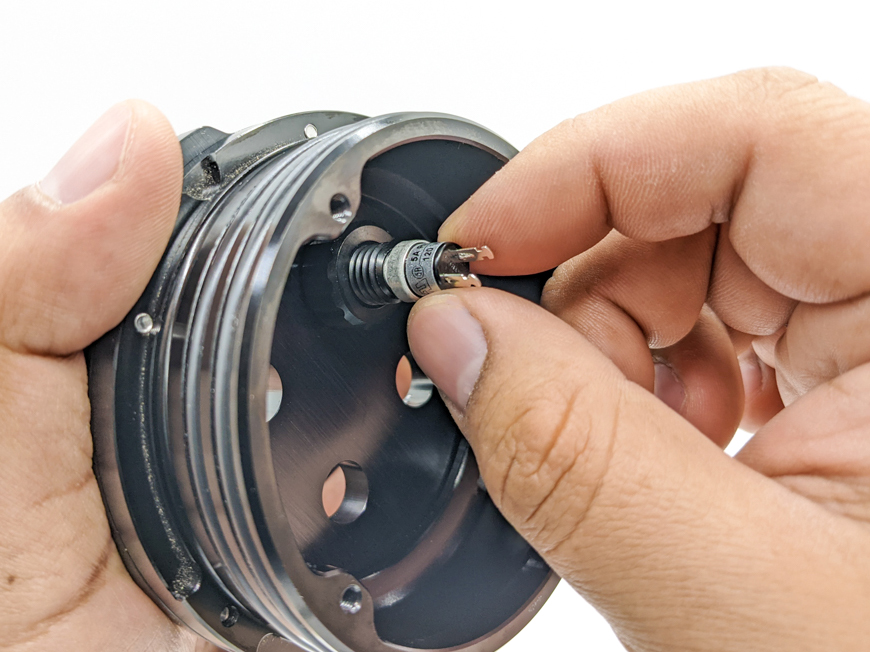
3. Remove the small hex nut from the button then install the button into the threaded end of the bulkhead and hand tighten. The small hex nut is not needed for operation and can be discarded.
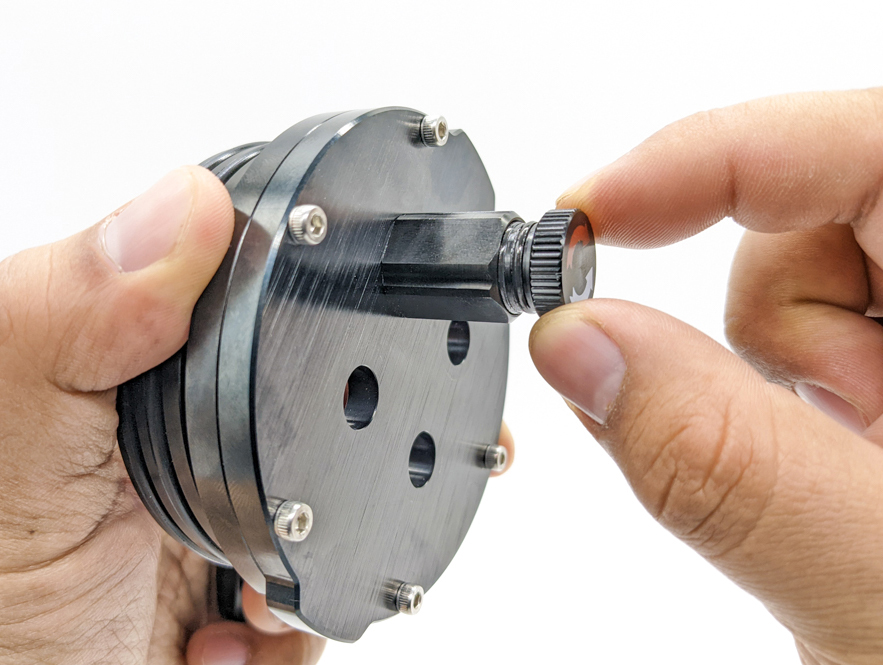
4. Screw the Switch Plug into the Switch Bulkhead until the button bottoms out, then back off one turn.
5. Push the wire quick connects onto the button terminals.