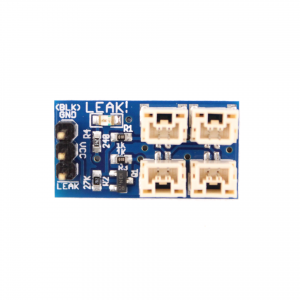
SOS Leak Sensor with an Arduino
Introduction
Today we’ll be checking out how to use the SOS Leak Sensor with an Arduino.
The SOS Leak Sensor can detect water leaking into an improperly sealed Watertight Enclosure quickly and reliably, before any major damage can occur! Although it was designed to function as a leak sensor, if the sponges are removed from the probes it can also act as a general ‘wetness’ sensor.
Since SOS just communicates with a single digital pin, our setup is about as easy as it gets!
Parts and Tools
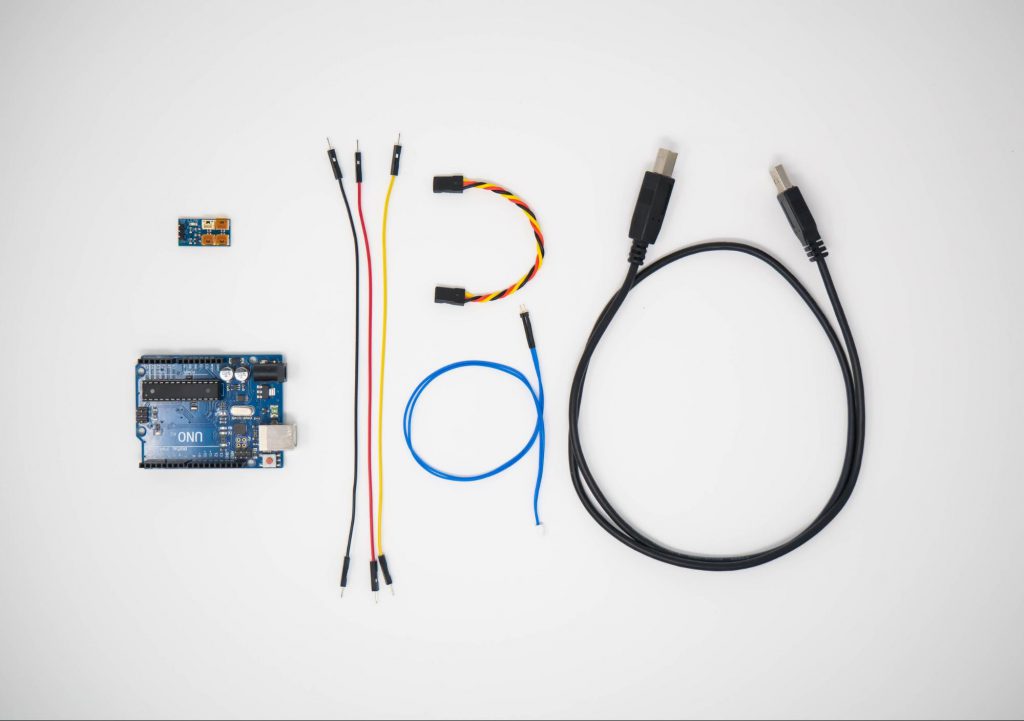
Main components used in this guide.
You Will Need
You will also need:
- 1 x Arduino Microcontroller (This tutorial uses an Arduino Uno)
- 1 x USB A to B cable (for connecting to your Arduino board)
- 3 x Male to Male or Male to Female Jumper Wires (To connect the SOS Pins to the Arduino)
- Arduino IDE
- Some water for testing 😉
Wire Connections
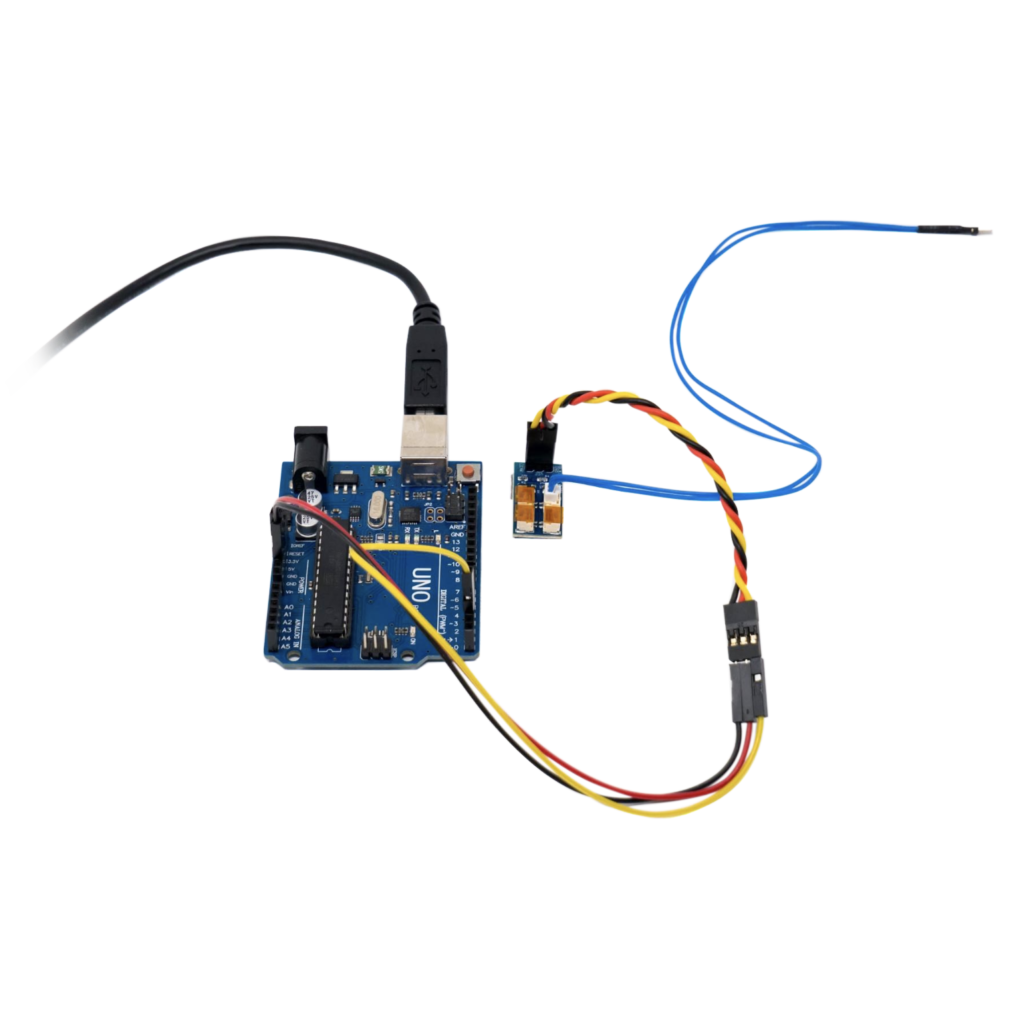
1. Plug a leak probe into one of the SOS board’s JST-GH ports.
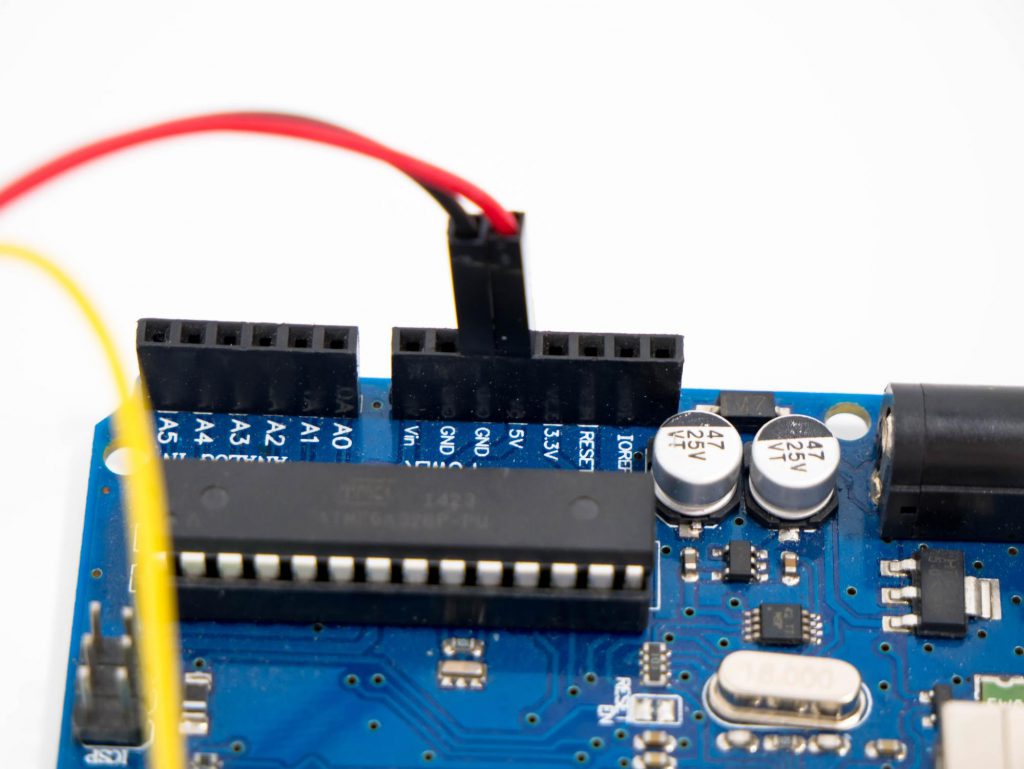
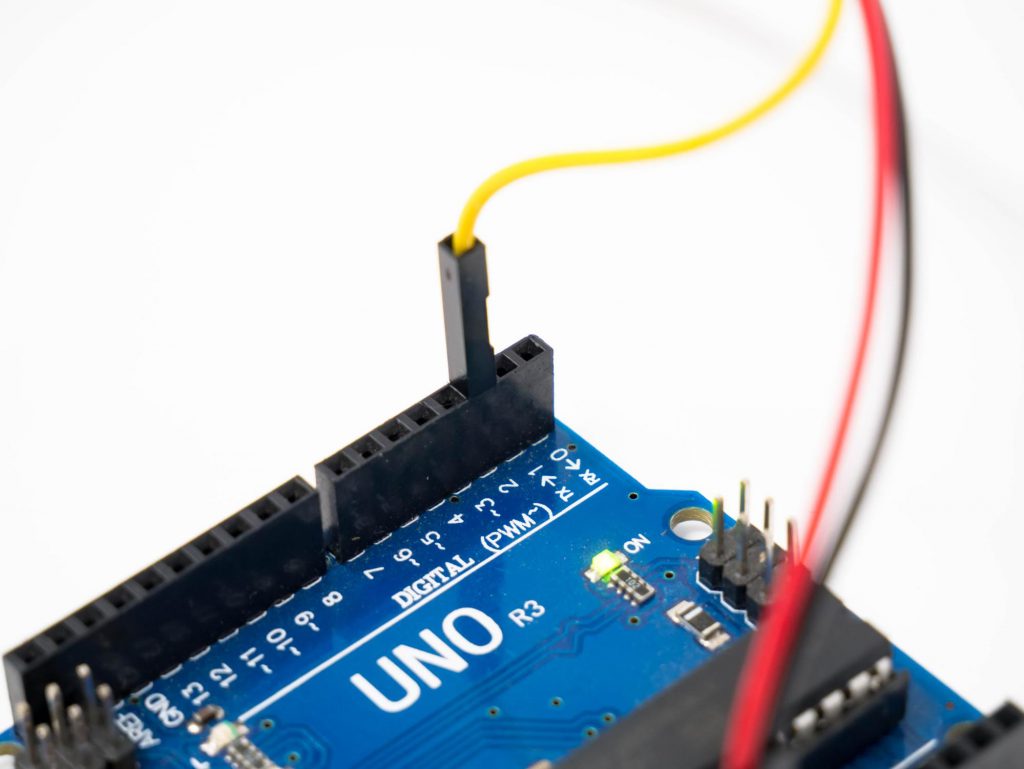
2. Using the jumper wires, make the following connections:
- SOS Ground Pin to an Arduino Ground Pin
- SOS 5V Pin to the Arduino 5V Pin
- SOS Signal Pin to the Arduino Digital Pin 2
Getting the Example
This simple example shows how to read data from the SOS. We’re going to set up the Arduino’s LED as an output, set up digital pin #2 as an input, and monitor the sensor’s output.
The SOS outputs a digital signal, which can either be LOW (0) when dry, or HIGH (1) when wet.
If our program sees a HIGH value, it will print “Leak Detected!” to the console.
1. Download the SOS Leak Sensor GitHub repository by either downloading the zip, or cloning it.
2. Open Arduino IDE, and open the examples/leakAlert.ino sketch
3. Plug in the Arduino to your computer with the USB Cable
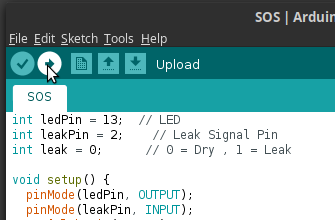
4. Upload the Sketch
5. Open the Serial Monitor
Done! Now several things will happen if the leak probe gets wet:
- The SOS Red LED will illuminate
- The Arduino’s LED will turn on

For the sake of this example, the sponge from one of the SOS probes has been removed to demonstrate that it can instantaneously detect when it is touching water.

