Pressure Relief Valve Installation and Usage
Introduction
Our new generation of watertight enclosures feature a locking cord that secures the end caps to the tube and prevents them from coming off accidentally. However, this extra security also means that if an excessive amount of pressure builds up inside a tube it can create an unsafe situation. The Pressure Relief Valve (PRV) was designed to automatically release any internal pressure that may build in a watertight enclosure safely if it reaches 12 ± 3 psi.
This guide will show you how to install the PRV on your watertight enclosure and use its related accessories.
Safety
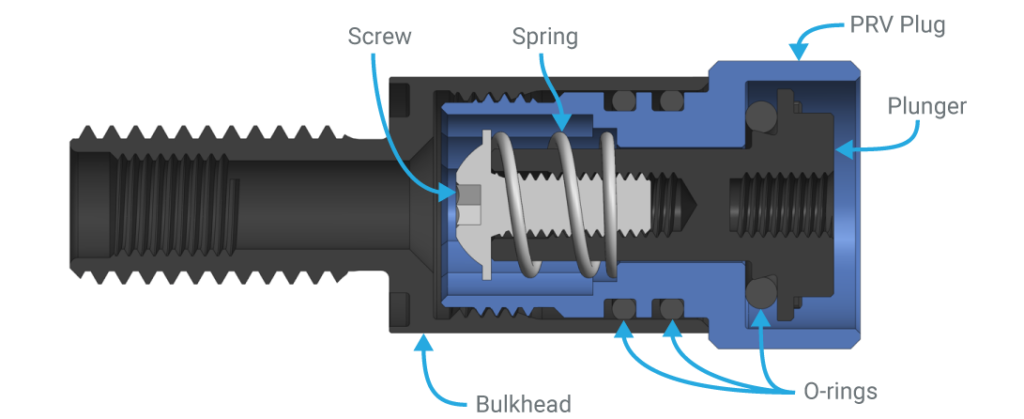
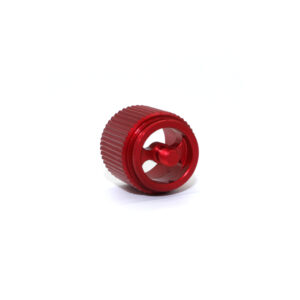
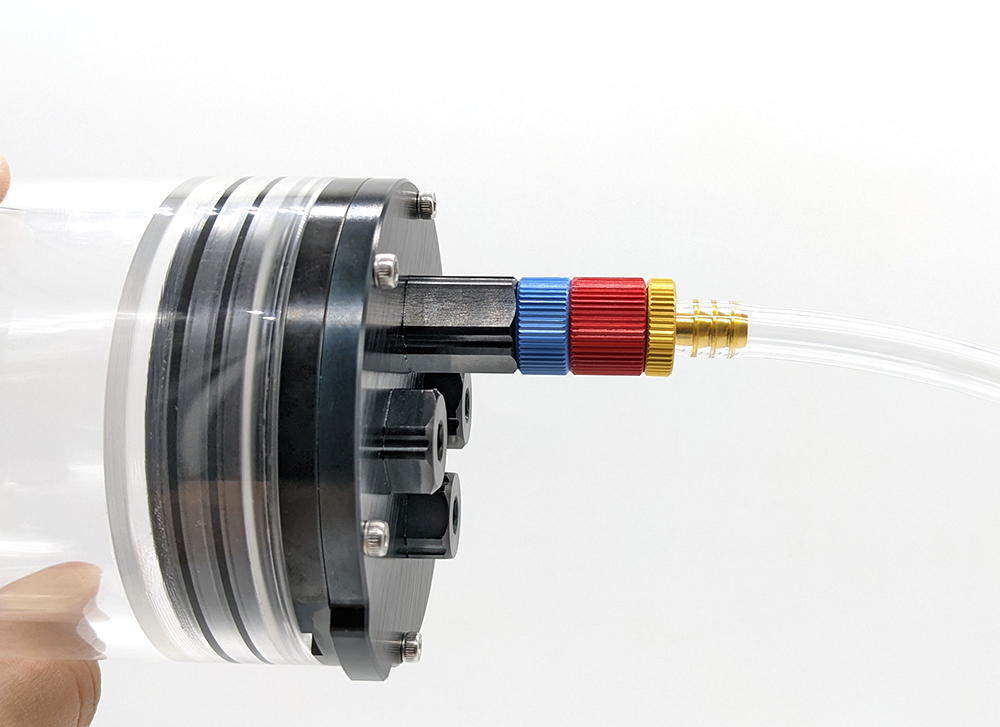
Parts of the Pressure Relief Valve
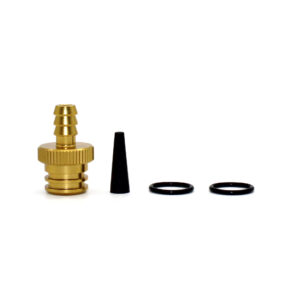
Parts and Tools
You Will Need
Installation
The PRV comes fully assembled, it only requires installation on your watertight enclosure.
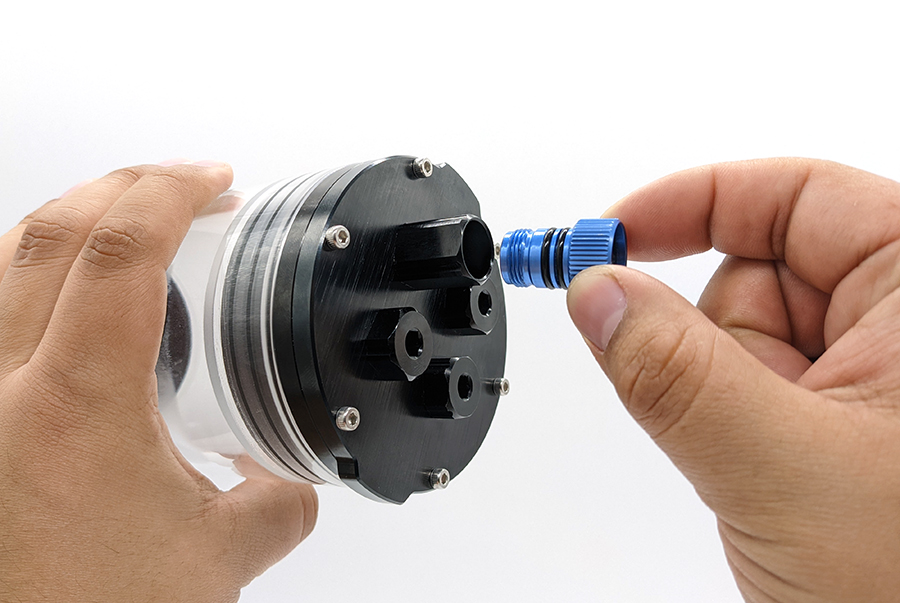
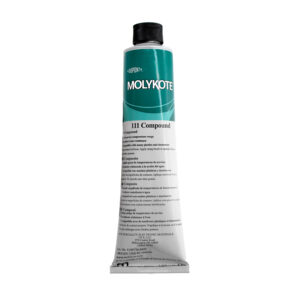
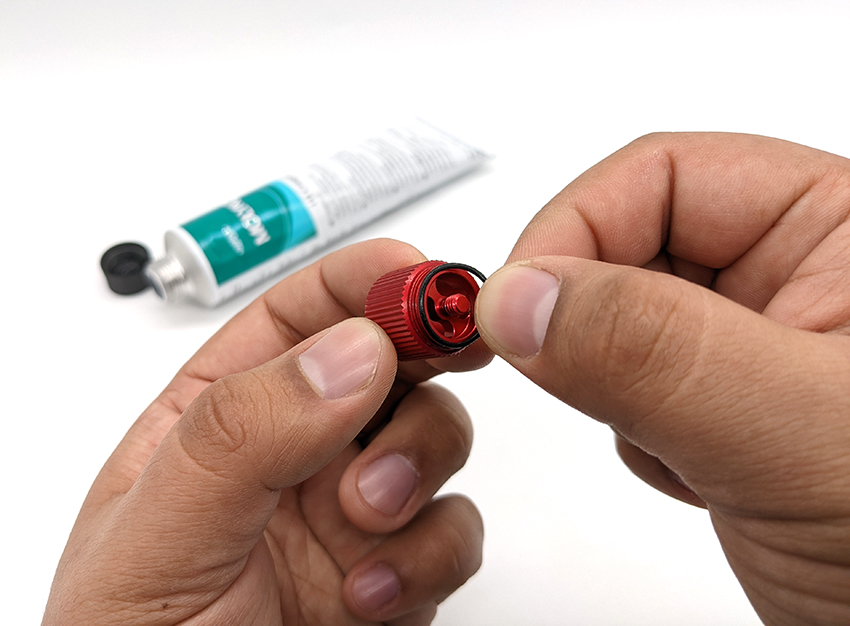
1. Lubricate the provided bulkhead O-ring with a thin layer of silicone grease and install it in the groove on the underside of the bulkhead.
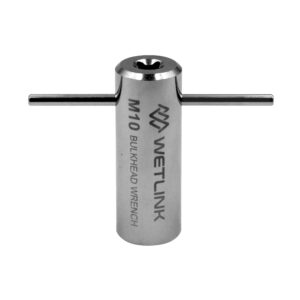
2. Using the provided M10 nut, secure the bulkhead to an appropriate hole in the watertight enclosure end cap. Tighten to finger tight, then use the Bulkhead Wrench to tighten an additional ~1/16 of a turn. If you can’t loosen the bulkhead with your fingers, it is tight enough. If using a torque wrench, tighten to 3.5 Nm.

Usage
The PRV will automatically release internal pressure that builds up inside a locking enclosure when it reaches 12 ± 3 psi, but for the majority of the time it will be used just like the regular vent.
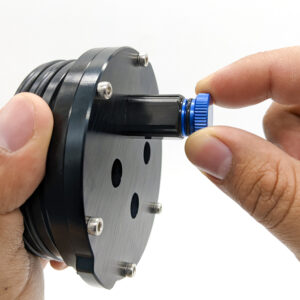
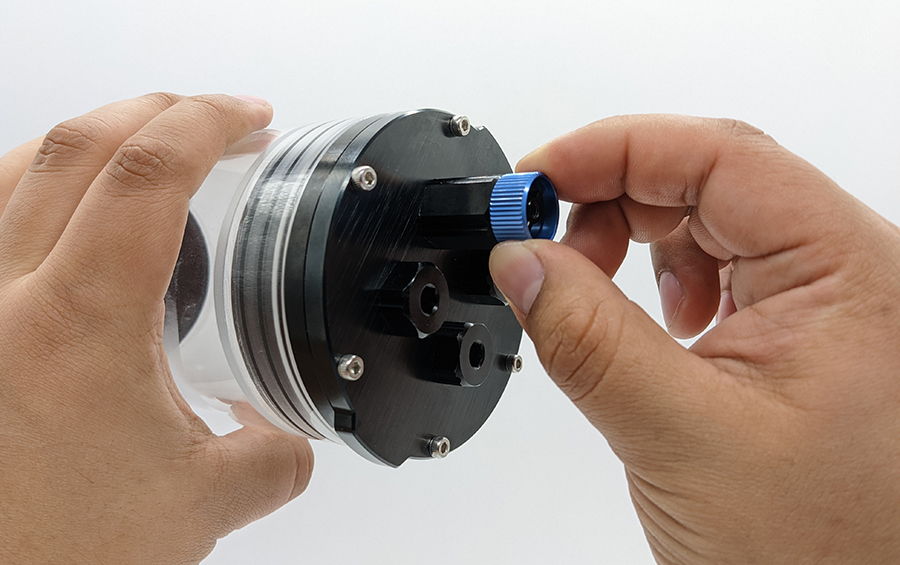
1. Unscrew the PRV plug from the bulkhead to manually vent pressure when opening and closing the watertight enclosure.
2. Insert the plug into the bulkhead and tighten to seal the PRV.
Using the Vacuum Plug
The PRV uses the same bulkhead as the regular vent. This means that the same Vacuum Plug can be used to perform vacuum tests on the enclosure.
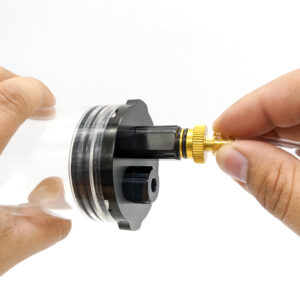
1. Unscrew the PRV plug from the bulkhead and set it aside.
2. Insert the Vacuum Plug into the bulkhead to perform a vacuum test.

Please refer to our Using the Vacuum Plug and Hand Pump guide for full instructions.
Using the Vacuum Plug and Hand Pump
Using the Backfill Adapter
The PRV Backfill Adapter is an accessory for the PRV that allows you to backfill a watertight enclosure with an inert gas or seal it while maintaining a vacuum. This section will show you how to use it with the PRV.
To Use the Backfill Adapter You Will Need
-
Pressure Relief Valve
Allows venting and vacuum testing with our enclosures$32.00 -
Pressure Relief Valve Backfill Adapter
Use with PRV to nitrogen fill or seal at vacuum$13.00 -
Vacuum Plug
Plugs into the vent to perform vacuum tests, pump required$8.00 -
Molykote 111
For lubricating O-rings and other sealsPrice range: $4.00 through $32.00
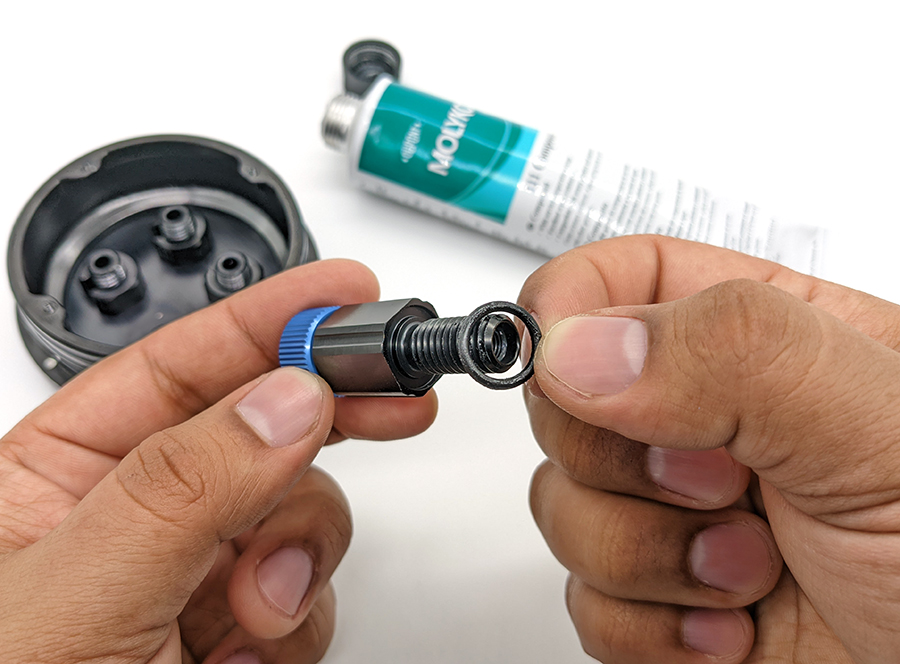
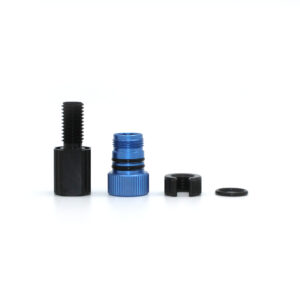
1. Lubricate the O-ring included with the Backfill Adapter with a thin layer of silicone grease and install it onto the Backfill Adapter.
2. The PRV plunger has threads at the top to accept the threads on the Backfill adapter. Screw on the adapter clockwise into the PRV. The O-ring on the Backfill adapter will seat into the PRV plug.

3. As you screw on the Backfill Adapter the plunger is pulled up, creating a sealed path into the enclosure. Continue turning the Backfill Adapter into the PRV plug all the way until it stops and cannot be turned further.
4. Insert the Vacuum Plug into the Backfill Adapter. At this point the Vacuum Plug and the Backfill Adapter can be used with a backfilling system to backfill the enclosure with an inert gas such as nitrogen or to pull a vacuum inside the enclosure.
5. After backfilling or pulling vacuum is complete, unscrew the Backfill Adapter counter-clockwise to remove it. As the Backfill Adapter is unscrewed the plunger is released and reseals the PRV.
Maintenance
- The PRV valve mechanism does not require any maintenance. Each PRV is assembled and tested at our factory to ensure it releases at the correct pressure. We recommend that you do not disassemble or tamper with the valve mechanism to ensure proper functionality.
- Do not clean or rinse the PRV with pressurized water or air as this may push foriegn material under the plunger O-ring.
- If the PRV Plug feels difficult to turn, lubricate the O-rings with silicone grease as needed.
Related Guides
Watertight Enclosure (WTE) User Guide
Using the Vacuum Plug and Hand Pump