
Installing the Airmar 300WX-IP67 WeatherStation on the BlueBoat Antenna and Accessory Mast
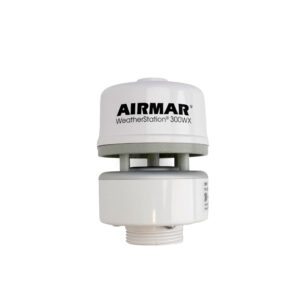
The BlueBoat Antenna and Accessory Mast raises the height of the antenna to improve line of sight and increase range by up to 2 times. It can also be used to mount accessories like the Airmar 300WX-IP67 WeatherStation or other payloads. This guide will show you how to install the 300WX on the BlueBoat.

Choosing a Mounting Location
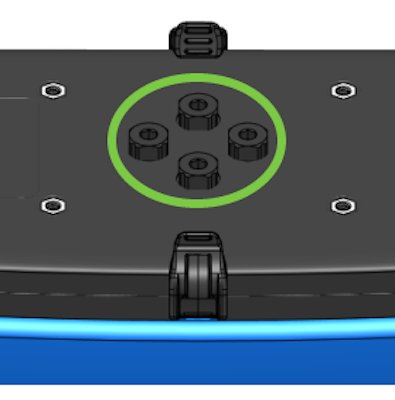
The mast can be installed on any of the BlueBoat’s frame bracket mounting holes. Key considerations:
- Use the outer mounting holes (green arrows) to allow the mast to fold down completely.
- The inner mounting holes (orange arrows) are also compatible, but note that the mast will interfere with the hatch latches when folded down.

Mast mounting locations
Parts and Tools for Installation
In addition to the antenna mast kit, you will need the following for installation:
- 3 mm hex tool
- 4 mm hex tool
- 5 mm hex tool
Installation
1. Use the included M6x12 screws and a 5 mm hex to secure the mast base to the BlueBoat frame, at the outer mounting holes closest to the antenna connector. The threaded shaft should point away from the center of the boat.

2. Install the swivel base on the mast base and secure it with the wing nut.

3. Feed the weather-station cable through the center of the mast pole.
4. Grease the included o-ring and install it on the cable penetrator. Remove one of the available Hatch Lid Penetrators on the starboard hatch lid, and install the weather station cable into it.
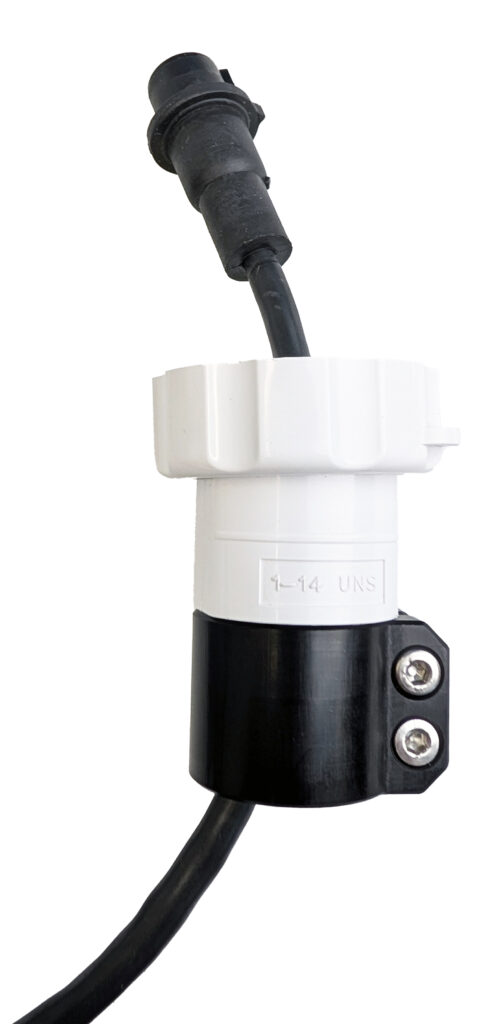
5. Screw the white collar on the Airmar cable fully onto the black Mast Mount.
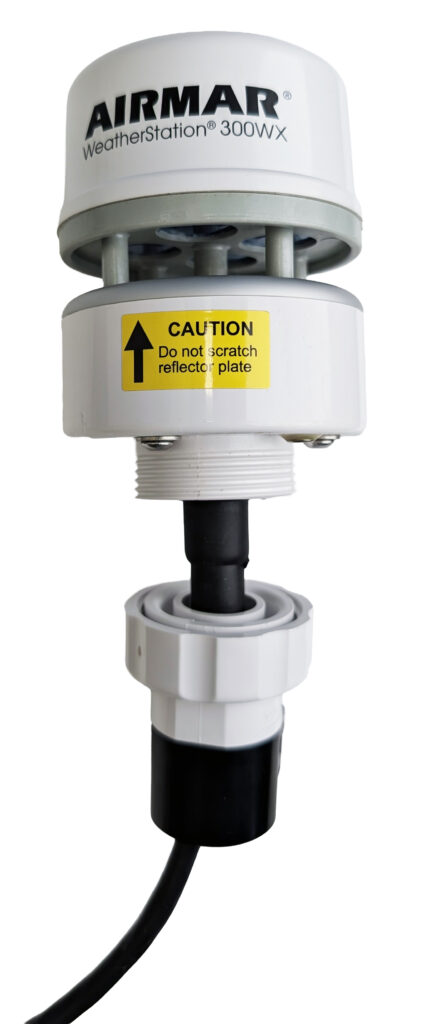
6. Plug the cable into the 300WX and tighten the white collar fully onto the sensor.
7. Use two M4x14 screws and a 3 mm hex to attach the mast adapter to the top of the mast pole after sliding it onto the end. Pull slightly on the holder after tightening to make sure it is securely attached.
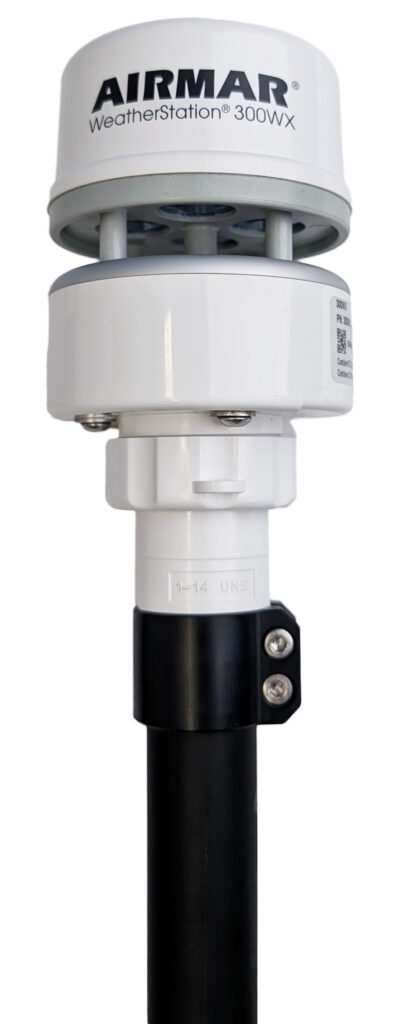
8. Insert the other end of the mast pole into the swivel base, making sure the cable passes through the slot.

9. Use the remaining two M4x14 screws to secure the mast pole in the swivel base. Pull slightly on the pole to make sure it is securely attached. Orient the notch on the weather station with the front (bow) of the hull before tightening to lock in place.

10. Use the included wire levers, connect the wires from the weather station to the USB adapter and Fuse Board as listed in the table and shown in the diagram:
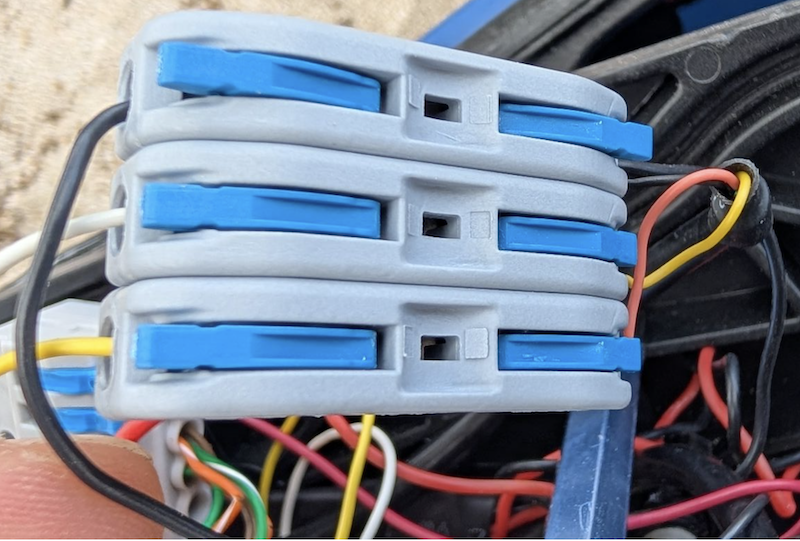
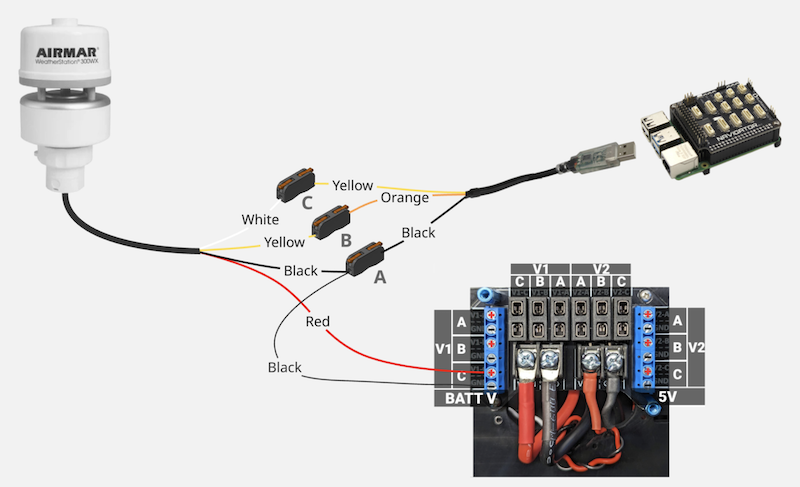
| Wire From | Wire Color | Wire Connects To |
|---|---|---|
| WeatherStation Power input | Red | Available V1 Fuse Block Screw Terminal, <5A Fuse |
| WeatherStation Ground | Black | Wire Lever Connector A |
| Wire Lever Connector A | Black | Available V1 Fuse Block Screw terminal, GND |
| USB Adapter Ground | Black | Wire Lever Connector A |
| 300WX RS232 TX | White | Wire Lever Connector C |
| RS232 USB Adapter RX | Yellow | Wire Lever Connector C |
| RS232 USB Adapter TX | Orange | Wire Lever Connector B |
| 300WX RS232 RX | Yellow | Wire Lever Connector B |
11. Connect the USB connector of the adapter to an available USB port.
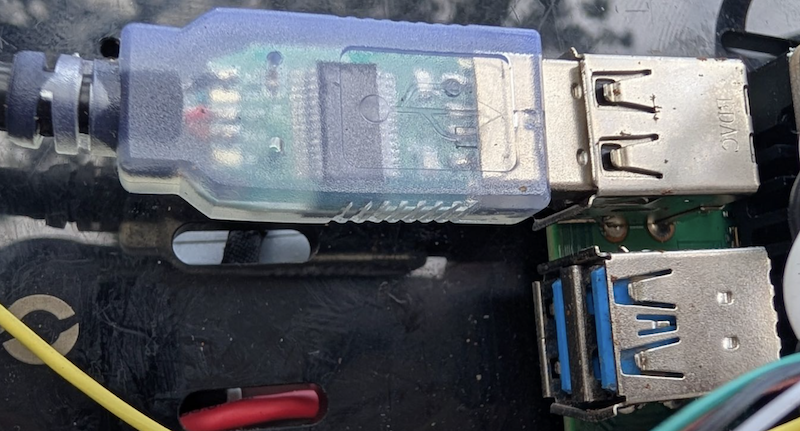
That’s it!
Folding the Mast
To fold the mast, loosen the wing nut, fold the mast down, and re-tighten the wing nut.
- The mast position adjusts from 0° to 180° in 22.5° increments.
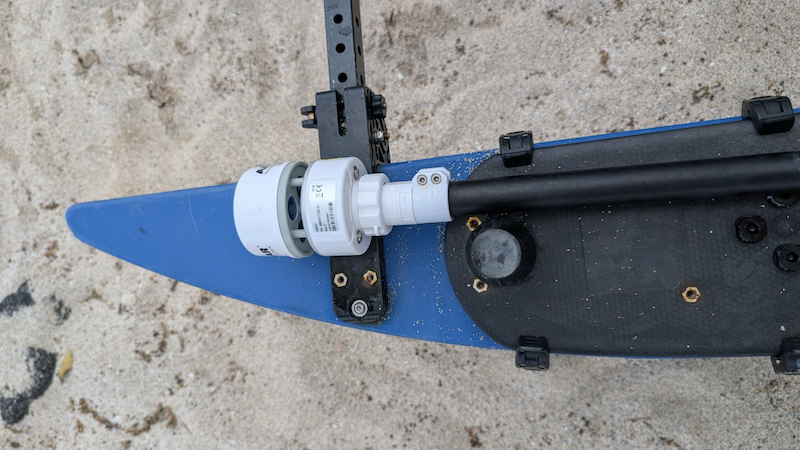
Software Setup
The 300WX extension provides a visual readout of the data the weather station collects, while logging it to file and optionally forwarding relevant messages to the ArduRover autopilot. It can be installed from the BlueOS extensions store.
1. Connect a battery, power on your BlueBoat and BaseStation, and connect the system to your computer. If you’re not sure how to do this, check out the BlueBoat Software Setup guide first.
2. Access BlueOS (the BlueROV2’s operating system) by entering 192.168.2.2 or blueos.local into a web browser address bar.
3. Connect the BlueBoat to a Wi-Fi network.
4. Update to the latest stable release of BlueOS using the instructions here, then return to this guide.
5. Go to the Extensions menu in BlueOS and install the Airmar WX extension.
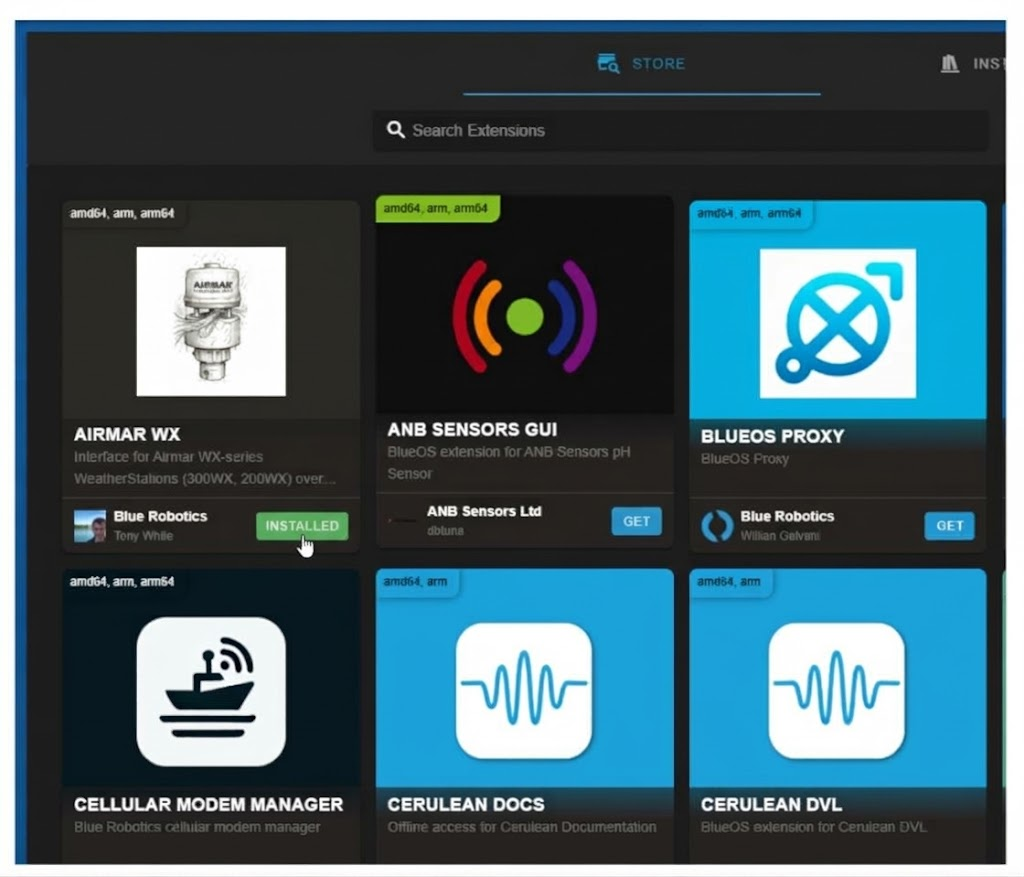

6. After it’s installed, open it from the left sidebar. Expand the Device Identification panel and select the FTDI device from the list.
- If more than one FTDI device is listed, you can identify the correct one by the USB port it’s physically connected to- this is highlighted as you move the mouse pointer over the listed Devices.
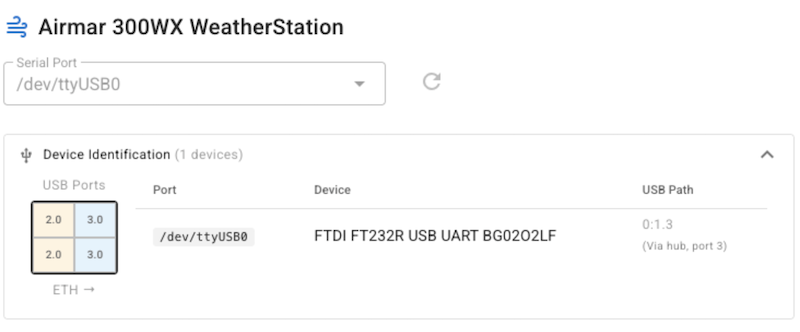
7. Push
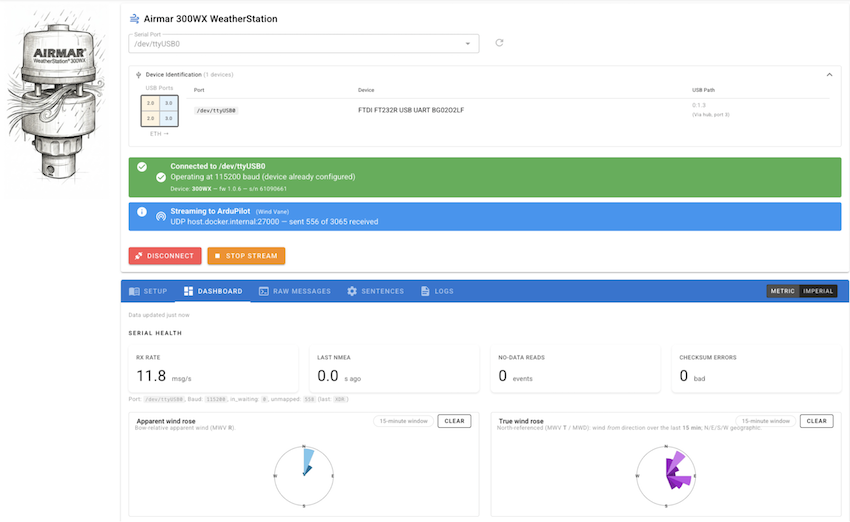
8. The Dashboard shows cards that display live and historical values for currently configured output messages. You can adjust what values are collected on the Sentences tab, and download the NMEA or extension logs from the Logs tab. Raw Messages shows the exact messages being received via serial from the sensor.
Sensor Data in Autopilot Logs
Regardless of the extension configuration to stream GPS or Weather data to the autopilot via UDP, this data is logged in the Autopilot .BIN log via Mavlink2Rest. The following values can be found, and are logged at 1Hz:
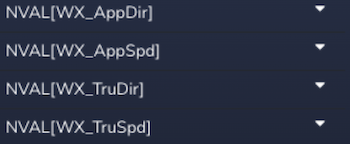
The values can be searched and plotted using the BlueOS Log Browser.
Streaming Data to the Autopilot via UDP
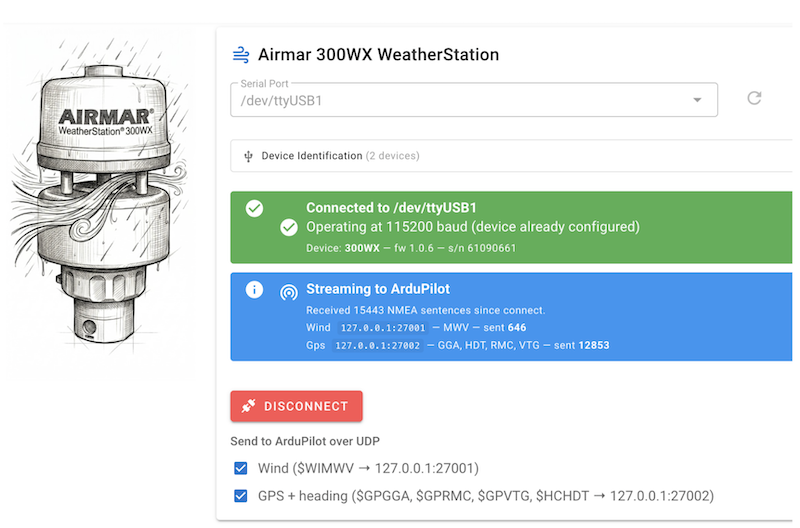
The weather station can send both GPS and Compass, as well as wind data to the autopilot. The wind data is essential for ArduRover sailboat applications, and the external compass may be helpful on some vehicles with magnetic interference issues.
For the autopilot to receive and use this data, simply check each corresponding box in the interface and follow the prompts in the Setup tab.
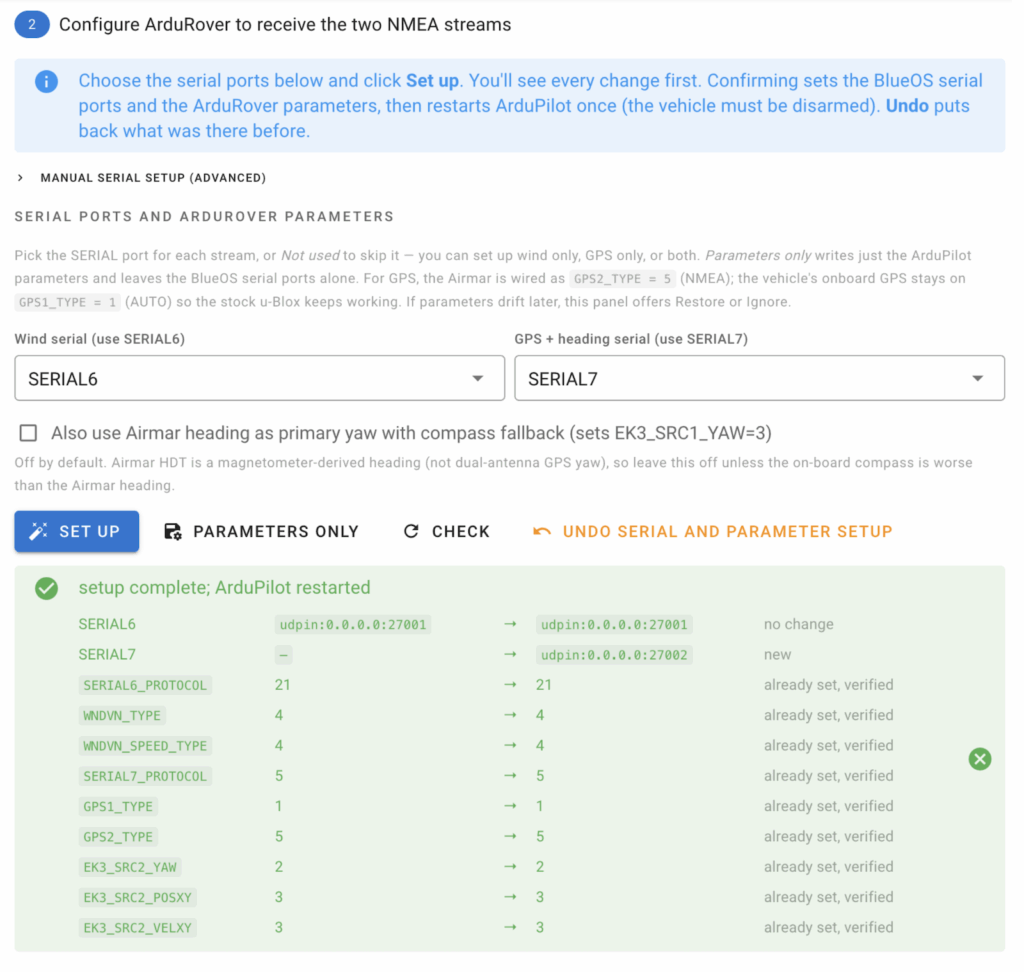
To verify the data is reaching the autopilot, go to the Mavlink Inspector in BlueOS (while in Pirate mode) and search for Wind or GPS2 data entries. You’re all set!