
Fathom-X Tether Interface (FXTI) Usage Guide
Introduction
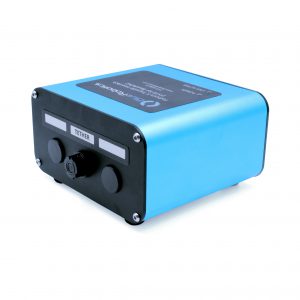
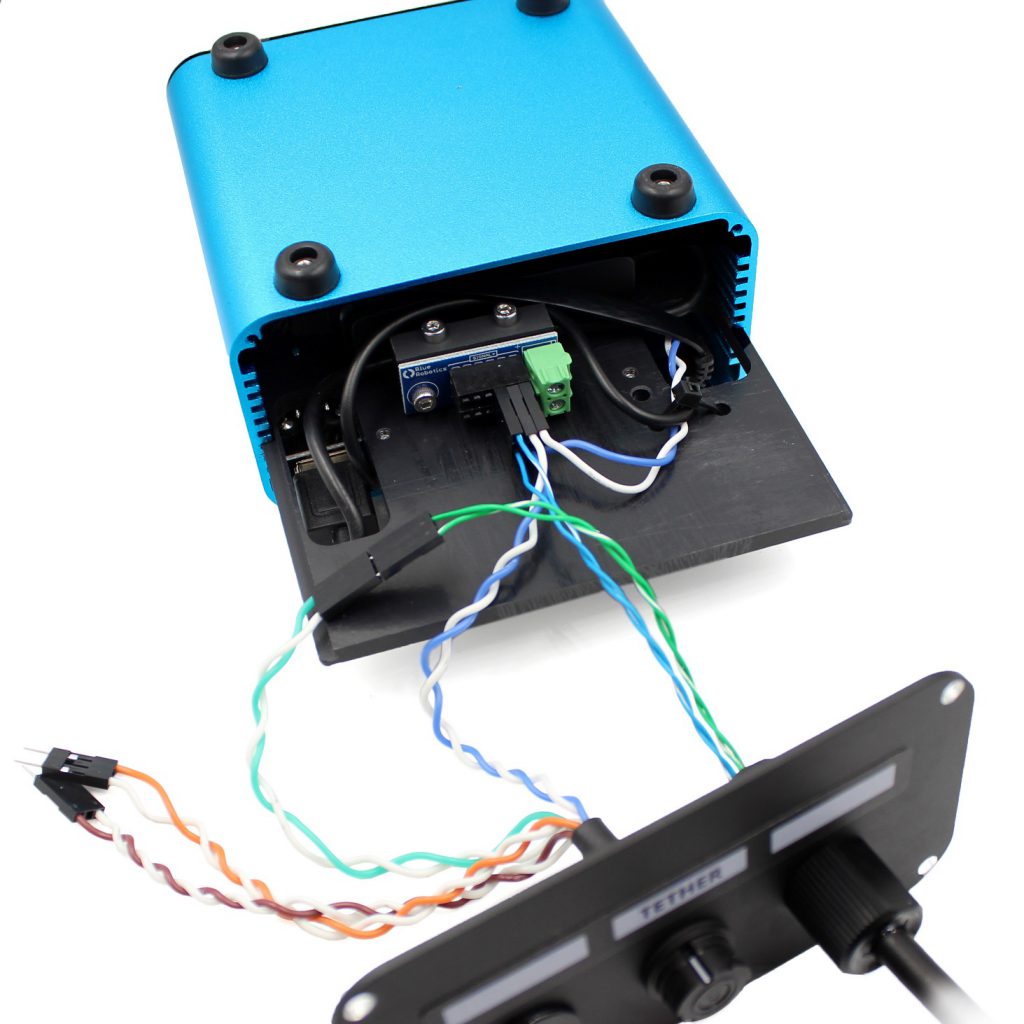
The FXTI provides a simple but flexible topside enclosure to interface the BlueROV2 to a computer. Contains a USB to Ethernet converter and a Fathom-X board, and offers plenty of options for expansion!
Cable Connections
1. Insert the Binder connector from your Fathom ROV Tether (or Spool extension cable) onto the connector bulkhead receptacle so the WHITE ARROW on the plug aligns with the white line.
2. Rotate the connector head clockwise until the connector locks in place and the GREEN LOCK symbol is in the 12 o’clock position.

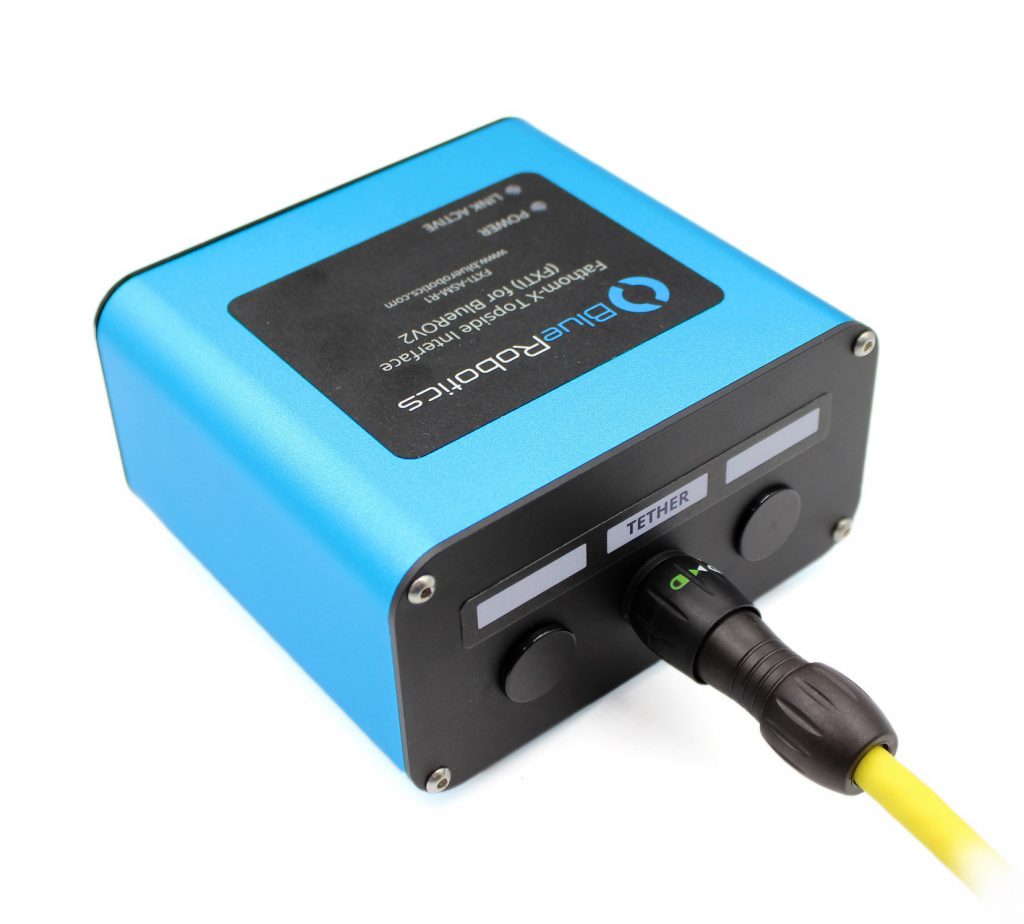
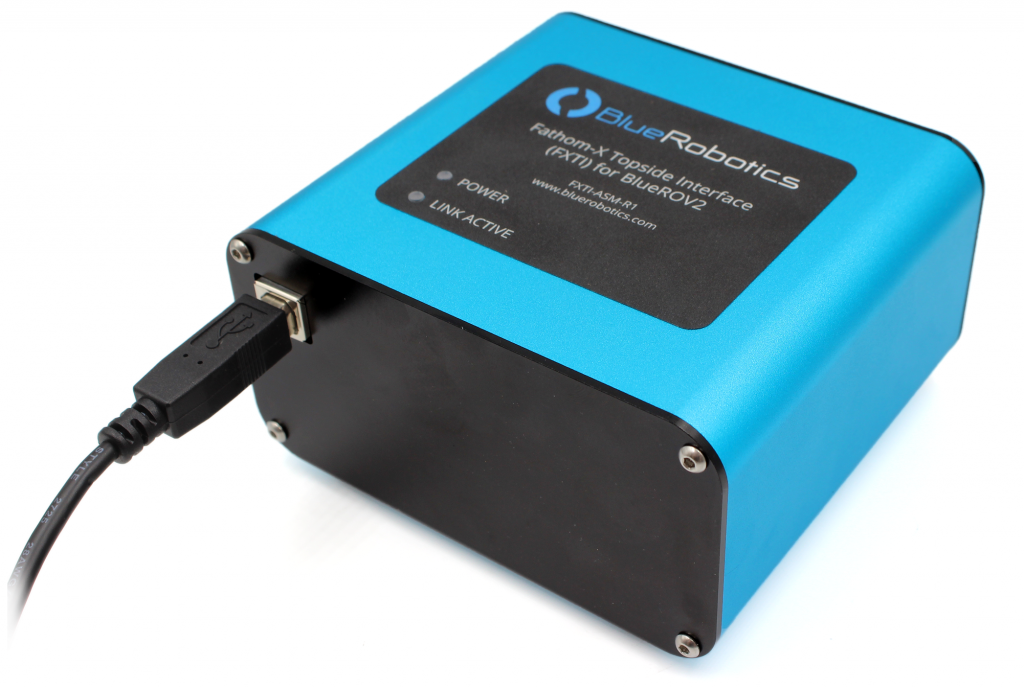
3. Insert the USB Type-B connector end of the included cable into the Type-B receptacle on the opposite face of the FXTI.
4. Connect the USB Type-A connector into a USB port on your topside computer.
5. Once connected, the indicator lights on the top of the box should illuminate showing the “Power” and “Link” status.
Configuring Network Settings
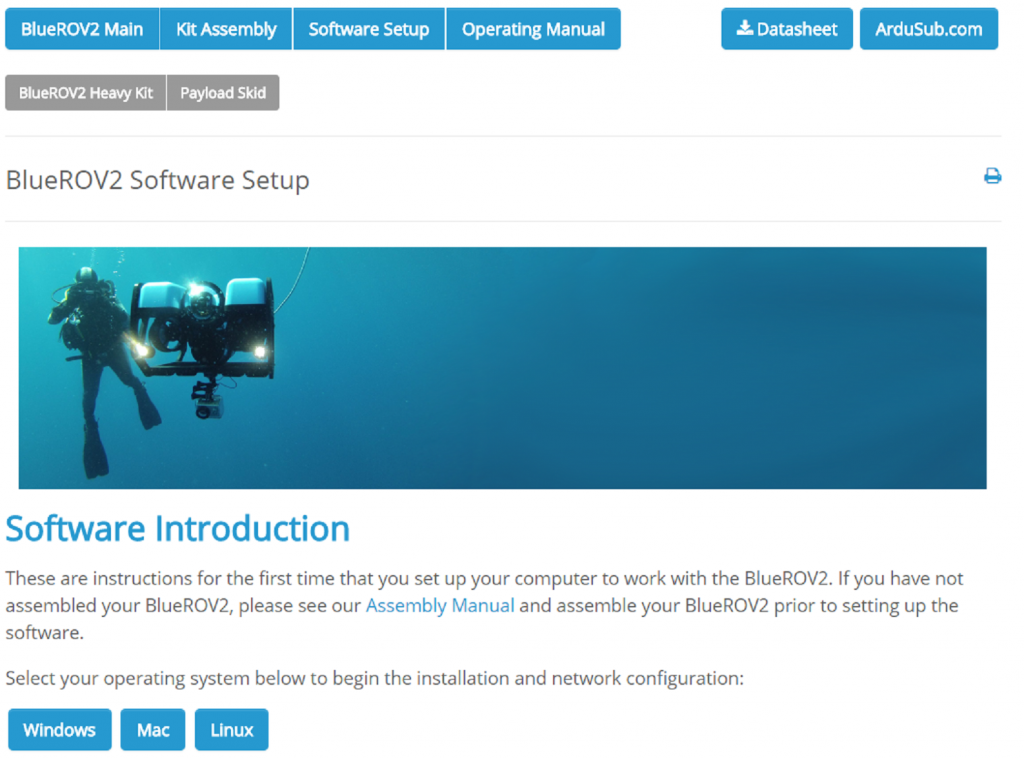
Follow the “Network Setup” instructions on the BlueROV2 Software Setup page for establishing a connection with your BlueROV2 to QGroundControl.
Integration Examples
FXTI is highly expandable allowing for re-configuring connections within the box so that you can quickly use an extra twisted pair from the tether for the Water Linked Analog Locator or any RS485 device.
Pololu carries the 3 position 0.1″ (2.54mm) Crimp Connector Housings and female crimp pins that may be used for connecting your own devices to the spare tether terminations.
Water Linked Underwater GPS / BlueROV2 Integration Kit
Below is one example of how FXTI can be used to neatly connect the Water Linked Underwater GPS / BlueROV2 Integration Kit and omit the earlier connections to a terminal block.
More examples will be coming to illustrate connecting other accessories by Blue Robotics or other manufacturers.