
Celsius Temperature Sensor Installation and Example Code
By Rusty
Introduction
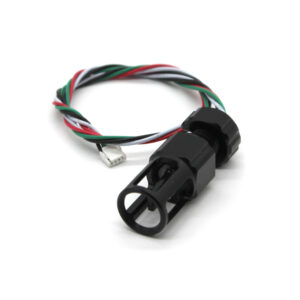
This high-accuracy, fast-response temperature sensor comes sealed and ready to use for temperature profiling, lab measurements, and more!
Installation
1. Use a small amount of silicone grease on the O-ring for lubrication and place it in the groove of the Celsius Temperature Sensor.
2. Install the Celsius Temperature Sensor into an endcap and tighten by hand or with a wrench.
3. Insert the DF13 plug into a compatible DF13 recepticle either on an I2C Splitter Board if using with a Pixhawk or an I2C Level Converter if using with an Arduino.
Example Code
Arduino
This example uses the TSYS01 Arduino Library with the connected sensor. The example reads the sensor and prints the resulting values to the serial terminal.
Please remember to use a logic level converter, such as this one, to convert Arduino 5V levels to 3.3V! If you’ve never used Arduino before, we suggest checking out some tutorials! You can find the TSYS01 Arduino Library on our GitHub page.
#include <Wire.h>
#include "TSYS01.h"
TSYS01 sensor;
void setup() {
Serial.begin(9600);
Serial.println("Starting");
Wire.begin();
sensor.init();
}
void loop() {
sensor.read();
Serial.print("Temperature: ");
Serial.print(sensor.temperature());
Serial.println(" deg C");
Serial.println("—");
delay(1000);
}
Authors

Rusty
Rusty is the founder and CEO of Blue Robotics. His background is in engineering but he likes to be involved in everything at Blue Robotics!